Configure
This guide focuses on Network connectivity, Remote Access (SSH), and File Management to help you quickly set up your reComputer RK series for development.
Network connection
Wired network connection
The easiest and most stable way to connect. Operation: Use a network cable to connect the network port of the development board to the router or switch. Configuration: DHCP is enabled by default, plug and play, no additional configuration is required.
Wireless WiFi connection
Graphical desktop (GUI)
You can choose to configure WiFi through a graphical desktop or command-line tools. If you have a monitor connected and are in a desktop environment, this is the most intuitive way to configure it. Open the network menu: Tap the network icon in the top right corner or taskbar (usually a fan-shaped WiFi logo). Select Network: Tap your WiFi name in the list. Enter Password: Enter your WiFi password in the pop-up dialog box and tap "Connect."
Command Line (nmcli)
If you operate via SSH or serial terminal, you can configure it using NetworkManager's command-line tools.
Commonly used operation cheat sheet
| Function | Command | Description |
|---|---|---|
| Scan WiFi | nmcli device wifi list | List all available hotspots nearby |
| Connect to WiFi | nmcli device wifi connect "SSID" password "PWD" | Replace SSID and PWD with actuals |
| Check status | nmcli connection show | Displays all current network connections |
| Disconnect | nmcli connection down <connection_name> | Disconnect the specified network |
Example of operation
Step 1: Scan for available WiFi
sudo nmcli device wifi listExample output:
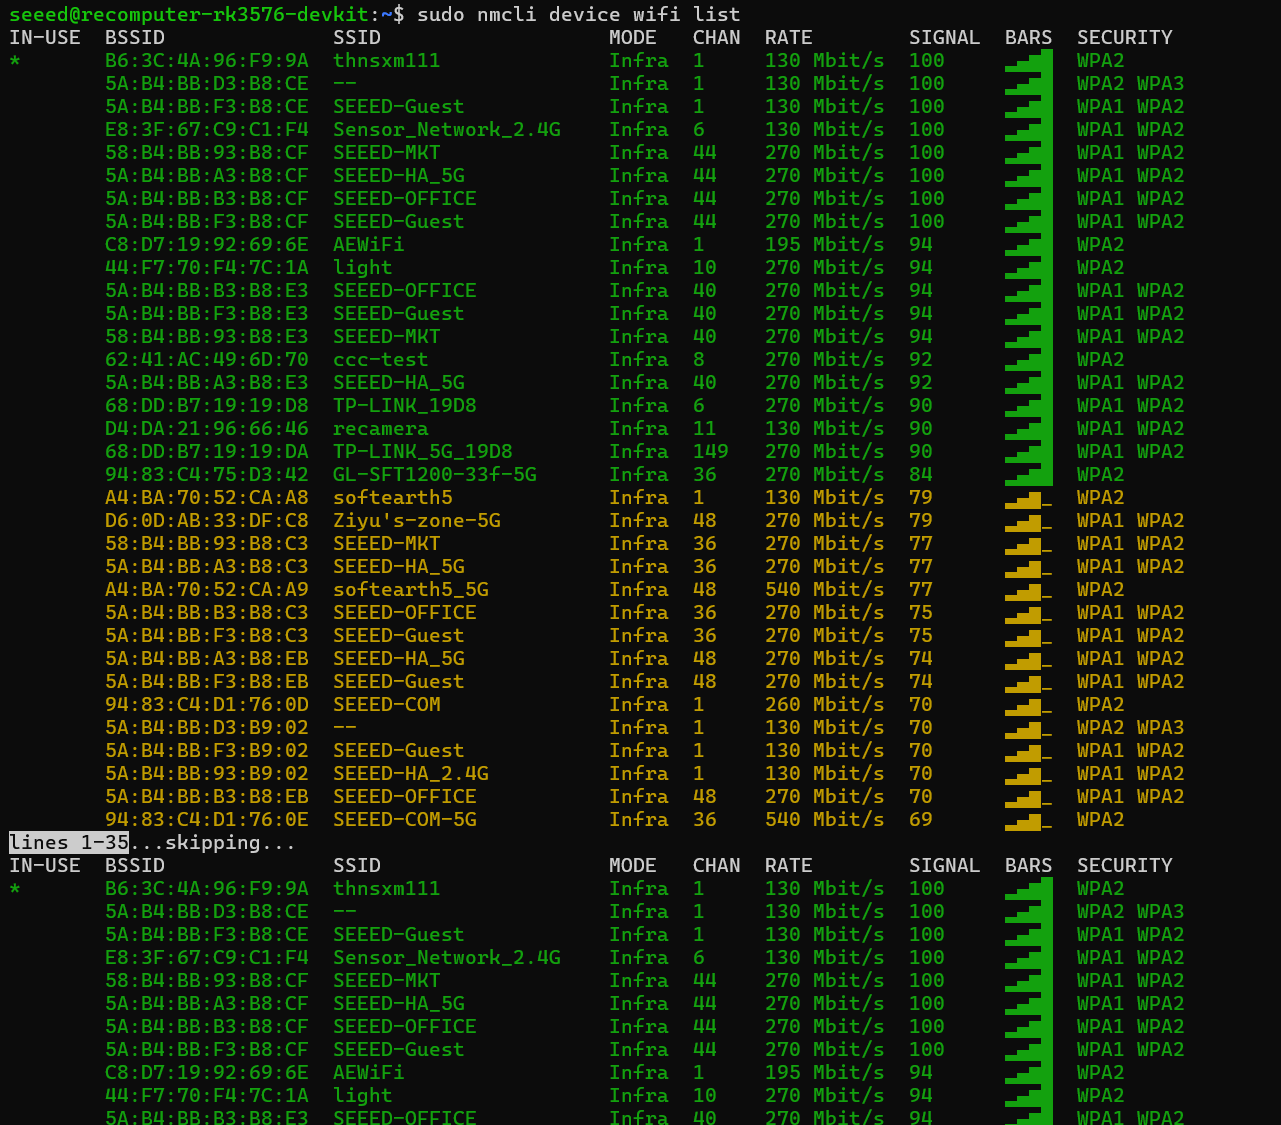
IN-USE  BSSID              SSID                   MODE   CHAN  RATE        SIGNAL  BARS  SECURITY
*       B6:3C:4A:96:F9:9A  thnsxm111              Infra  1     130 Mbit/s  100     ▂▄▆█  WPA2
        5A:B4:BB:D3:B8:CE  --                     Infra  1     130 Mbit/s  100     ▂▄▆█  WPA2 WPA3
        5A:B4:BB:F3:B8:CE  SEEED-Guest            Infra  1     130 Mbit/s  100     ▂▄▆█  WPA1 WPA2
        E8:3F:67:C9:C1:F4  Sensor_Network_2.4G    Infra  6     130 Mbit/s  100     ▂▄▆█  WPA1 WPA2
Step 2: Connect to WiFi Let's say we want to connect to a network called , and the password is: 123 123askxxx
sudo nmcli device wifi connect "123" password "123askxxx"After a successful connection, you'll be prompted: Device 'wlan0' successfully activated with '...'
Advanced configuration
In some development scenarios, such as as a server, you may need to have a fixed IP address.
# 1. Modify connection configuration (Assuming connection name is "Wired connection 1")
nmcli con mod "Wired connection 1" ipv4.addresses 192.168.1.100/24
nmcli con mod "Wired connection 1" ipv4.gateway 192.168.1.1
nmcli con mod "Wired connection 1" ipv4.dns "8.8.8.8 114.114.114.114"
nmcli con mod "Wired connection 1" ipv4.method manual

# 2. Restart the connection to apply settings
nmcli con up "Wired connection 1"
Remote login guide (SSH)
Hardware: reComputer RK3576 / RK3588 Operating System: Debian 12 This guide provides instructions on how to access your reComputer remotely using the Secure Shell (SSH) protocol.
Prerequisites
- The reComputer must be powered on and connected to the same Local Area Network (LAN) as your primary computer.
- An Ethernet connection is recommended for initial setup to ensure stability.
Identify the Device IP Address
You need the IP address of the reComputer to establish a connection.
- Via Local Terminal: If you have a monitor and keyboard connected to the reComputer, run:
hostname -I
- Via Router Dashboard: Access your router's web interface and look for a device named recomputer or similar in the DHCP client list.
Connection Methods
Option A: Windows (PowerShell or Command Prompt) Modern Windows versions include a built-in SSH client.
- Press Win + R, type cmd, and hit Enter.
- Input the following command (replace 10.0.x.x with your actual IP):
ssh seeed@10.1.x.x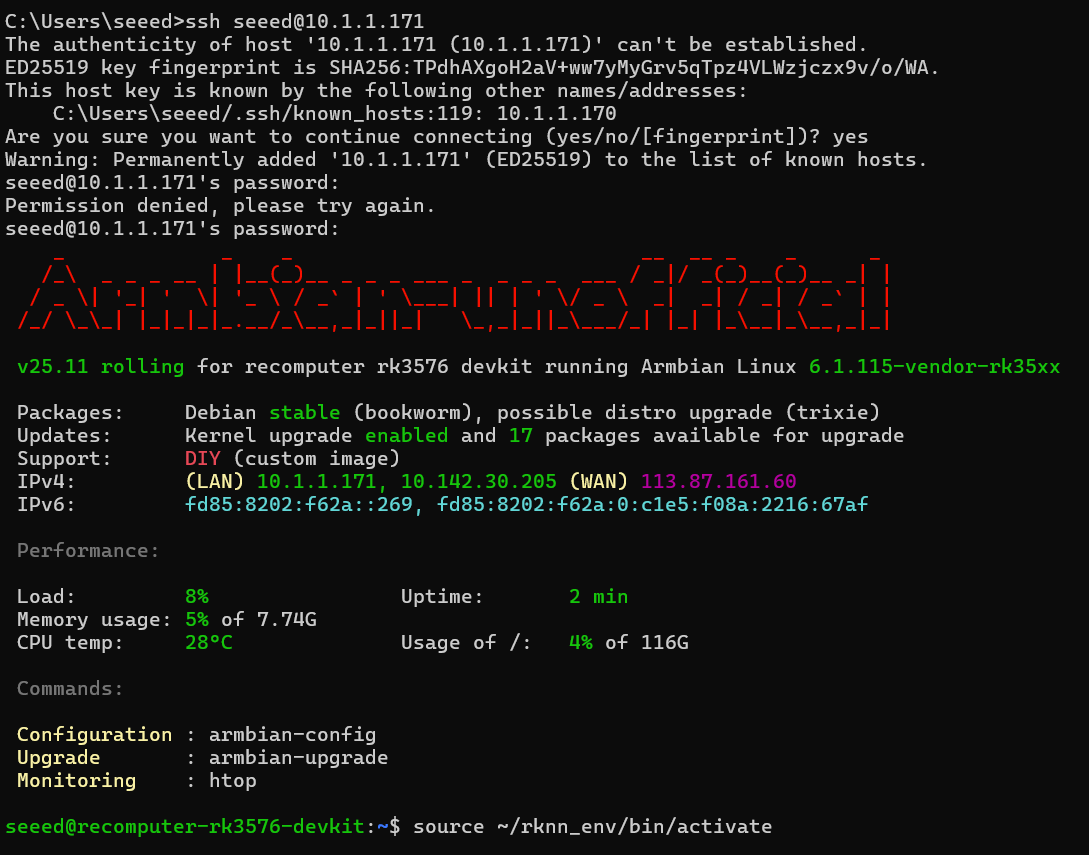
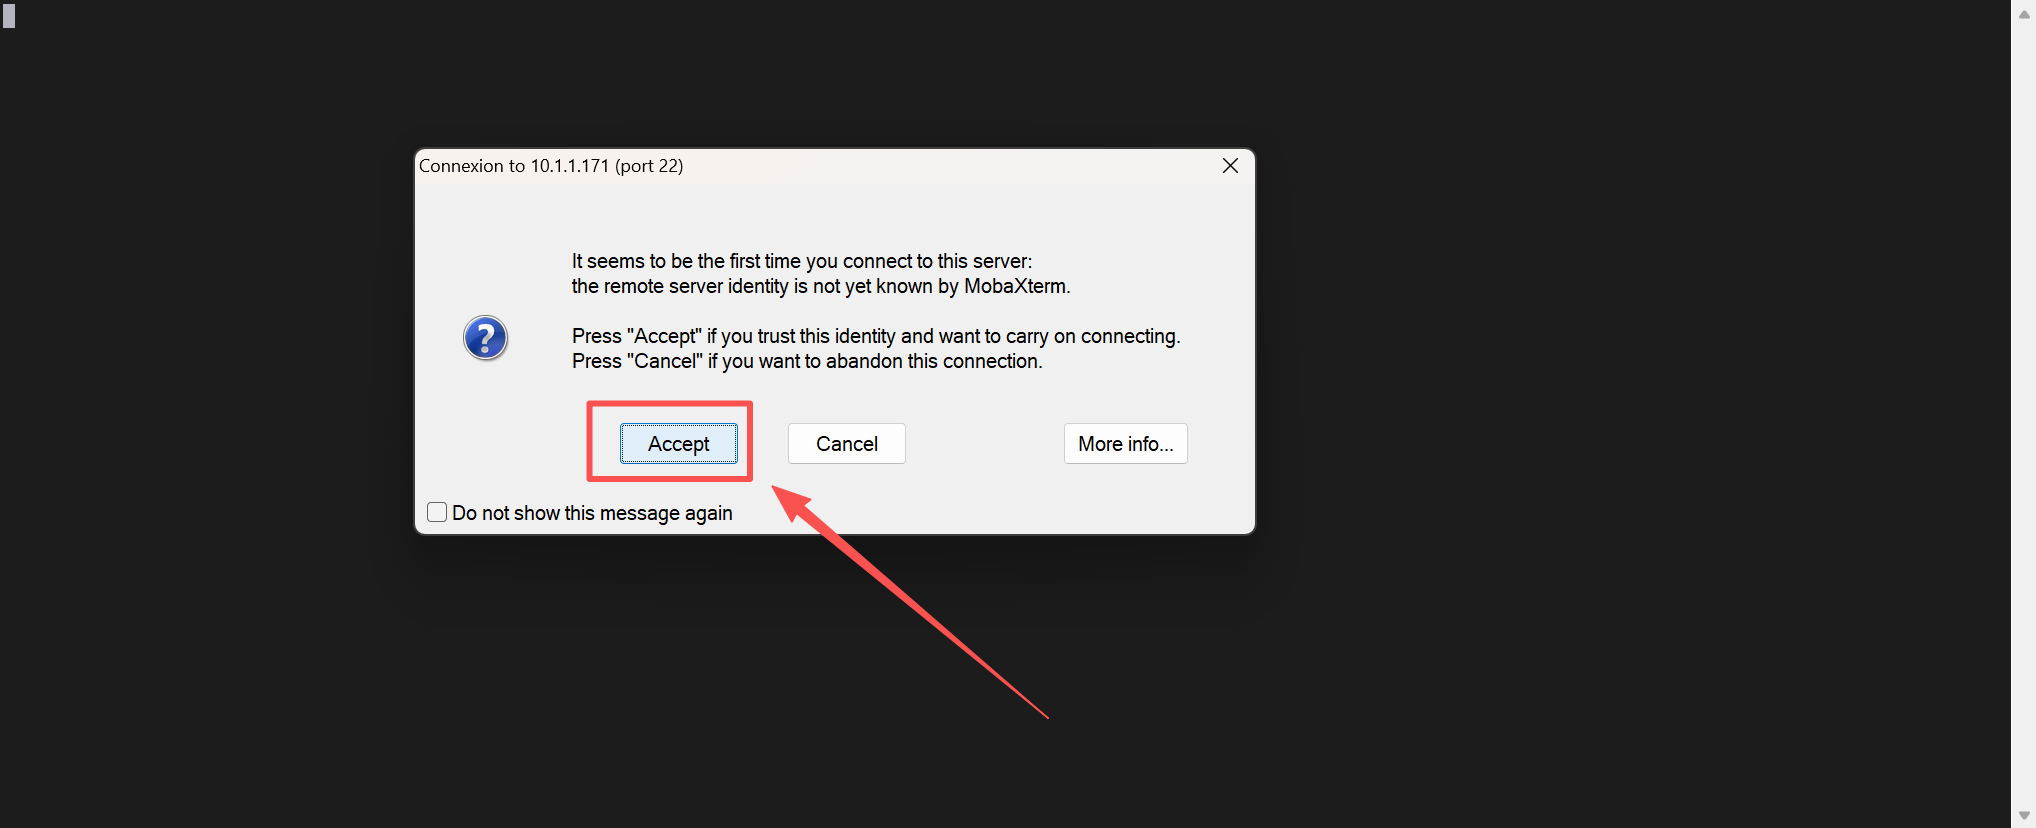
- Type yes when asked to confirm the host's fingerprint.
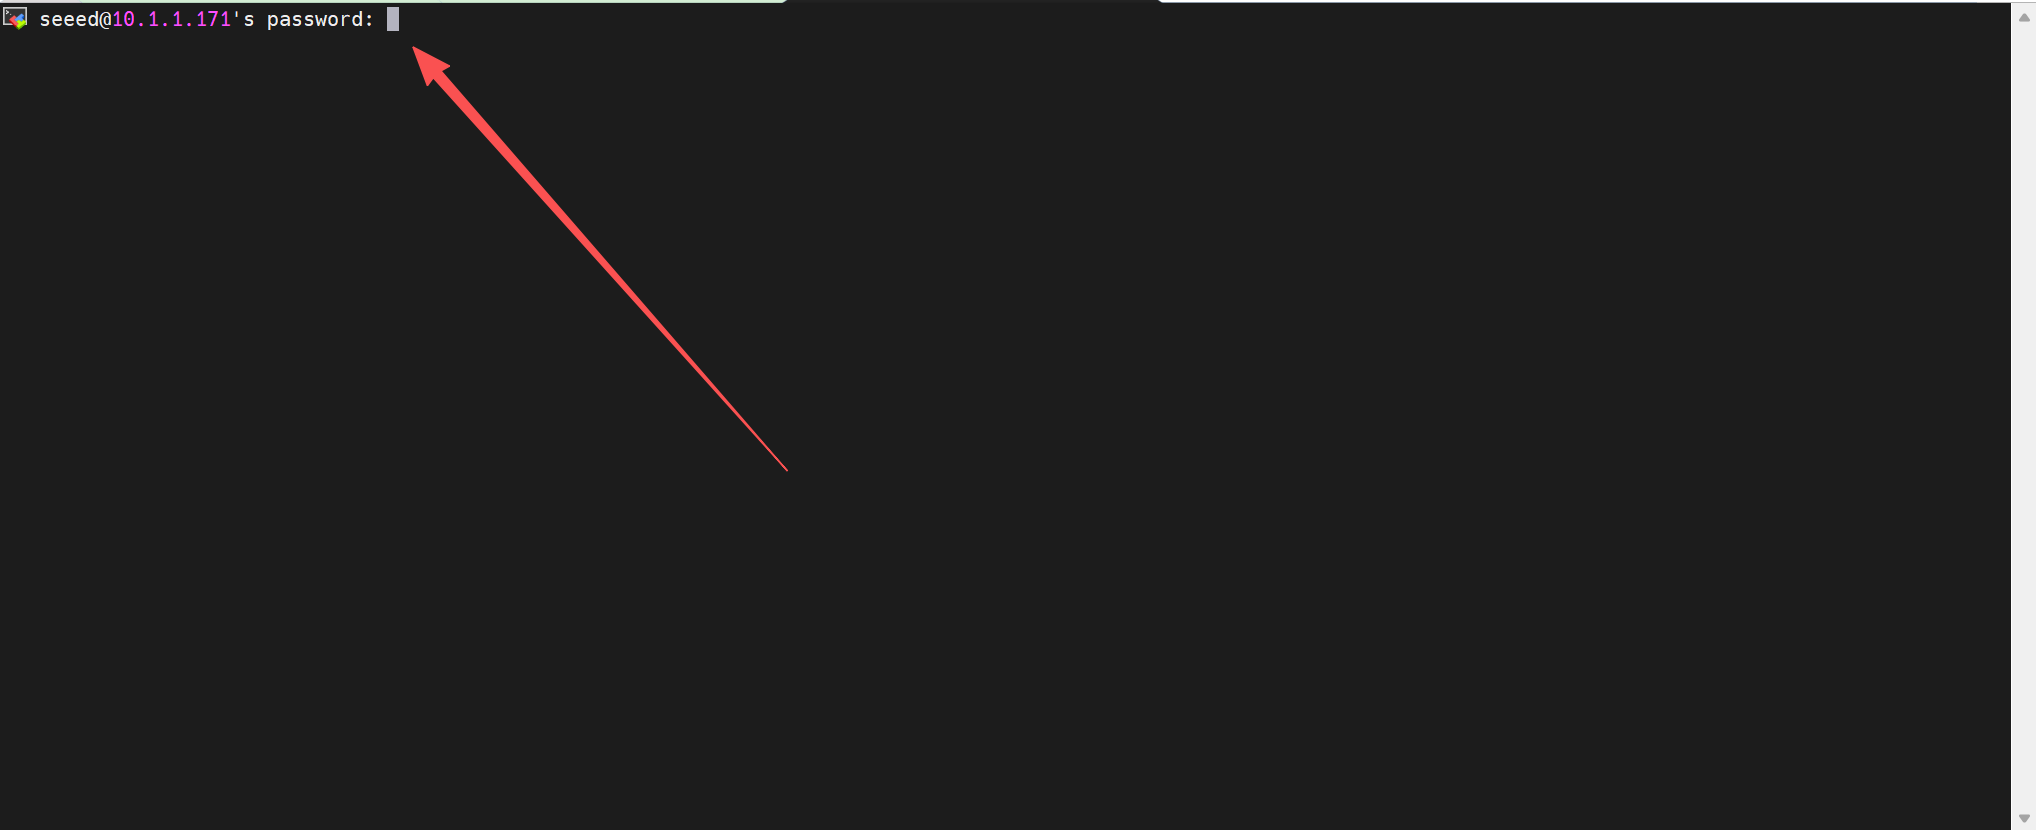
- Enter the password seeed (characters will not appear as you type).
Option B: Linux / macOS Terminal Open your native terminal and run:
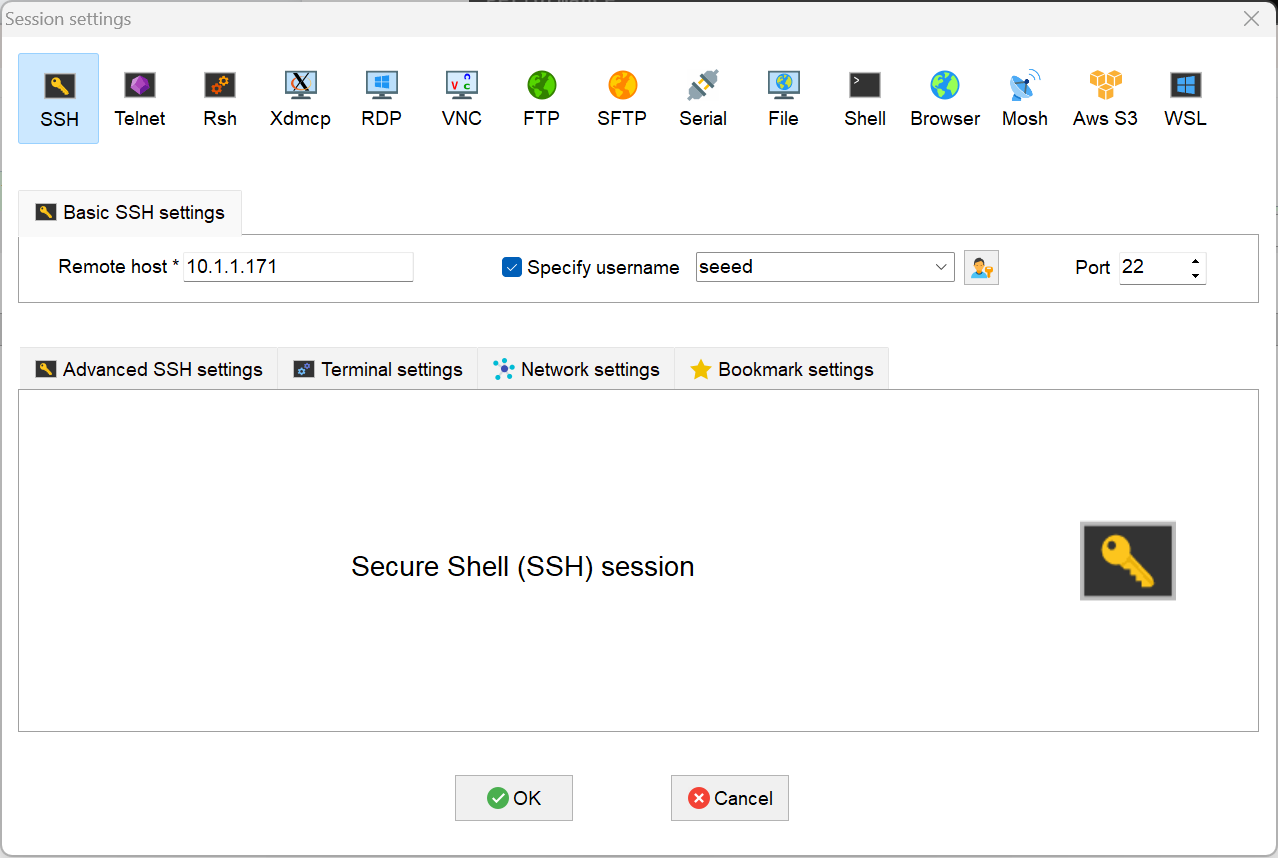
ssh seeed@<Your_Device_IP>Option C: Professional Tools (Recommended) For a more robust development environment, consider:
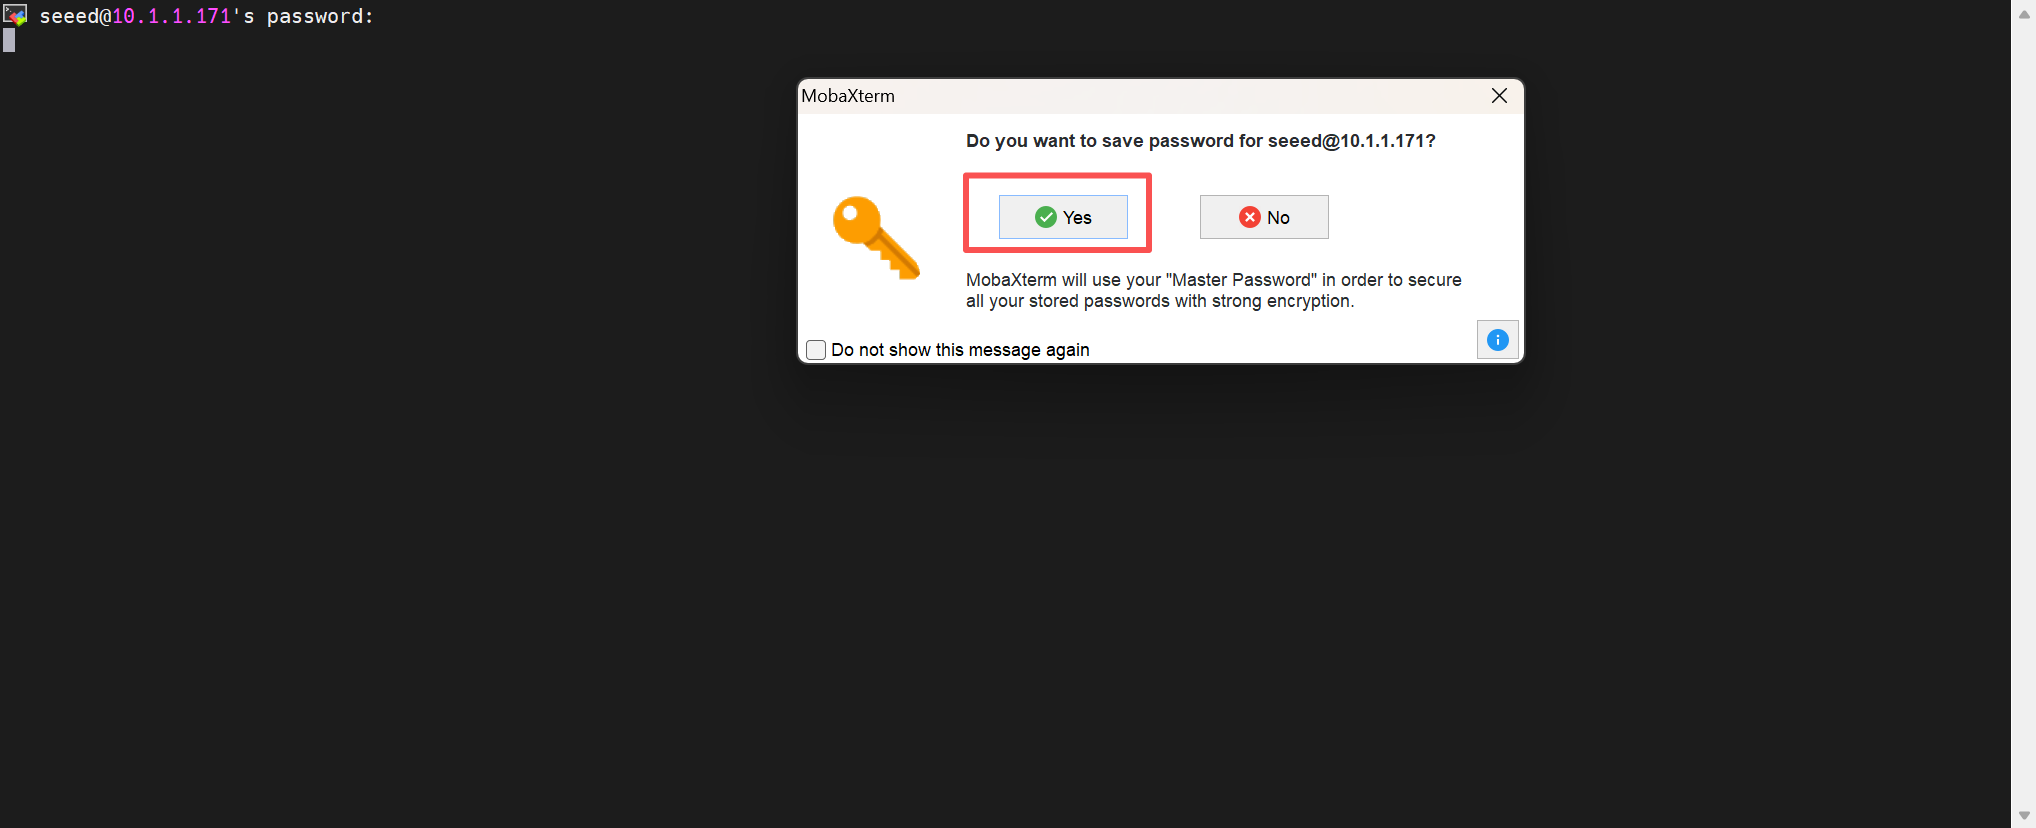
- MobaXterm: Features a built-in SFTP sidebar for easy file dragging.
Troubleshooting
- Connection Refused: Ensure the SSH service is active on the reComputer. You can check this locally by running:
sudo systemctl status ssh- Firewall Issues: If the service is running but blocked, allow port 22 through the firewall:
sudo ufw allow 22- Host Key Verification Failed: If you recently reflashed the OS on the same IP address, clear the old key on your PC using:
ssh-keygen -R <Your_Device_IP>File Transfer Guide (MobaXterm SFTP)
- Device: reComputer RK3576 / RK3588
- OS: Debian 12
- Core Tool: MobaXterm(Built-in SFTP Sidebar)
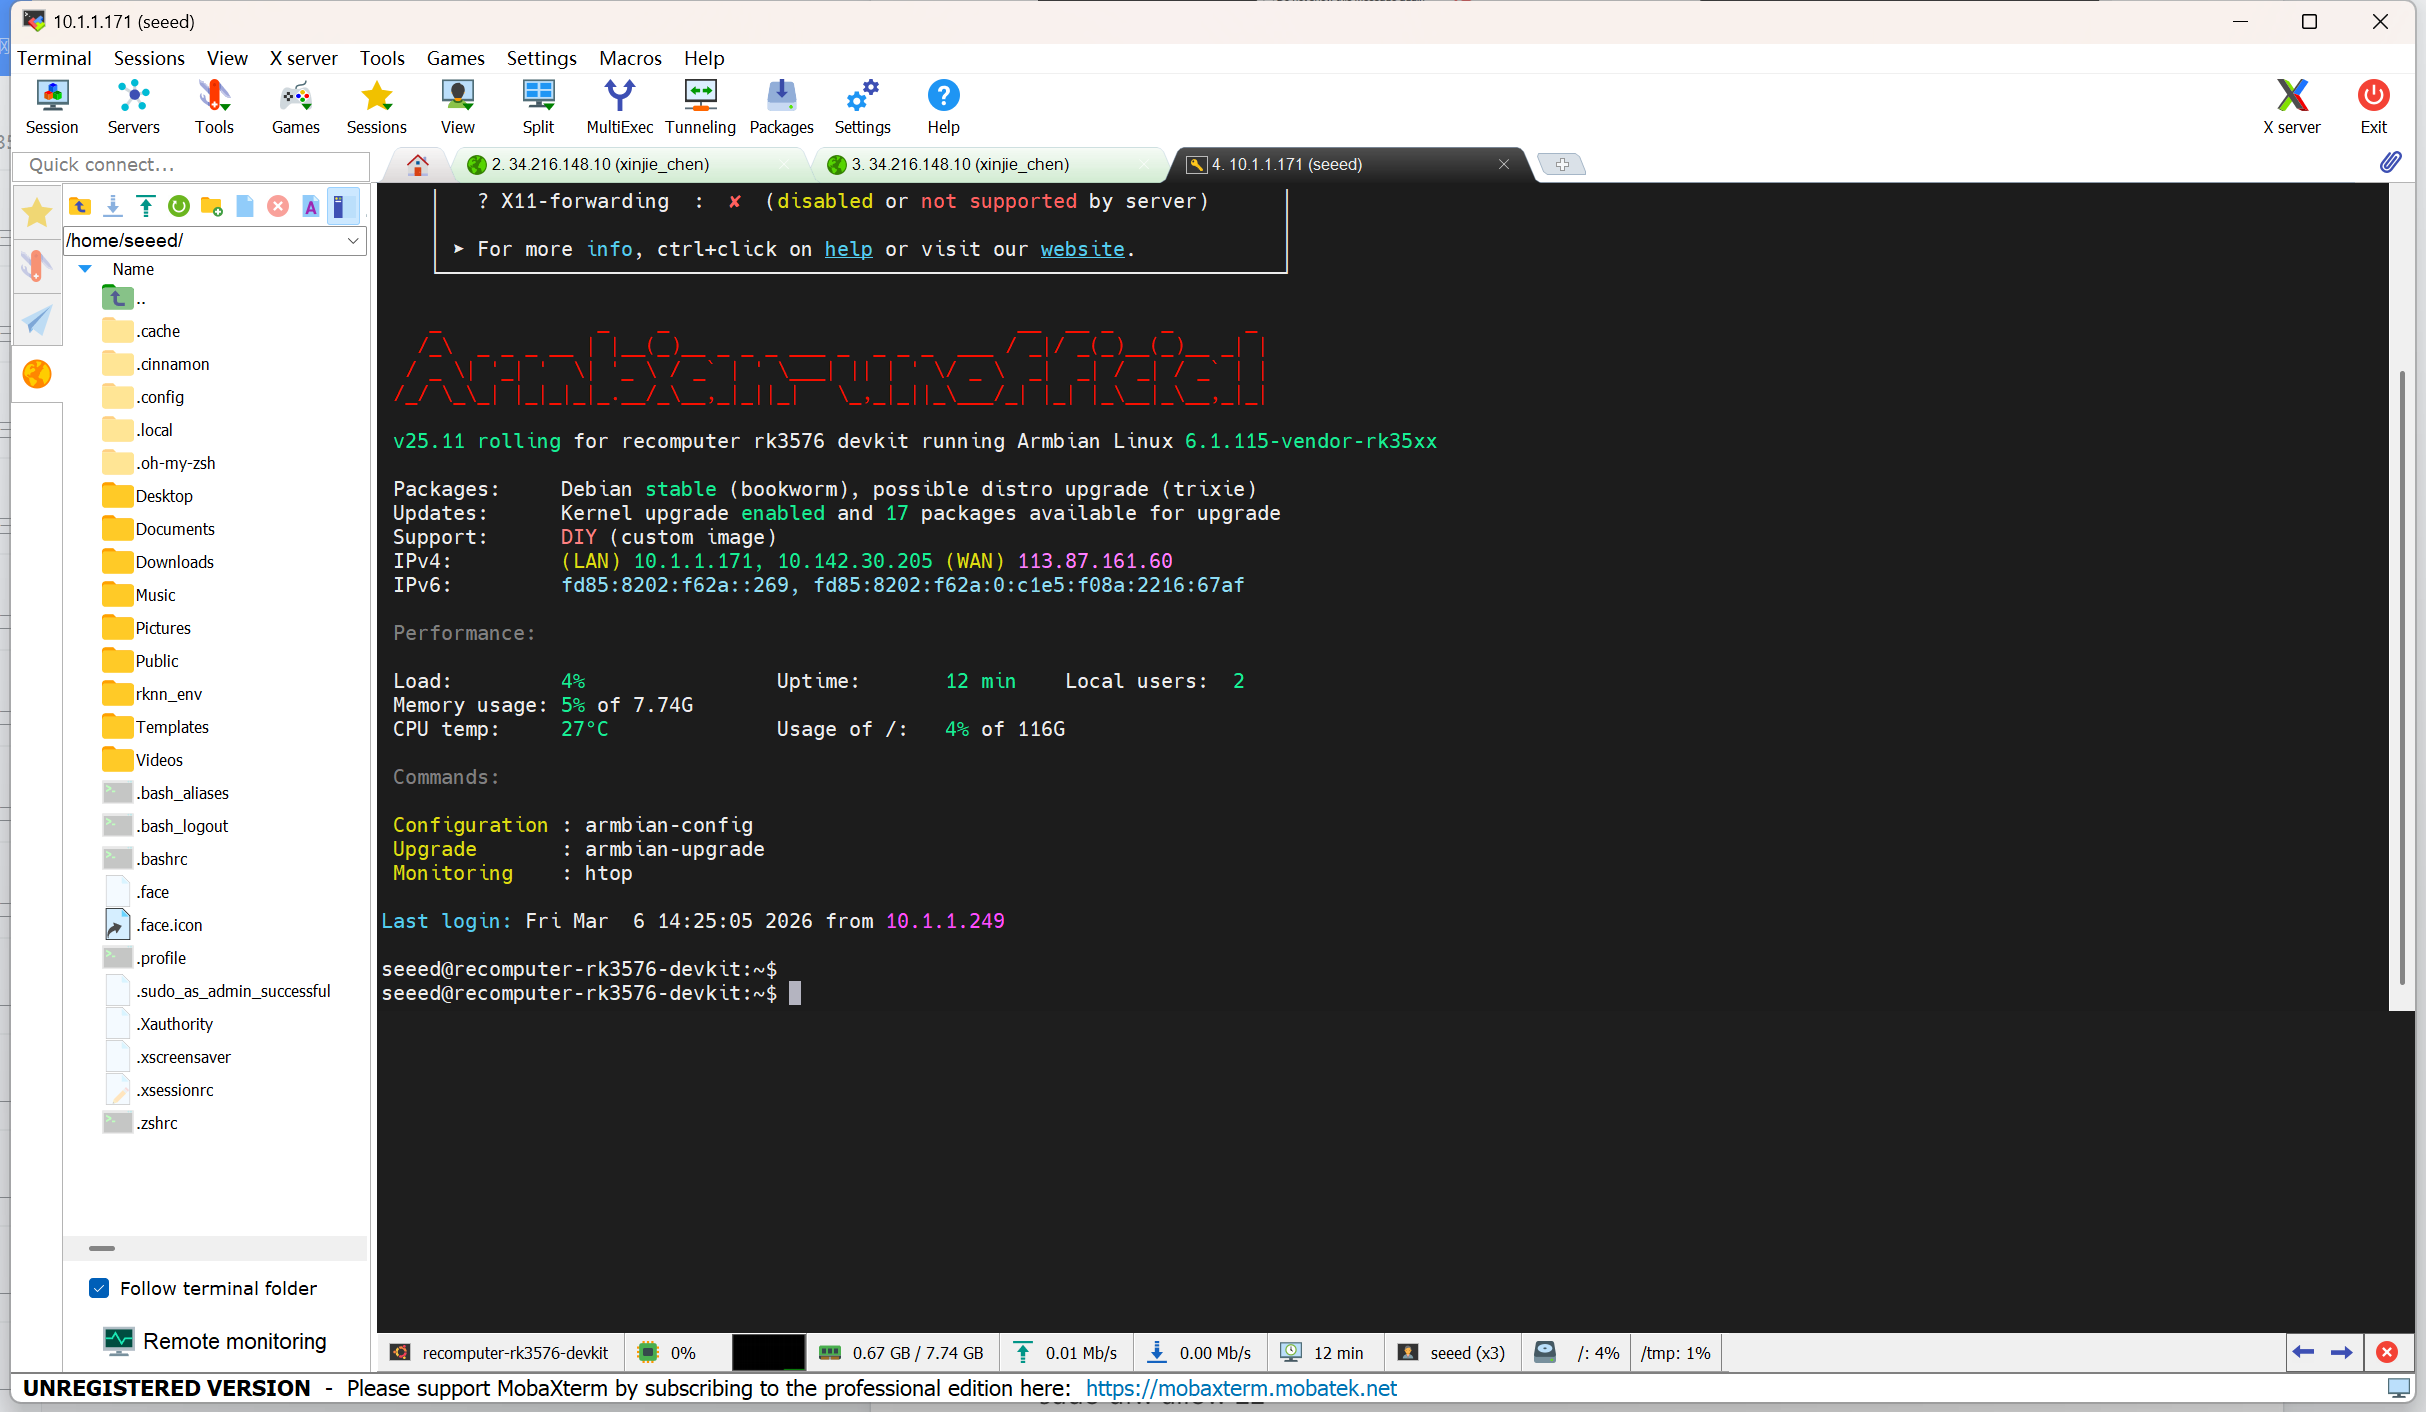
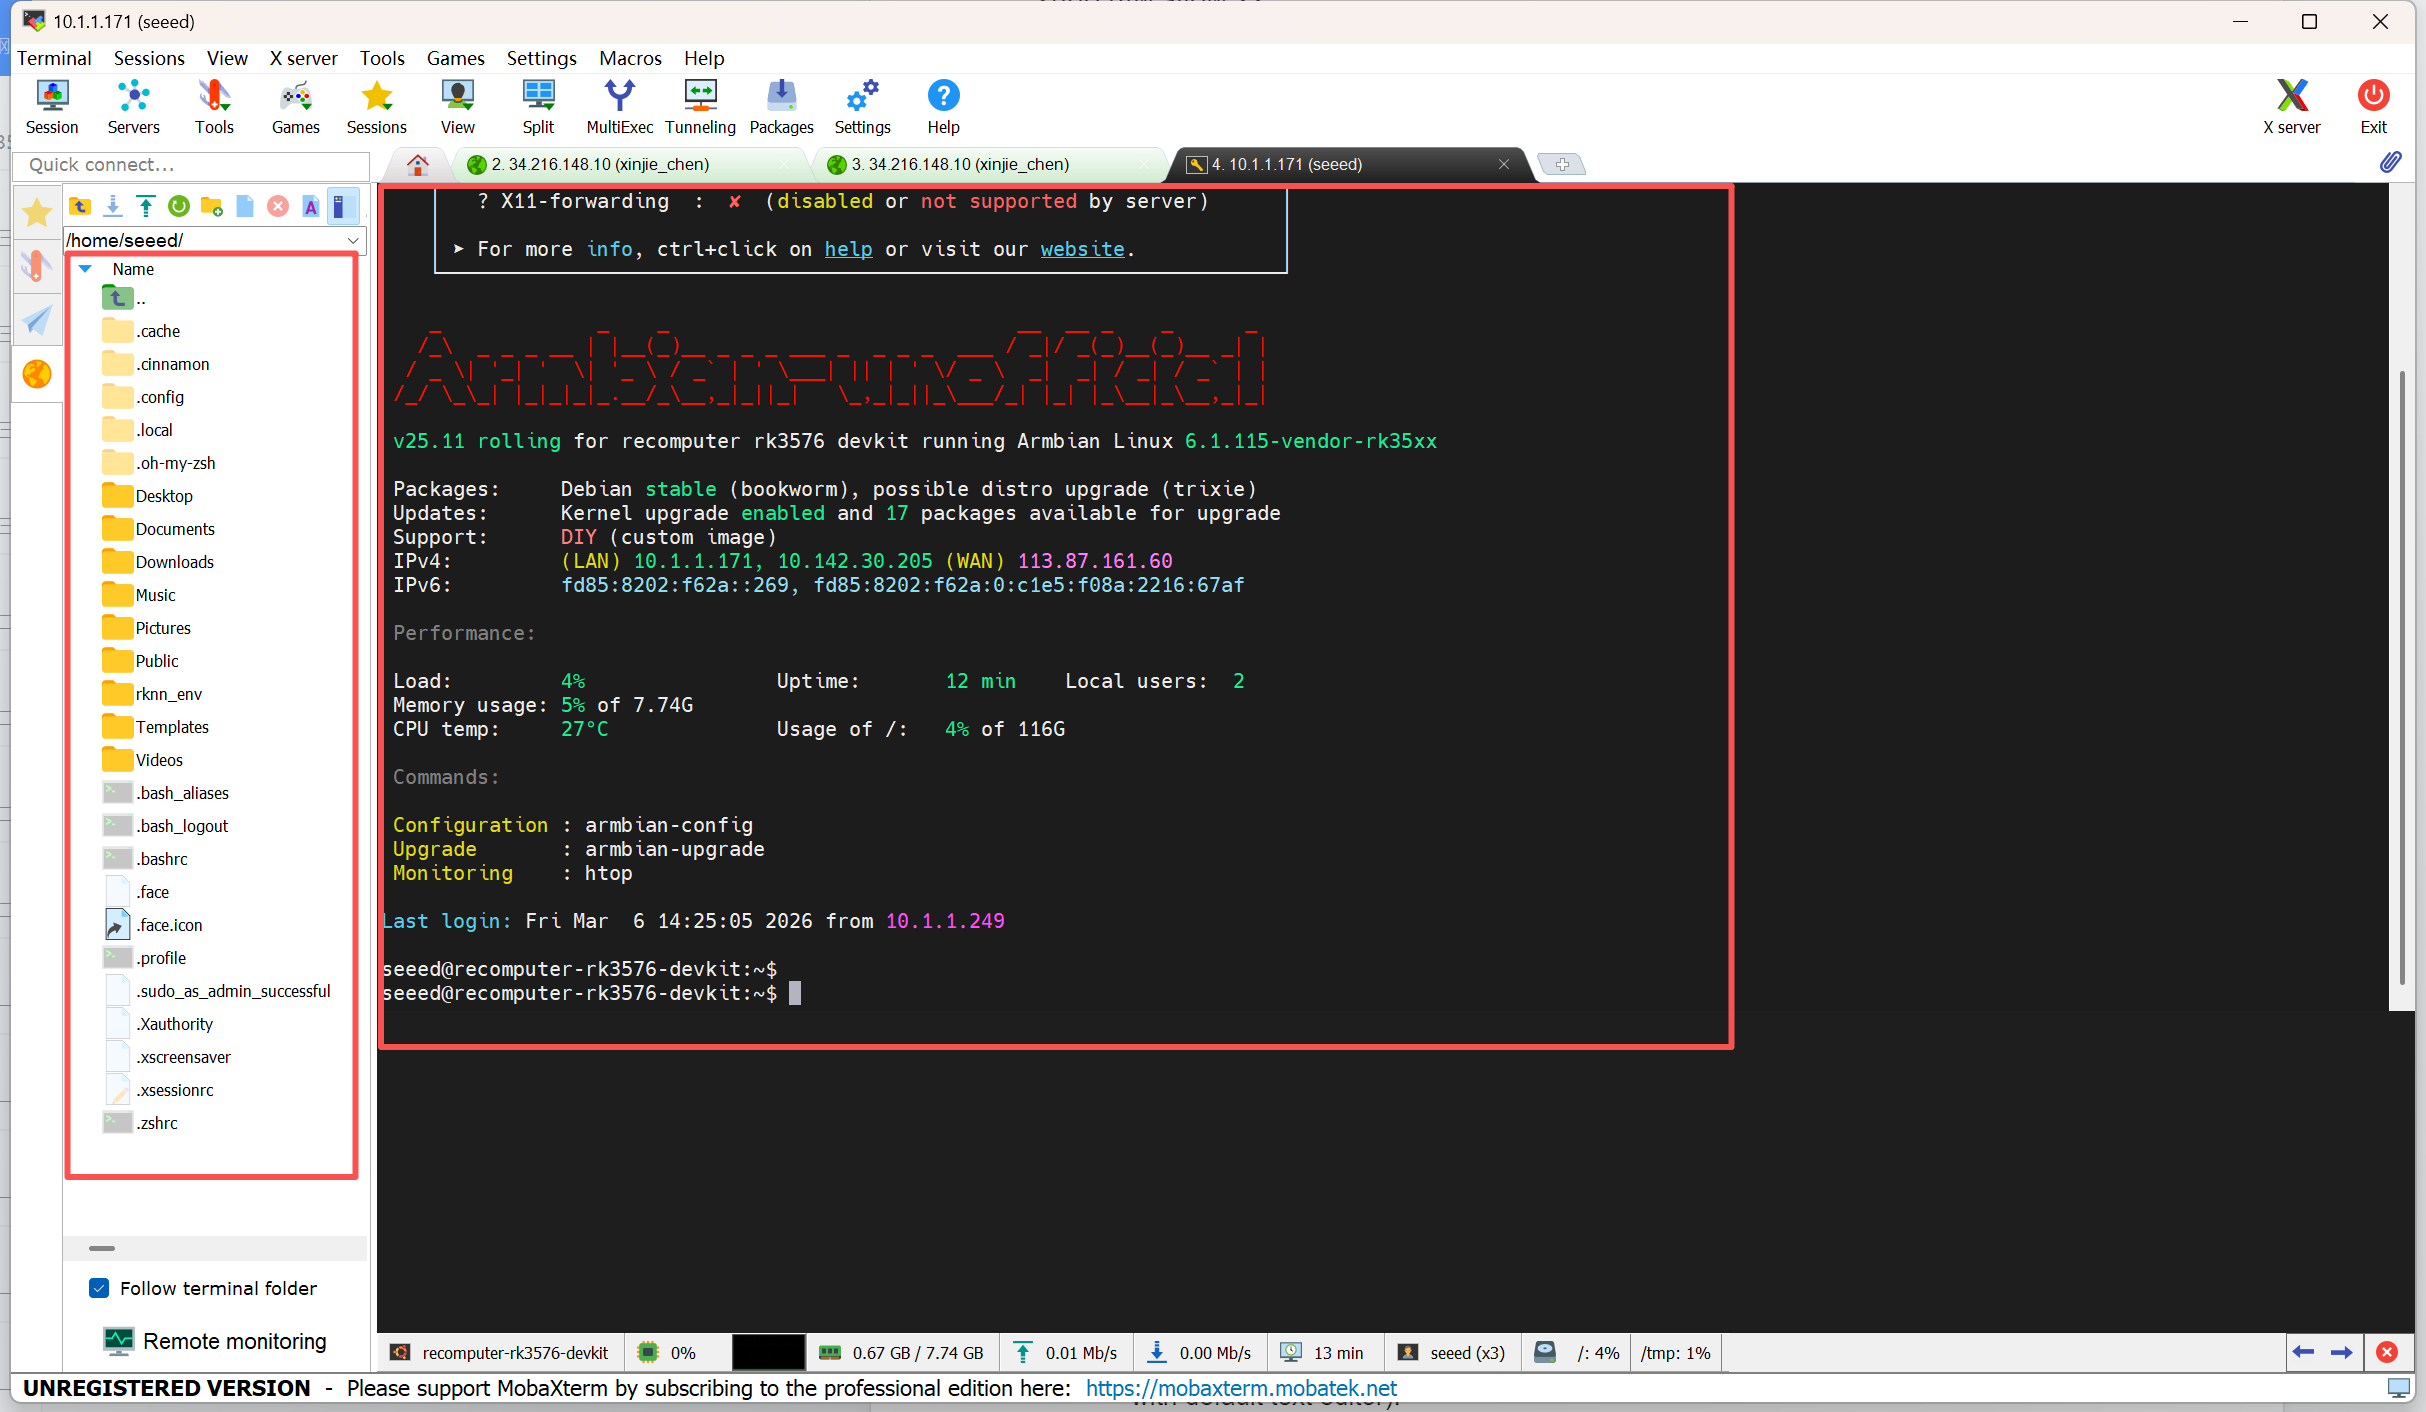
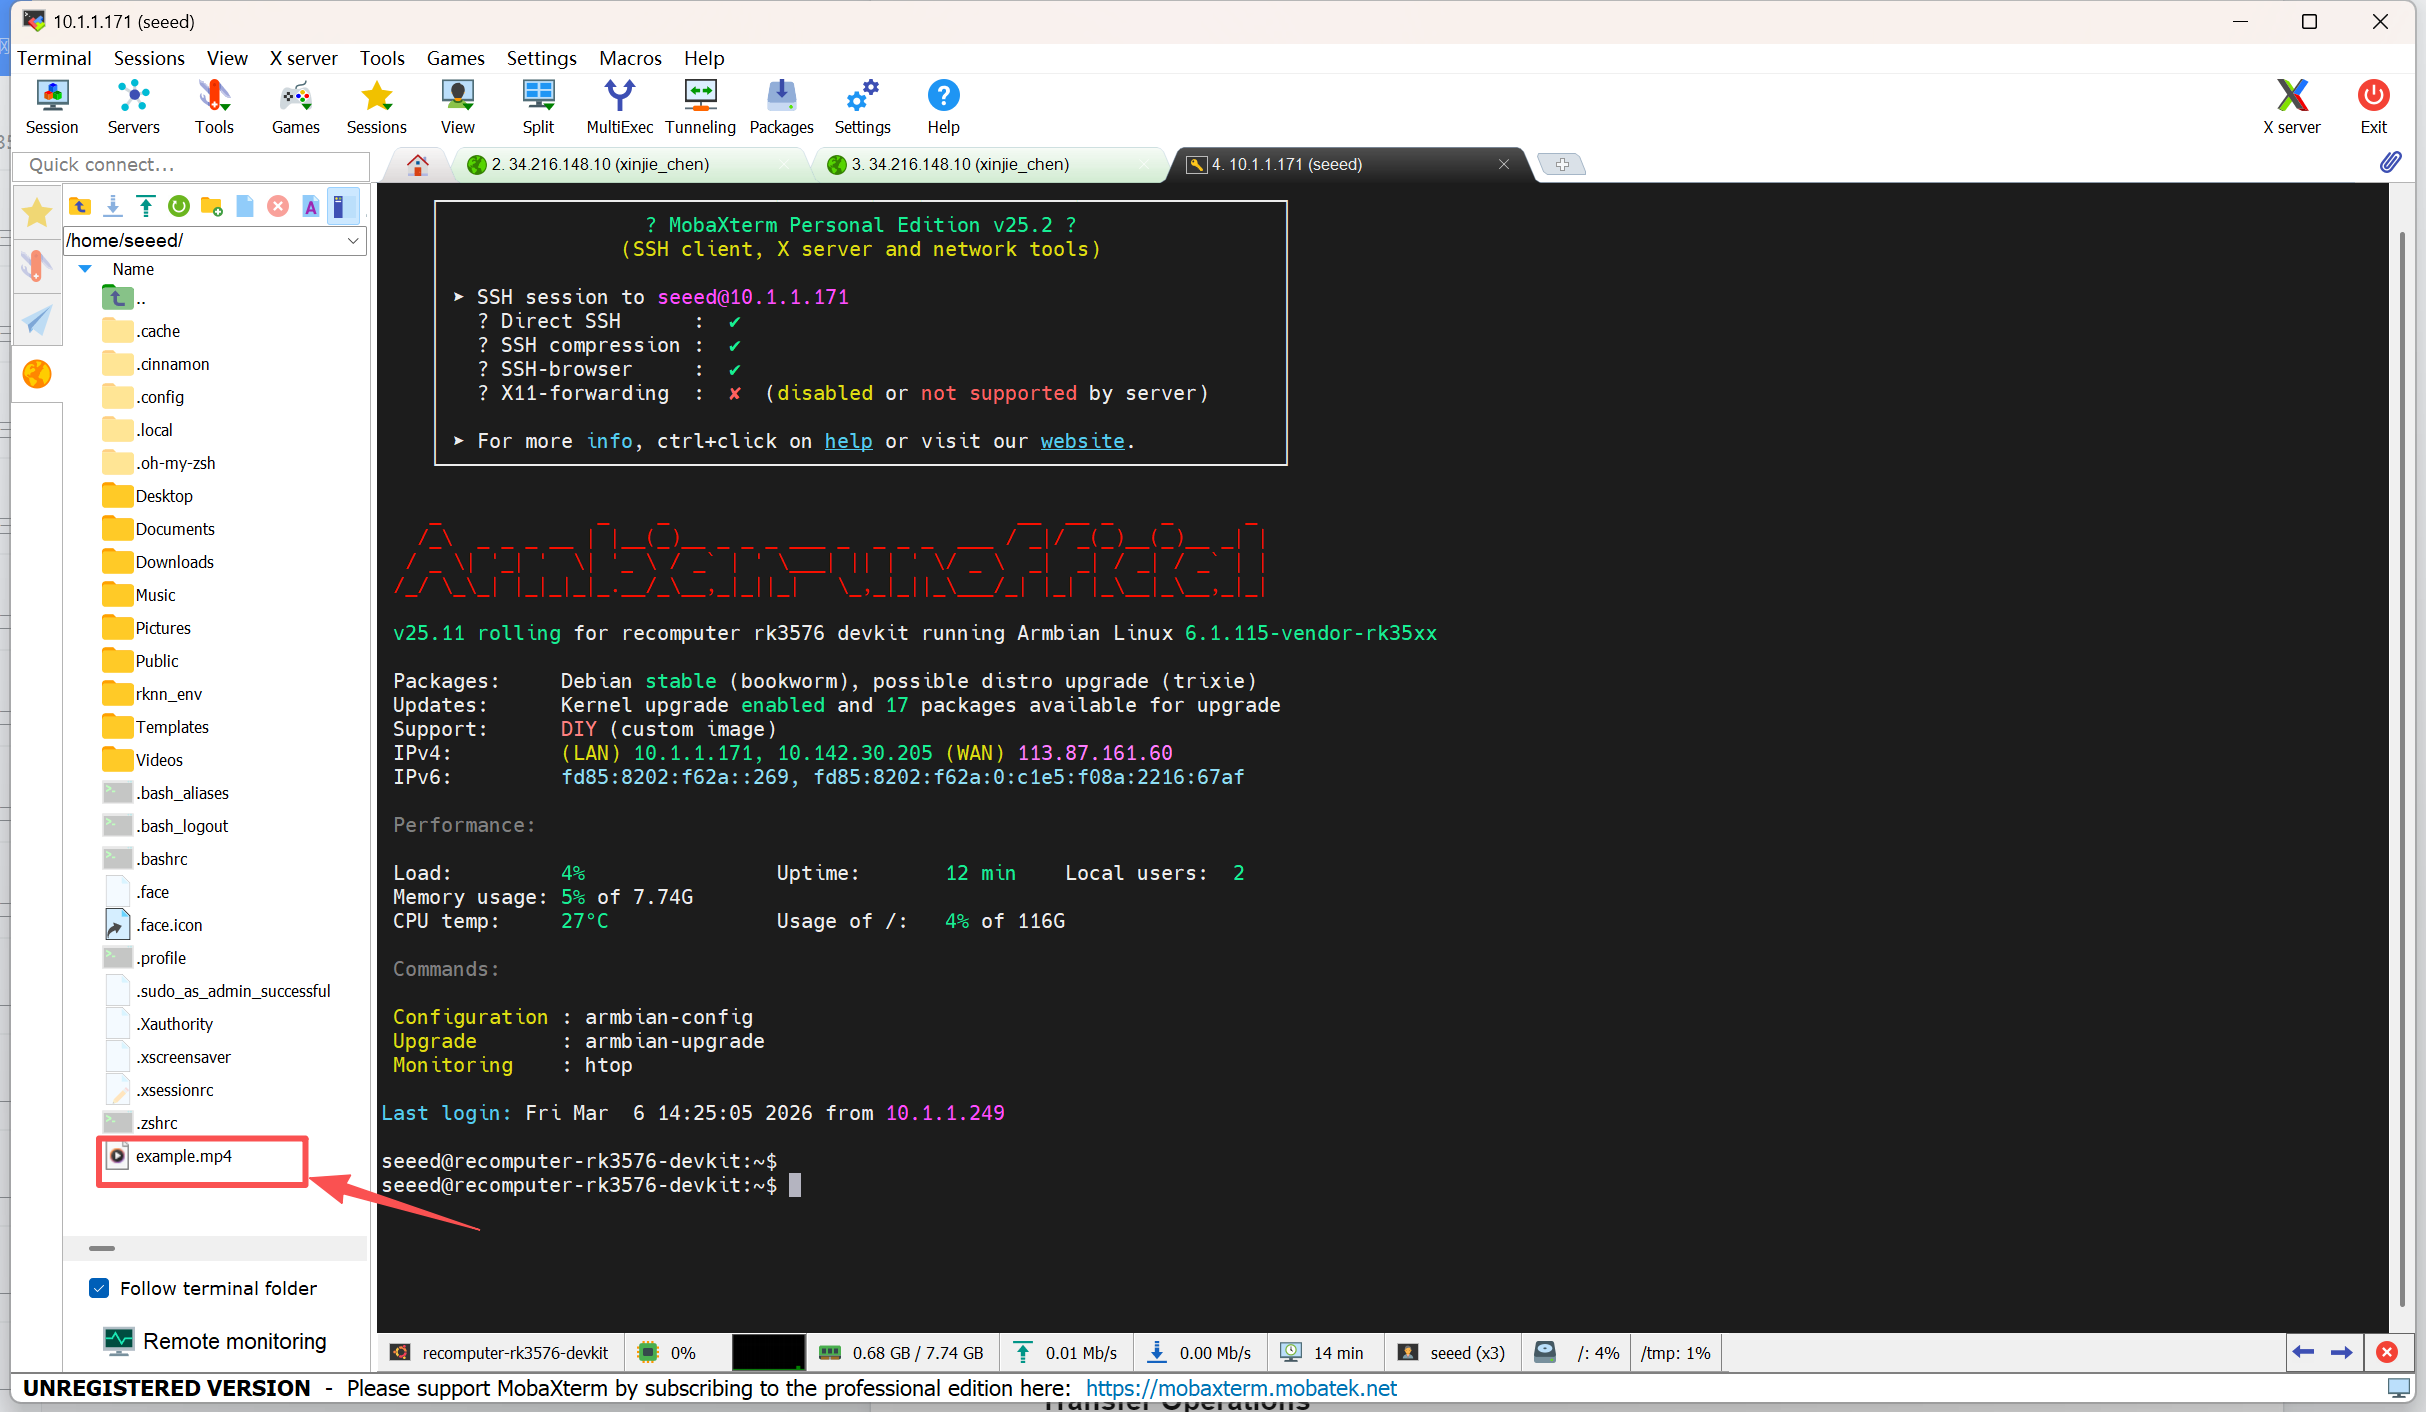
Interface Overview
Once you have successfully logged in via SSH, MobaXterm will automatically open an SFTP tab on the left side of the interface.
- Left Panel: Displays the file system on the reComputer (Remote).
- Right Panel: Your terminal command-line window.
Transfer Operations
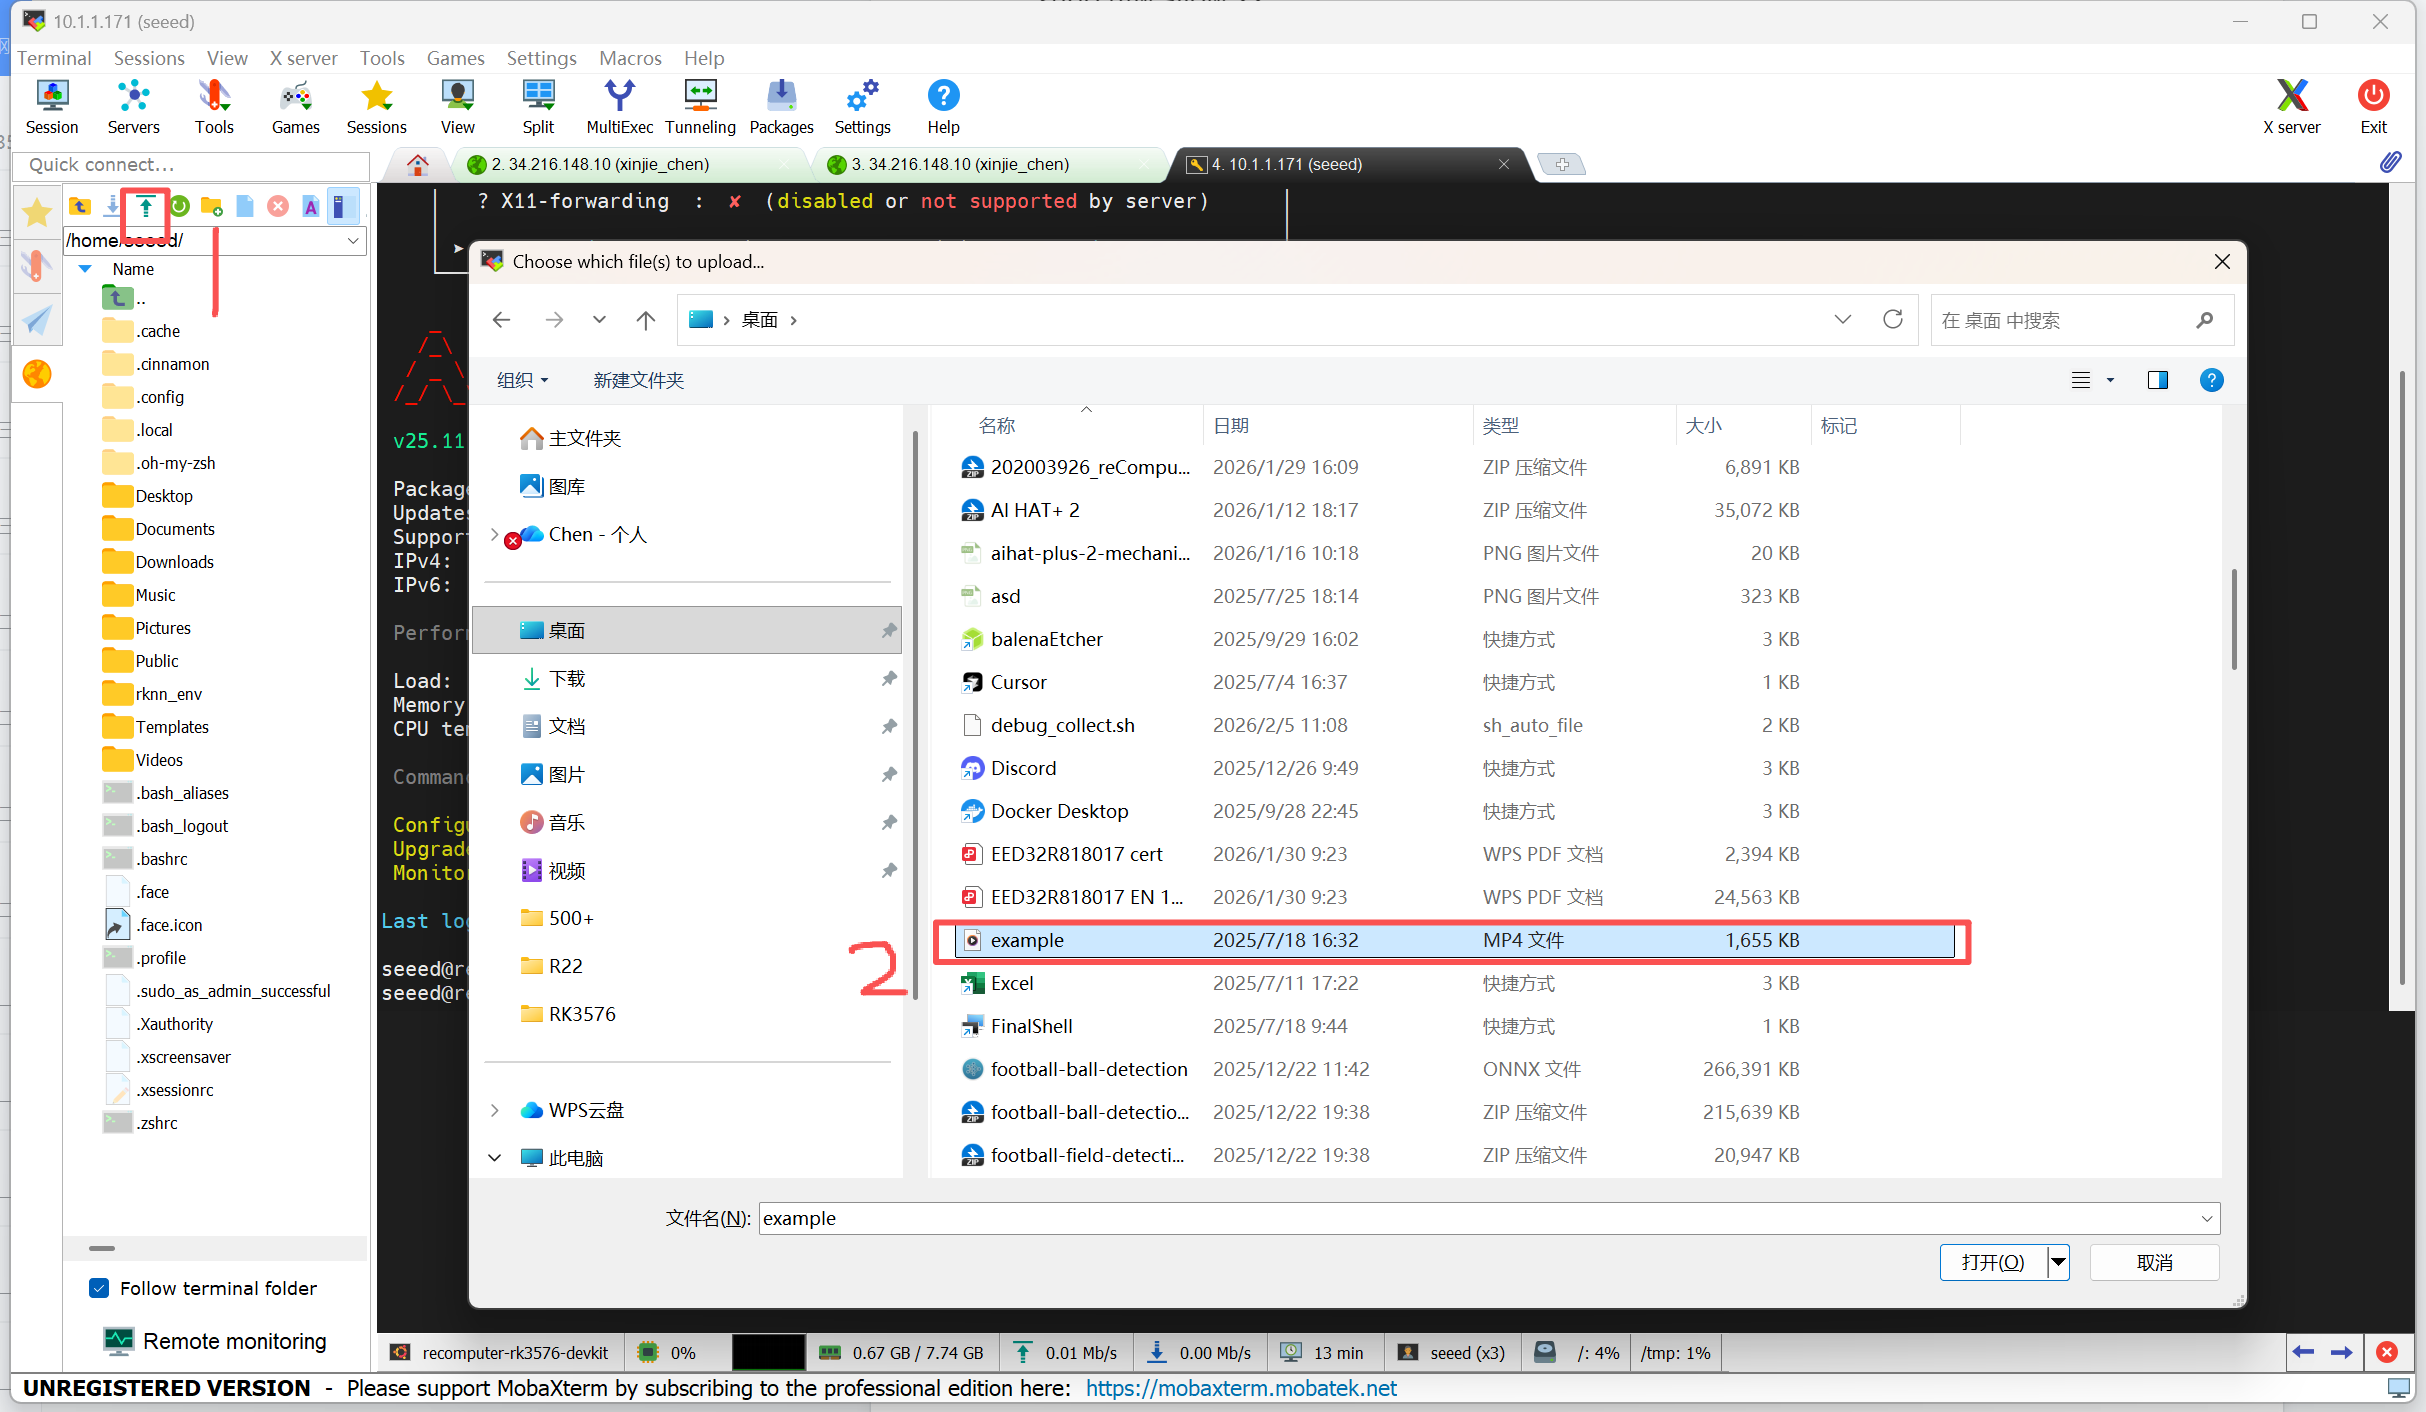
Upload
- Drag & Drop: Simply select files from your Windows folder and drag them into the SFTP panel on the left.
- Upload Button: Click the blue up-arrow icon above the left panel to select and upload files from your PC.
Download
- Drag & Drop: Select files in the left panel and drag them out to your Windows desktop or folder.
- Right-click, or select the "Download" button at the top: Right-click the file and select Download.
Advanced Features
- Live Edit
- Operation: Double-click a text file in the left panel (or right-click and select Open with default text editor).
- Sync: Edit and save; MobaXterm will prompt you to sync changes back to the reComputer. Click Yes.
- Quick Navigation
- Click the "Follow terminal path" icon (yellow square) to sync the SFTP view with your terminal's current directory (cd).
Important Notes
- Permissions: The seeed user only has write permissions in /home/seeed by default.
- System Files: To edit system files (e.g., in /etc/), upload to /home/seeed first, then use sudo mv in the terminal.
- Reconnection: If the SFTP panel becomes unresponsive, click the Refresh button to resync.