RK3576 Frigate NVR Setup
Last updated:
Introduction
Frigate is an open-source network video recorder (NVR) designed for local video surveillance and object detection. The reComputer RK3576 platform provides a Rockchip NPU that can be used for accelerated object detection with Frigate's RKNN detector, subject to a compatible operating system and drivers.
This RK3576 Frigate NVR installation guide uses Docker Compose and the stable-rk image on Seeed Studio reComputer RK3576. It covers configuration and media storage, the first administrator login, and access to the HTTPS web interface.
Hardware and Software Requirements
| Item | Requirement |
|---|---|
| Hardware | reComputer RK3576 development kit or a compatible RK3576-based device |
| Operating system | 64-bit Linux with Rockchip drivers for later hardware acceleration |
| Container runtime | Docker Engine and Docker Compose plugin |
| Network | Internet access to pull the Frigate image; a PC on the same local network to open the web interface |
| Storage | Sufficient free disk space for the image, configuration, and future recordings |
| Camera | Not required for the installation and web interface verification shown here |
For subsequent RKNN and RKMPP acceleration, Frigate's Rockchip installation guide specifies a compatible Rockchip BSP kernel and drivers, including RKNPU and rkvdec2. Successfully opening the web interface alone does not verify these drivers.
Step 1: Check the RK3576 Environment
Connect to the reComputer RK3576 over SSH, then run:
uname -m
uname -r
cat /etc/os-release

docker --version
docker compose version

df -h
Confirm that the machine is running 64-bit ARM Linux (aarch64) and that Docker and Docker Compose are available. If Docker is not installed, install it using the official Docker Engine instructions appropriate for your distribution before continuing.
For later NPU integration, you can also inspect the Rockchip devices and driver:
ls -l /dev/dri/
ls -l /dev/dma_heap/
sudo cat /sys/kernel/debug/rknpu/version
Device names and availability depend on the system image. An error from these commands should be investigated before enabling hardware-accelerated detection; it does not necessarily prevent the basic Frigate web interface from starting.
Step 2: Create the Project Directory
Create separate directories for the configuration and media storage:
mkdir -p ~/frigate-rk/config ~/frigate-rk/storage
cd ~/frigate-rk
The project layout is:
frigate-rk/
├── docker-compose.yml
├── config/
└── storage/
The config directory stores Frigate's configuration and database. The storage directory is reserved for recordings and snapshots. For long-term recording, consider using an SSD or NVMe drive rather than relying on eMMC storage.
Step 3: Configure Docker Compose
Create a Compose file:
nano docker-compose.ymlAdd the following initial bring-up configuration:
services:
  frigate:
    container_name: frigate
    image: ghcr.io/blakeblackshear/frigate:stable-rk
    restart: unless-stopped
    stop_grace_period: 30s

    # For initial Rockchip hardware compatibility testing only.
    privileged: true

    # Example allocation for initial testing; recalculate when adding cameras.
    shm_size: "256mb"

    volumes:
      - /etc/localtime:/etc/localtime:ro
      - ./config:/config
      - ./storage:/media/frigate
      - type: tmpfs
        target: /tmp/cache
        tmpfs:
          size: 1000000000

    ports:
      - "8971:8971"
Notes:
- Use the Rockchip-specific image tag
stable-rkrather than the genericstableimage. privileged: trueis temporary for initial hardware bring-up. Replace it with the minimum required device mappings and permissions before production deployment.- The
256mbshared-memory value is an example, not a benchmark result. Before adding cameras, calculate the correct value using Frigate's SHM calculator, based on the detect-stream resolution and camera count. - Only port
8971is published for this initial web interface test. RTSP/WebRTC ports can be added later if needed. Keep the device on a trusted local network.
Check the Compose file for syntax errors:
sudo docker compose config -qNo output indicates that the Compose file passed validation.
Step 4: Download and Start Frigate
From the project directory, run:
cd ~/frigate-rk
sudo docker compose pull
sudo docker compose up -d
Important — first-time administrator password: Frigate automatically creates the
adminaccount with a random password on first startup. The initial password is printed in startup logs when the account is created; there is no universal default password, and an ordinary container restart does not generate that initial password again. Retrieve and save it securely immediately after the first start, before moving on to the web interface.
Inspect the logs as soon as the container starts:
sudo docker logs frigate 2>&1 | grep -iE 'password|admin'If a matching entry appears, record the generated password privately. If the filter returns no result, inspect the original startup log rather than assuming a default password:
sudo docker logs frigate 2>&1 | lessIf the initial password was not retained in accessible logs, see Frigate's official authentication and recovery documentation. Do not delete the config folder or database just to repeat installation.
Verify the container state:
sudo docker ps --filter name=frigateThe Frigate container should show a running status.
Step 5: Open the Frigate Web Interface
Find the RK3576's local IP address:
hostname -IOpen the following URL from a computer on the same network:
https://<RK3576_IP>:8971Frigate uses a self-signed HTTPS certificate by default. On a device whose identity you have verified on your own LAN, the browser may warn that the certificate is not trusted. This warning concerns the certificate trust chain, rather than Docker installation. A properly trusted certificate should be configured for production or remotely accessible deployments.
Log in with the administrator account
Enter:
- Username:
admin - Password: the randomly generated password saved from the first startup logs
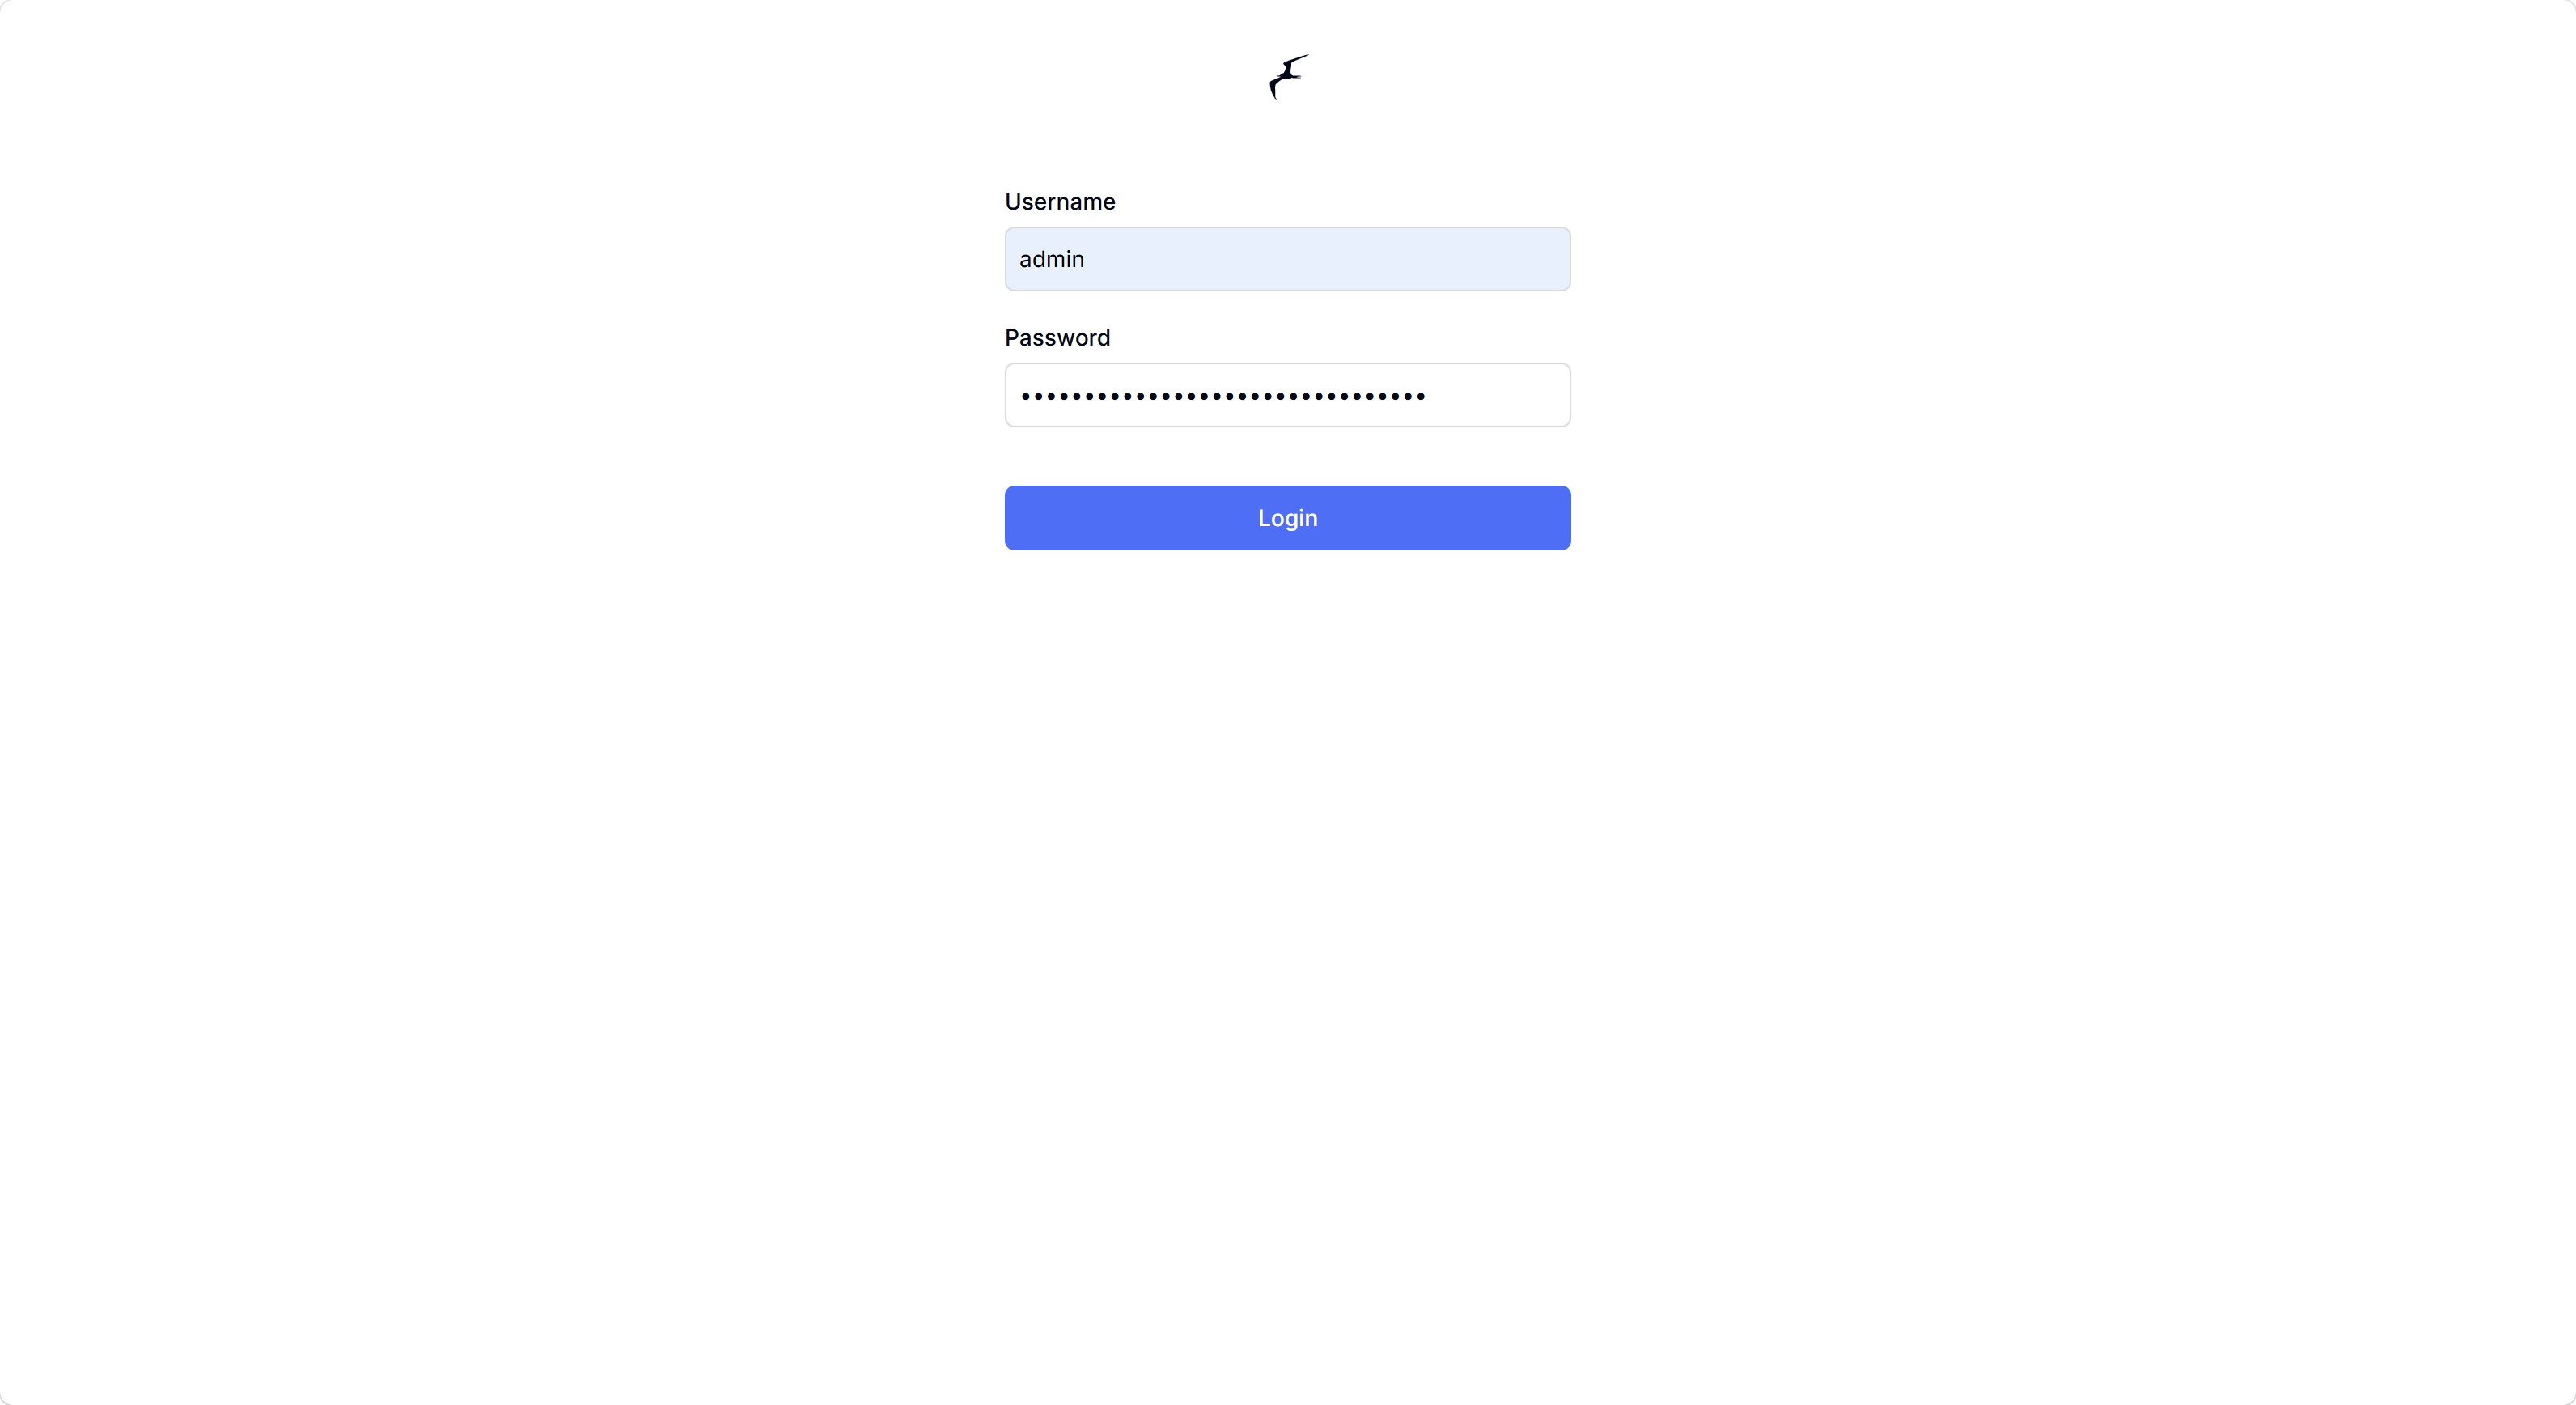
After signing in, change the administrator password under Settings → Users.
Step 6: Verify the Frigate Dashboard
When no camera has been added, the dashboard displays No Cameras Configured and an Add Camera button. This is expected at this stage.
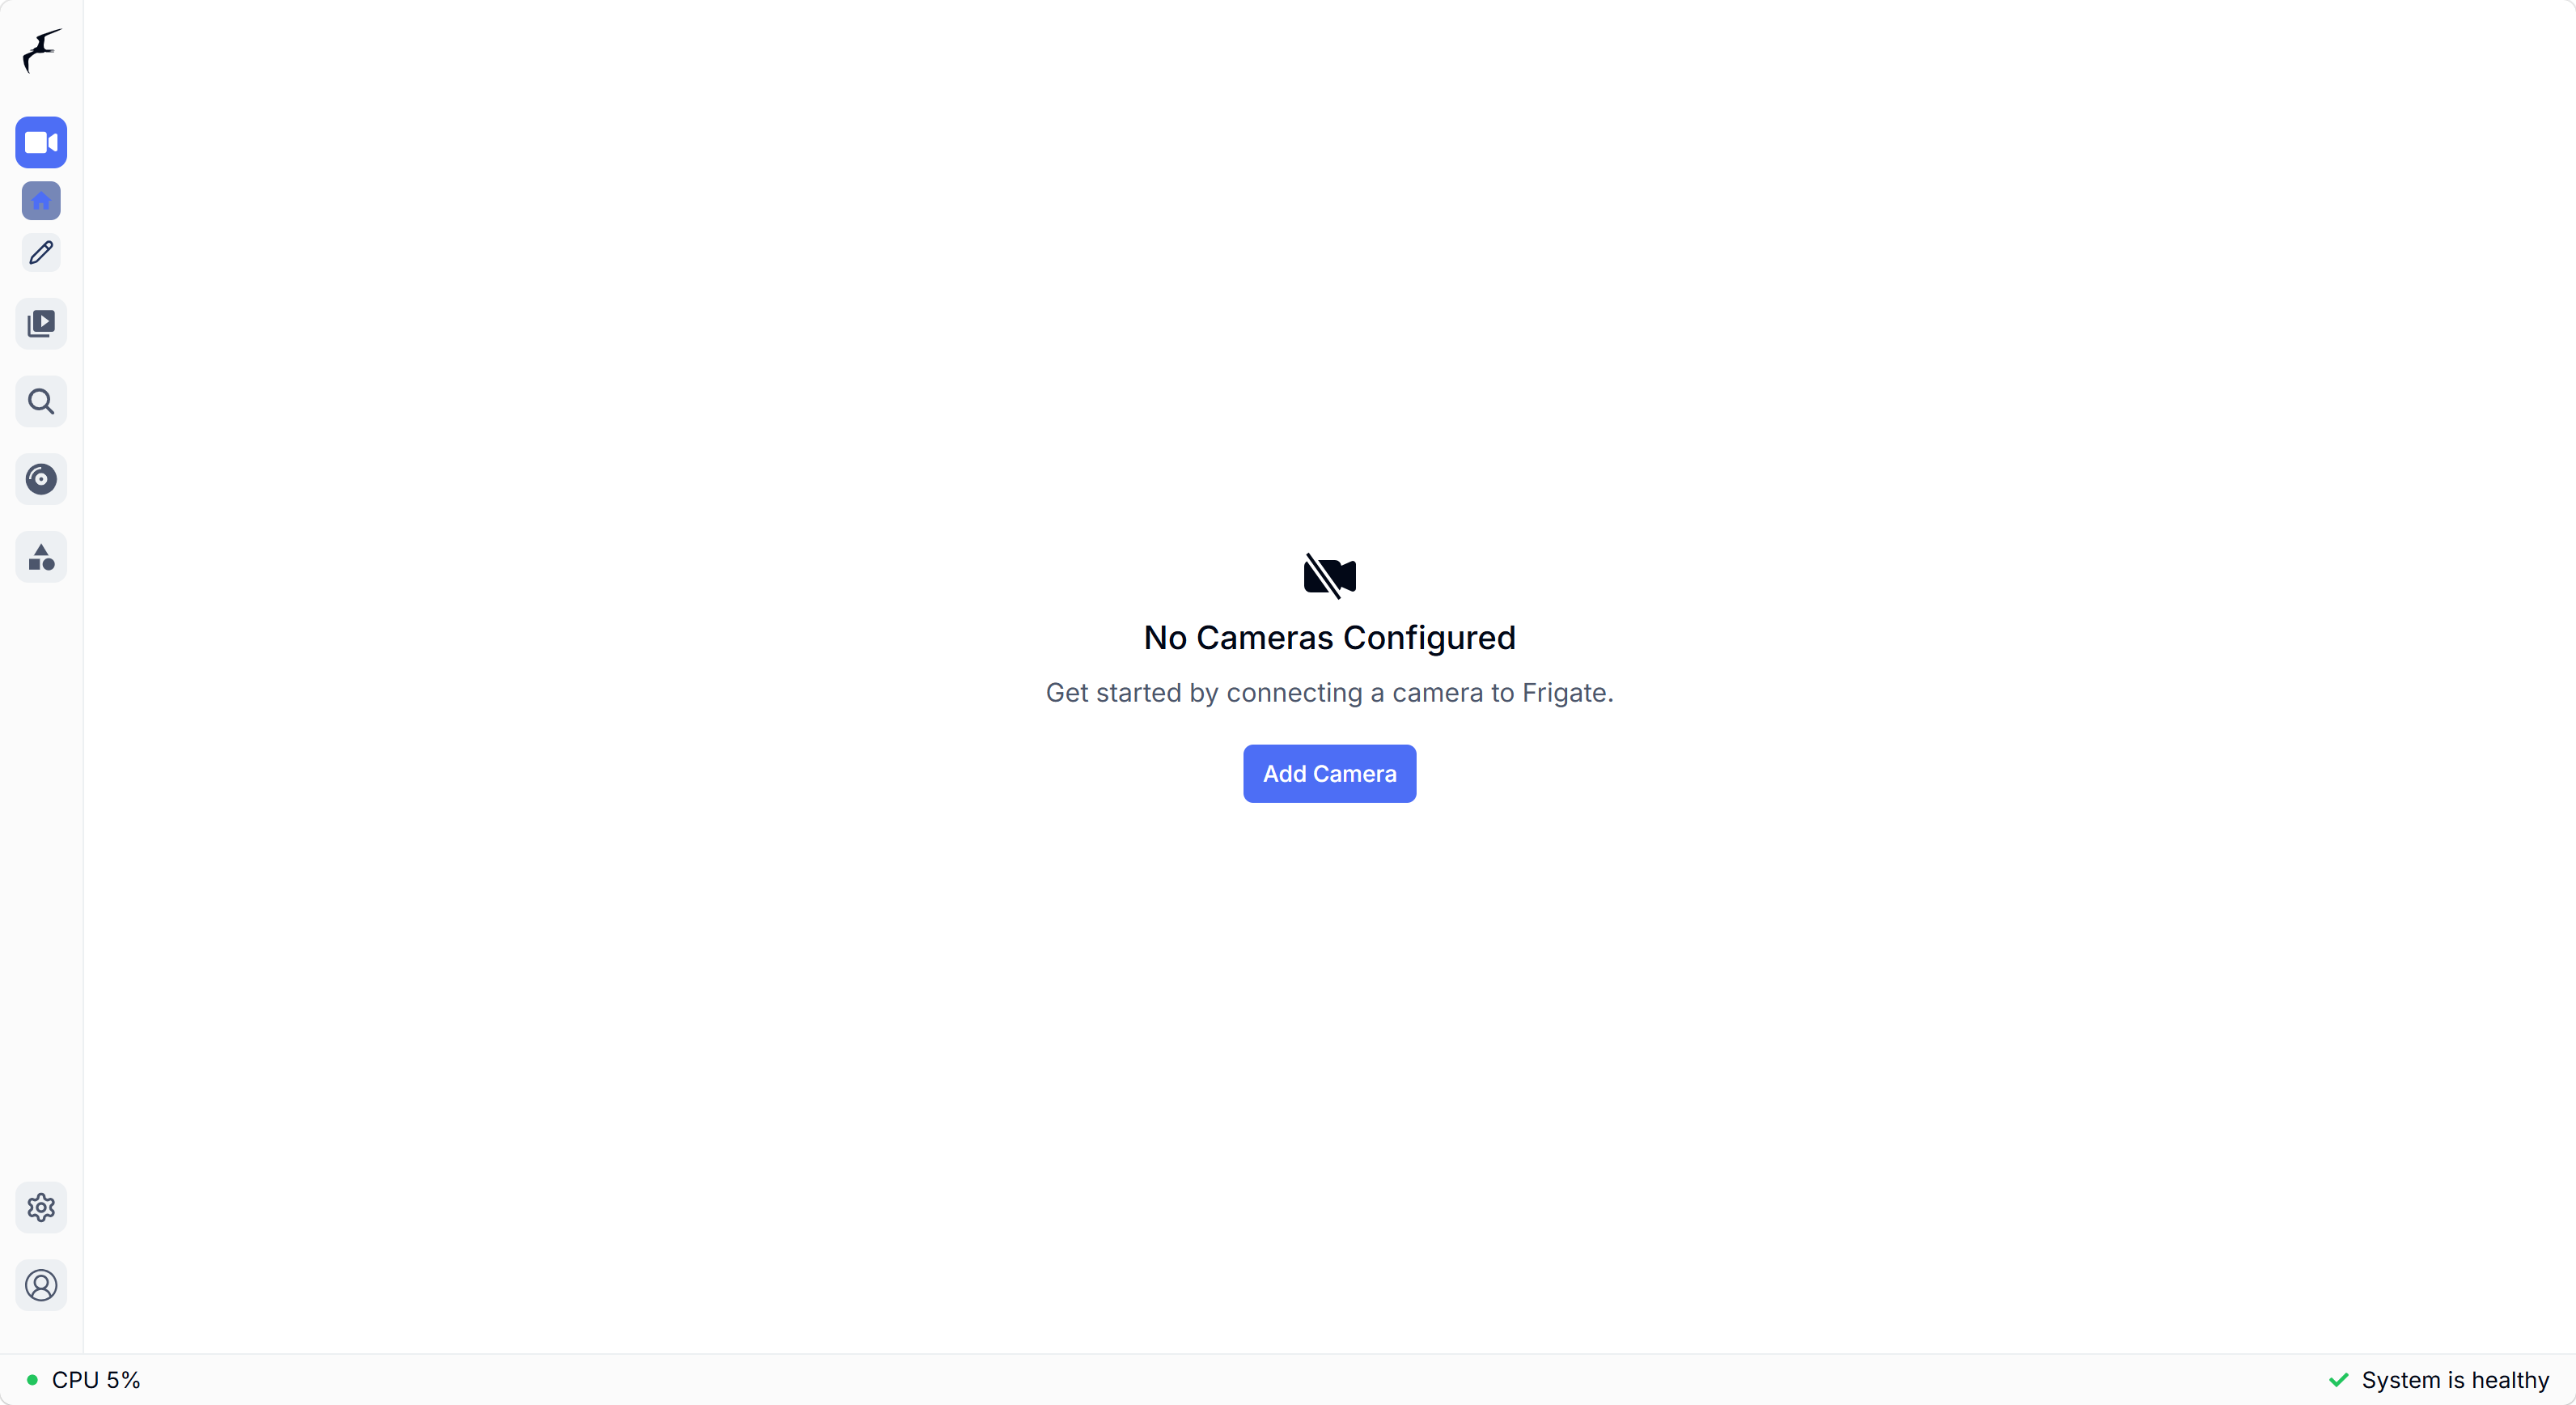
This screen confirms access to the web interface and a responding Frigate container. Camera input, recording, RKNN detection, and RKMPP decoding require separate configuration and verification.