Appendix AI NVR on reComputer
Last updated:
Why This Appendix Exists
The main 10-section course follows a learning spine: foundations, methods, tasks, training, deployment, Jetson system concepts, and a frontier outlook. This appendix is the capstone project that comes after all of it: a complete edge vision application that you can build end to end.
The project is an AI NVR (AI Network Video Recorder). A traditional NVR only records video. An AI NVR adds real-time analysis on top: it detects and tracks objects in live streams, triggers events, and keeps recordings that operators can search and review.
This walkthrough is based on Seeed's wiki tutorial AI NVR with reServer Jetson. The wiki was written and verified on JetPack 6.0 with a reServer Industrial J4012. If you use the newer JetPack 6.2.x baseline from this course, the workflow is the same, although service versions and container images may differ.
What You Will Build
By the end of this appendix, you will have a working local AI NVR that:
- onboards one or more IP cameras through a web UI
- runs DeepStream detection and tracking on every stream
- overlays detection results on the live video
- records footage with configurable storage
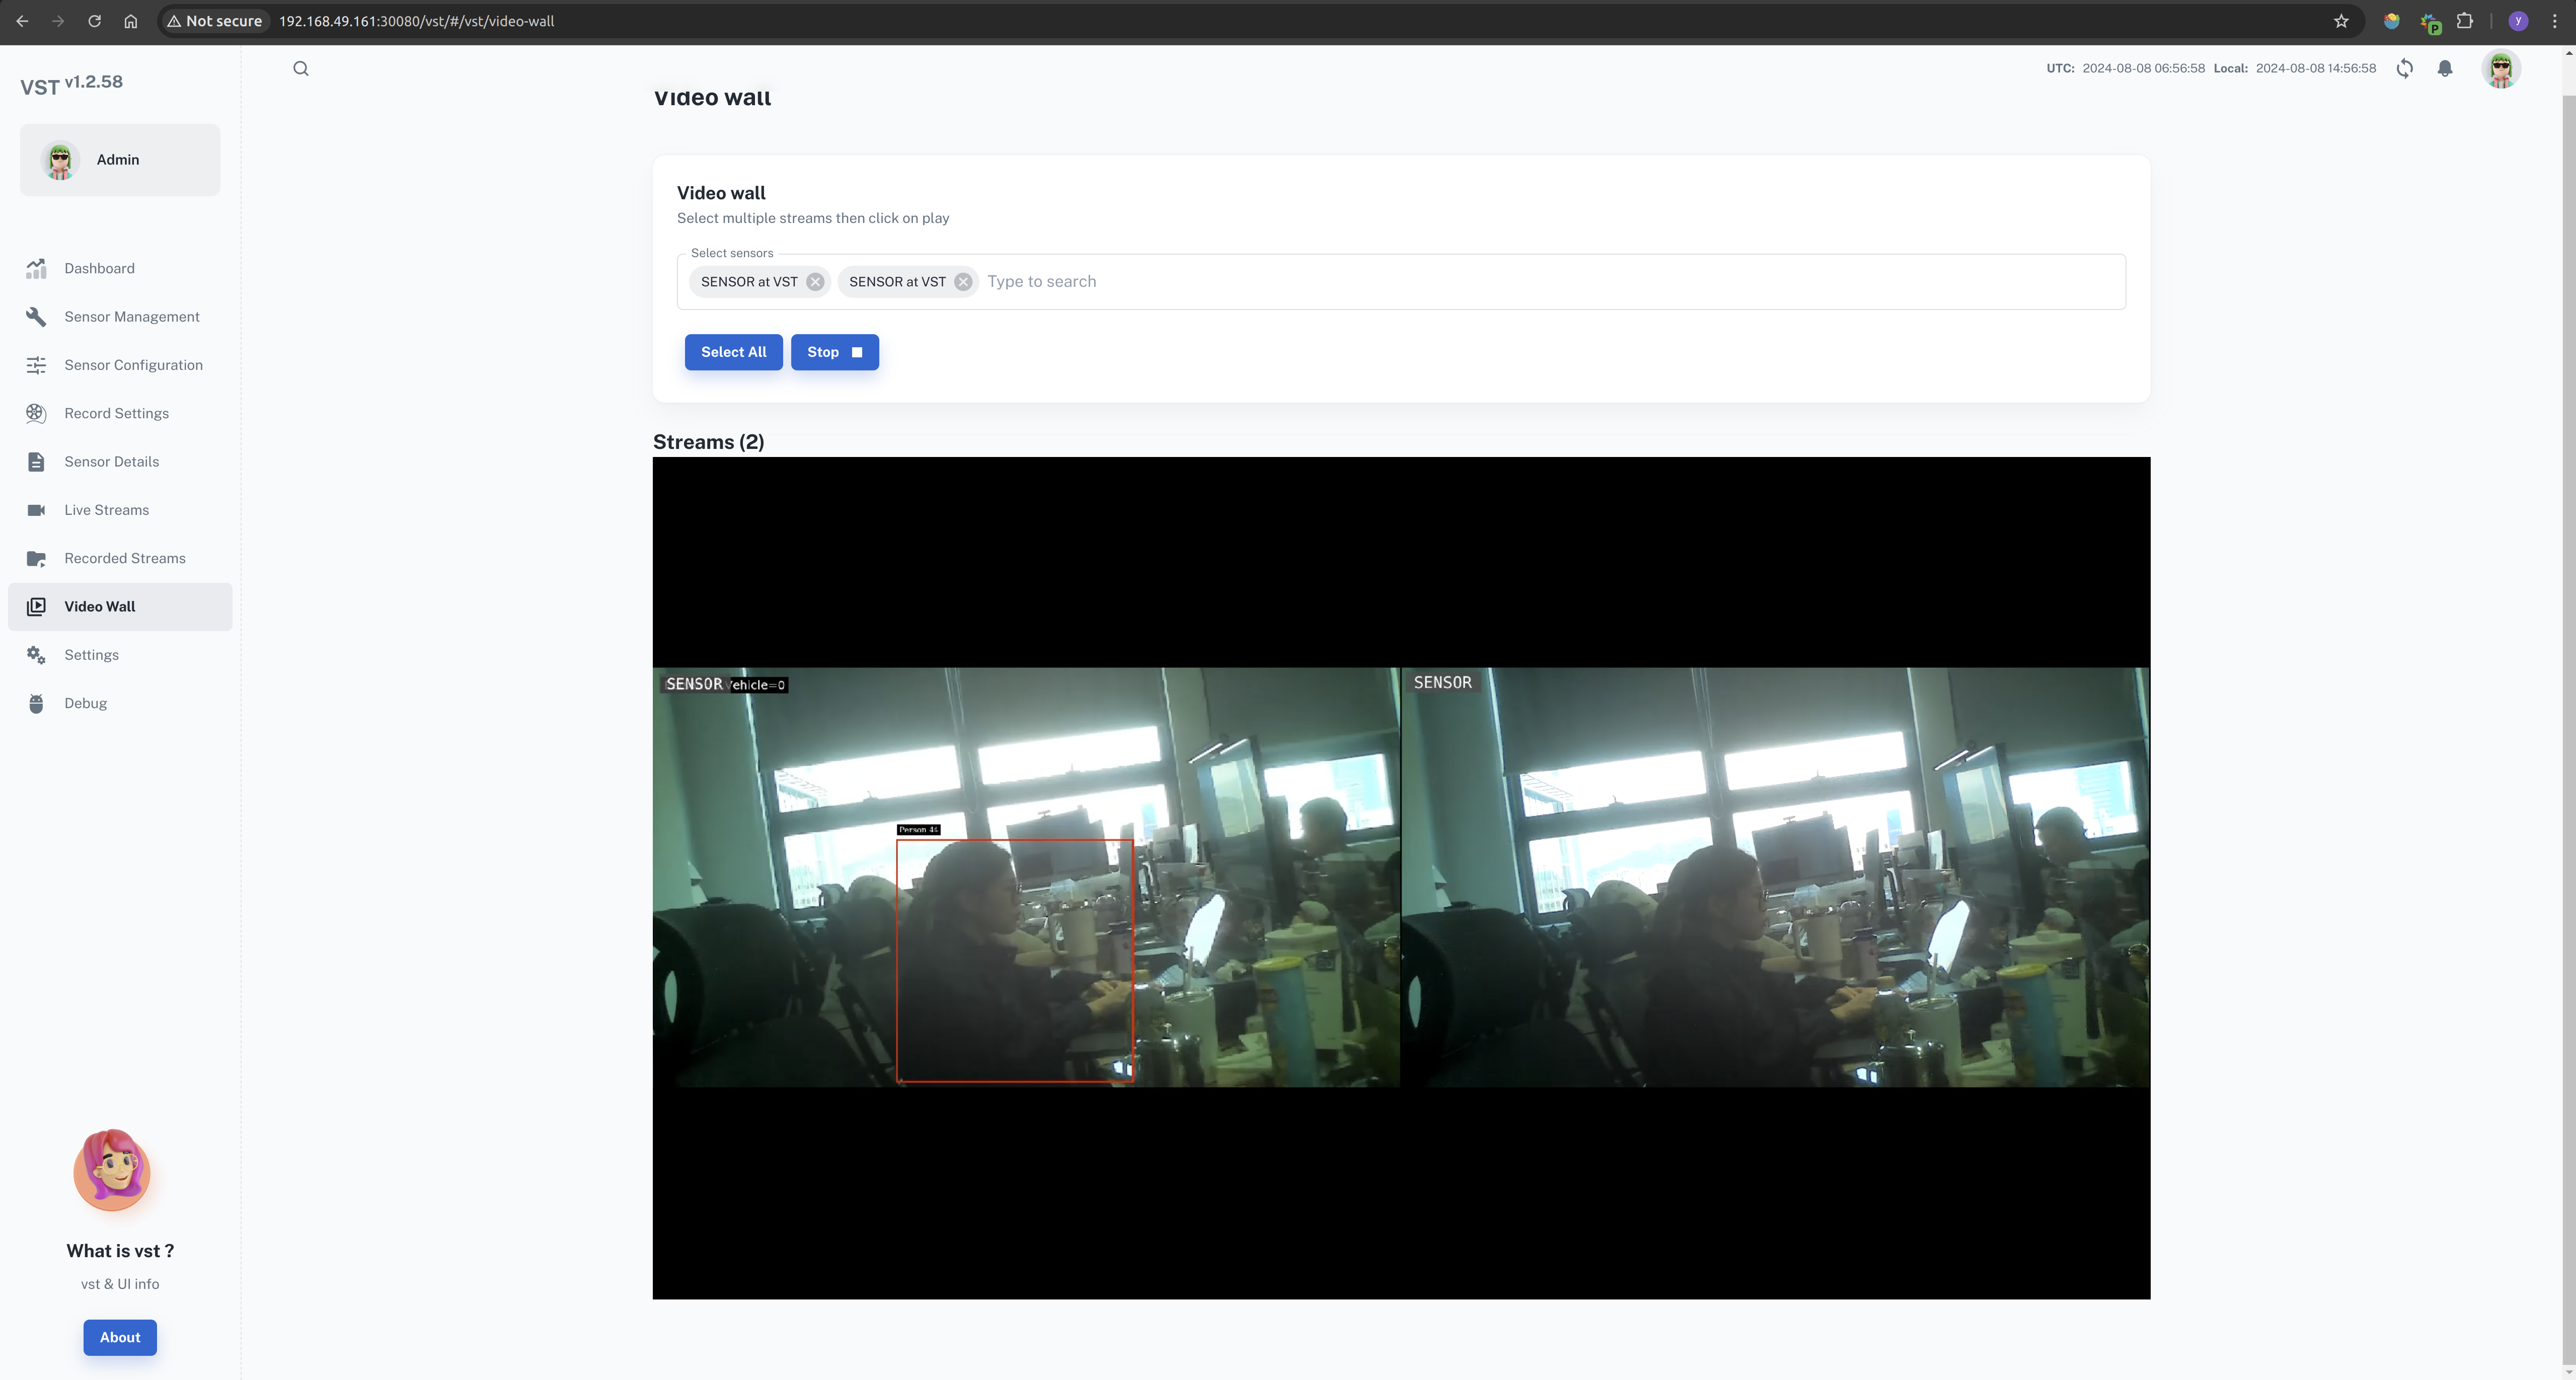
- shows everything on a video wall in the browser
Prerequisites
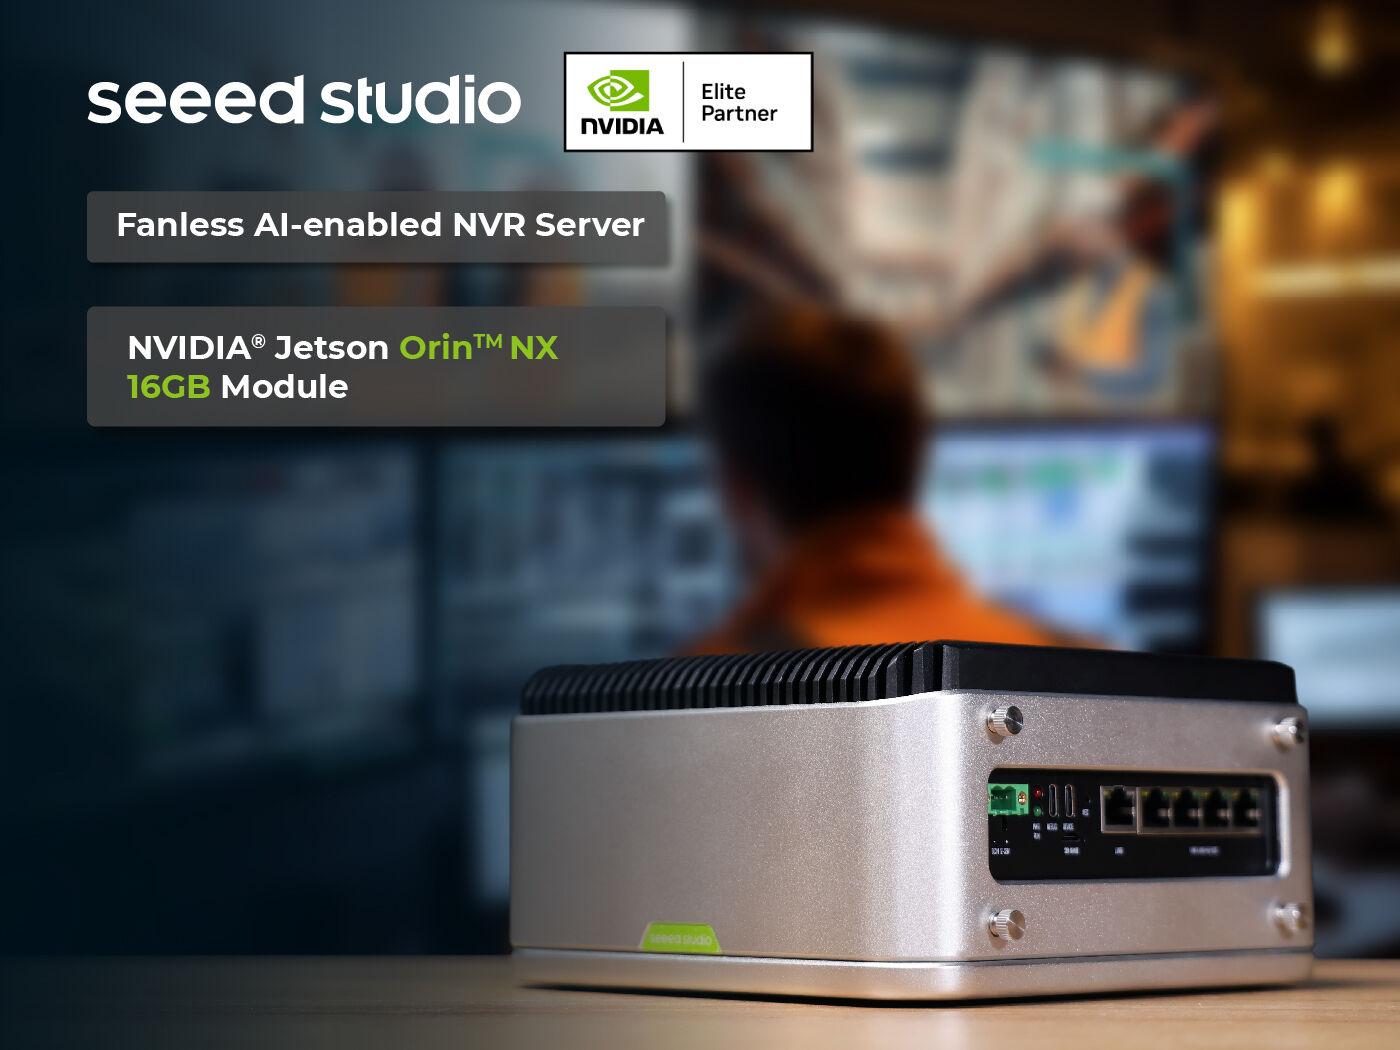
- A Jetson Orin device. The wiki uses the reServer Industrial J4012 (Orin NX 16GB), but any Jetson Orin module works.
- JetPack 6.x flashed on the device. For reServer, follow reServer Industrial Getting Started.
- At least one IP camera on the same network (RTSP accessible). If you do not have a camera yet, you can simulate streams first with
sim_rtsp_stream.pyfrom section 4.9. - Network access from your PC to the Jetson device, plus a browser.
Architecture Overview
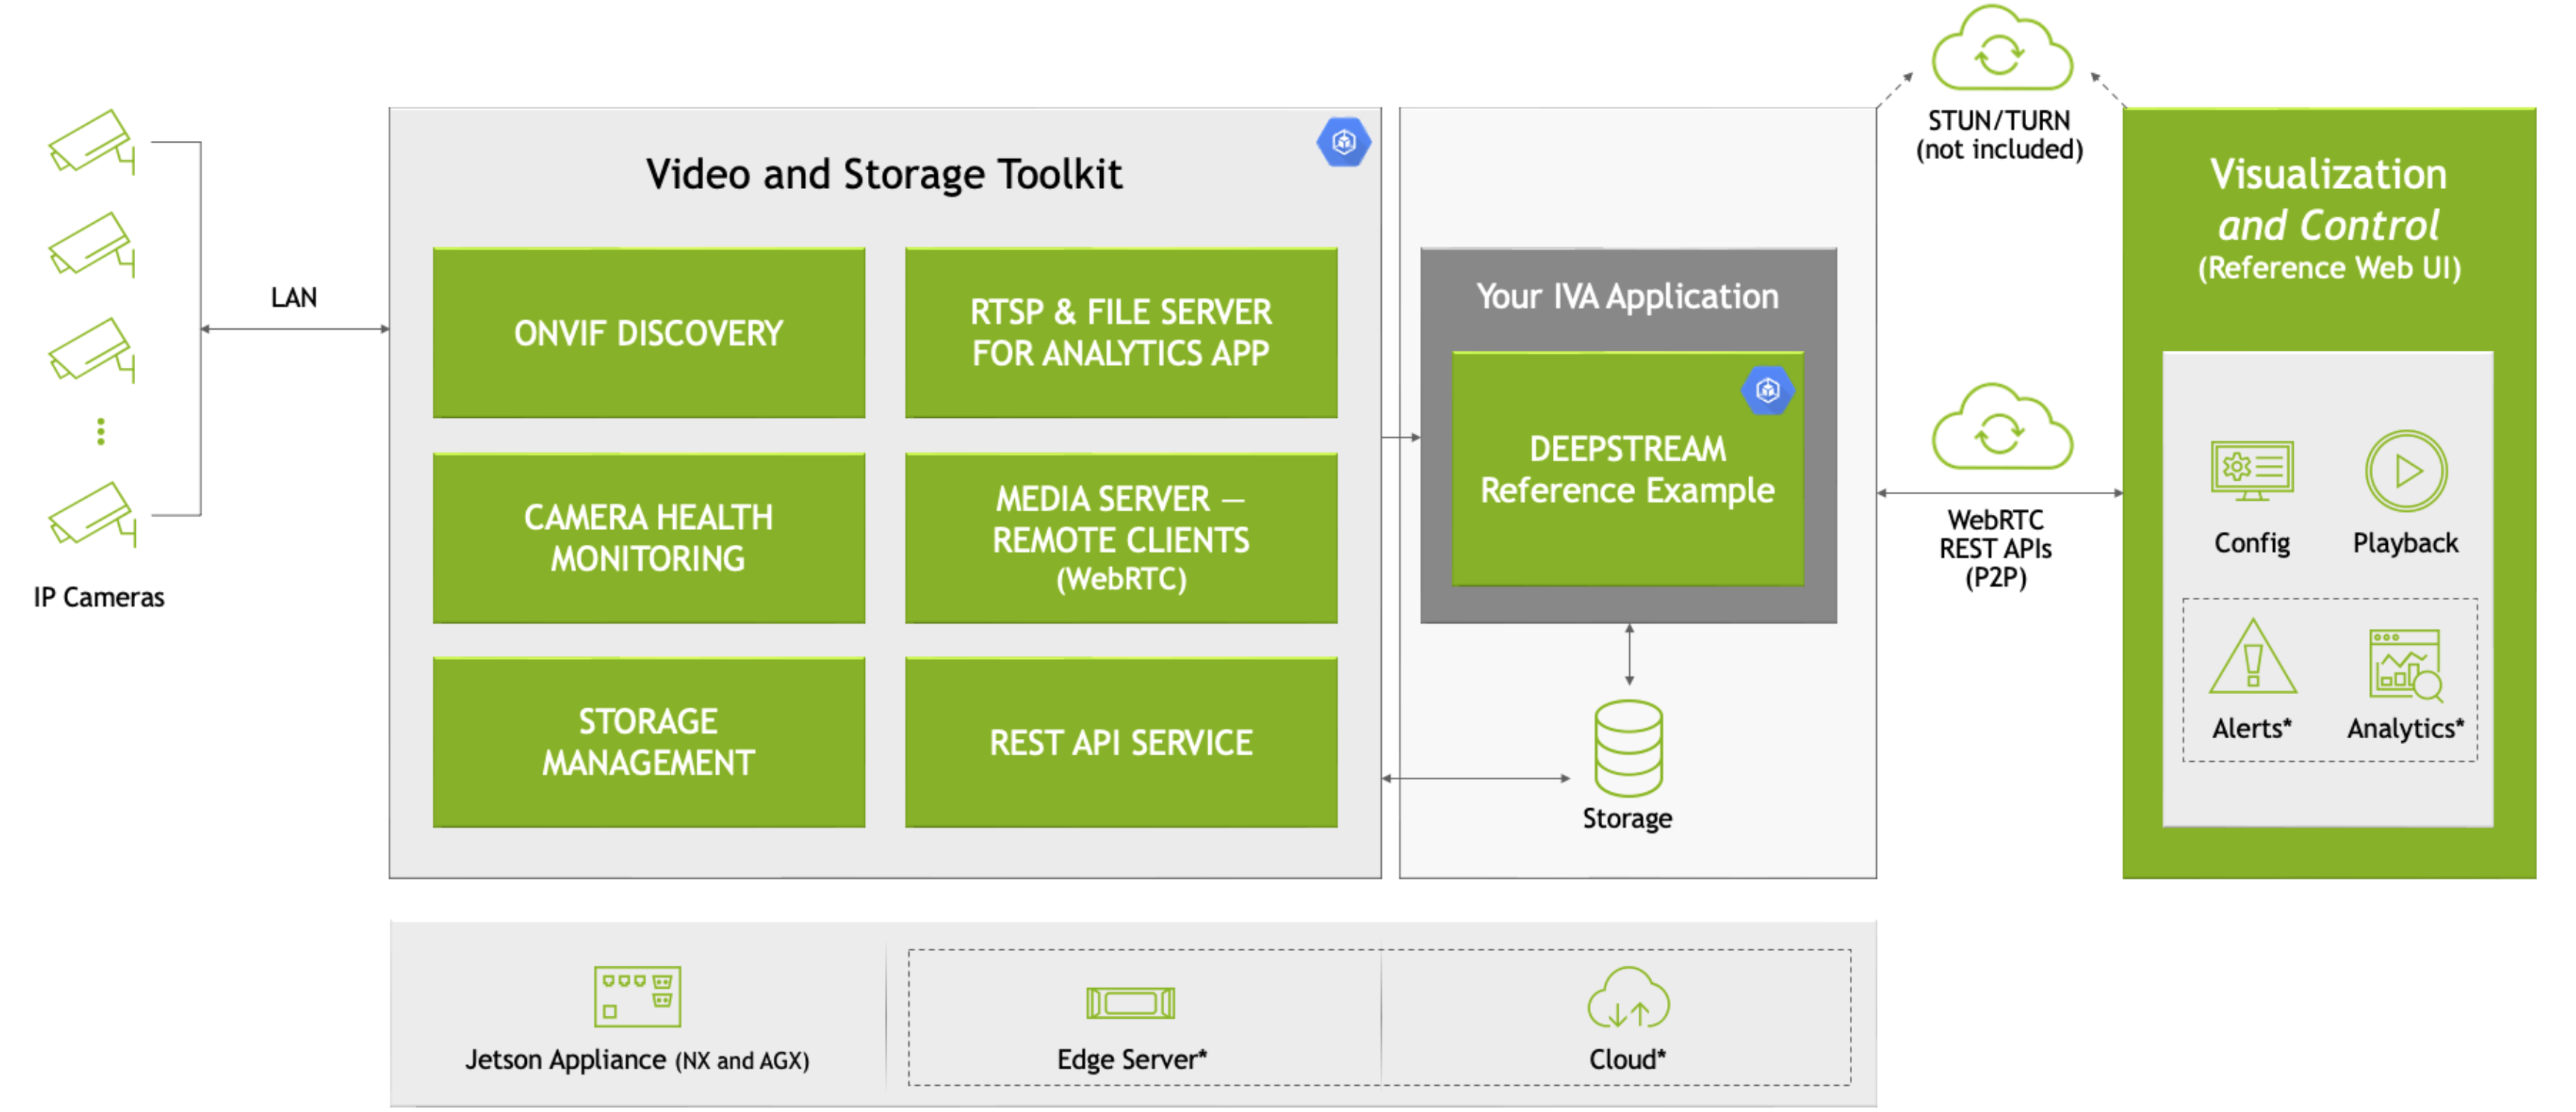
The project is assembled from Jetson Platform Services (JPS) microservices instead of being written from scratch:
VST(Video Storage Toolkit) — camera onboarding, recording, storage management, and the web UIDeepStreamperception — object detection (PeopleNet) and multi-object trackingRedis— metadata storage for eventsIngress(nginx) — routes browser traffic to the right service
Each piece maps back to an earlier section of this course:
| Component | Related course section |
|---|---|
| Camera streams as video input | 4.2 How Computers Represent Images |
| Detection and tracking as vision tasks | 4.5 Deep Learning Computer Vision Tasks |
| Pre-trained detection model | 4.6 Train and Deploy Your Own Vision Model |
| TensorRT engine for the target module | 4.7 Model Export and Edge Deployment |
| GStreamer/DeepStream pipeline graph | 4.8 Real-Time Vision Pipeline Frameworks |
| DeepStream and Jetson services | 4.9 DeepStream and Jetson |
Step 1. Install Jetson Platform Services
Connect the Jetson device to the network, mouse, keyboard, and monitor (or reach it over SSH), then install the JPS package:
sudo apt update
sudo apt install nvidia-jetson-services
After installation, the microservices live under /opt/nvidia/jetson/services/:

Step 2. Add Ingress Routing for the AI NVR UI
Create the file /opt/nvidia/jetson/services/ingress/config/ai-nvr-nginx.conf with the following content, so the ingress routes the AI NVR web frontend:
location /emdx/ {
  rewrite ^/emdx/?(.*)$ /$1 break;
  proxy_set_header Host $host;
  proxy_set_header X-Real-IP $remote_addr;
  proxy_set_header X-Forwarded-For $proxy_add_x_forwarded_for;
  access_log /var/log/nginx/access.log timed_combined;
  proxy_pass http://emdx_api;
}

location /ws-emdx/ {
  rewrite ^/ws-emdx/?(.*)$ /$1 break;
  proxy_set_header Host $host;
  proxy_pass http://emdx_websocket;
  proxy_http_version 1.1;
  proxy_set_header Upgrade $http_upgrade;
  proxy_set_header Connection "upgrade";
}
Step 3. Choose the Recording Storage Location (Optional)
By default VST stores recordings under its own directory. To store them elsewhere, edit /opt/nvidia/jetson/services/vst/config/vst_storage.json:
{
    "data_path": "/home/seeed/VST/storage/data/",
    "video_path": "/home/seeed/VST/storage/video/",
    "total_video_storage_size_MB": 10000
}
Adjust the paths and the storage quota to match your disk layout.
Step 4. Start the Core Services
VST depends on the other services, so start them together:
sudo systemctl start jetson-redis
sudo systemctl start jetson-ingress
sudo systemctl start jetson-vst
Starting these units pulls up the corresponding Docker containers:

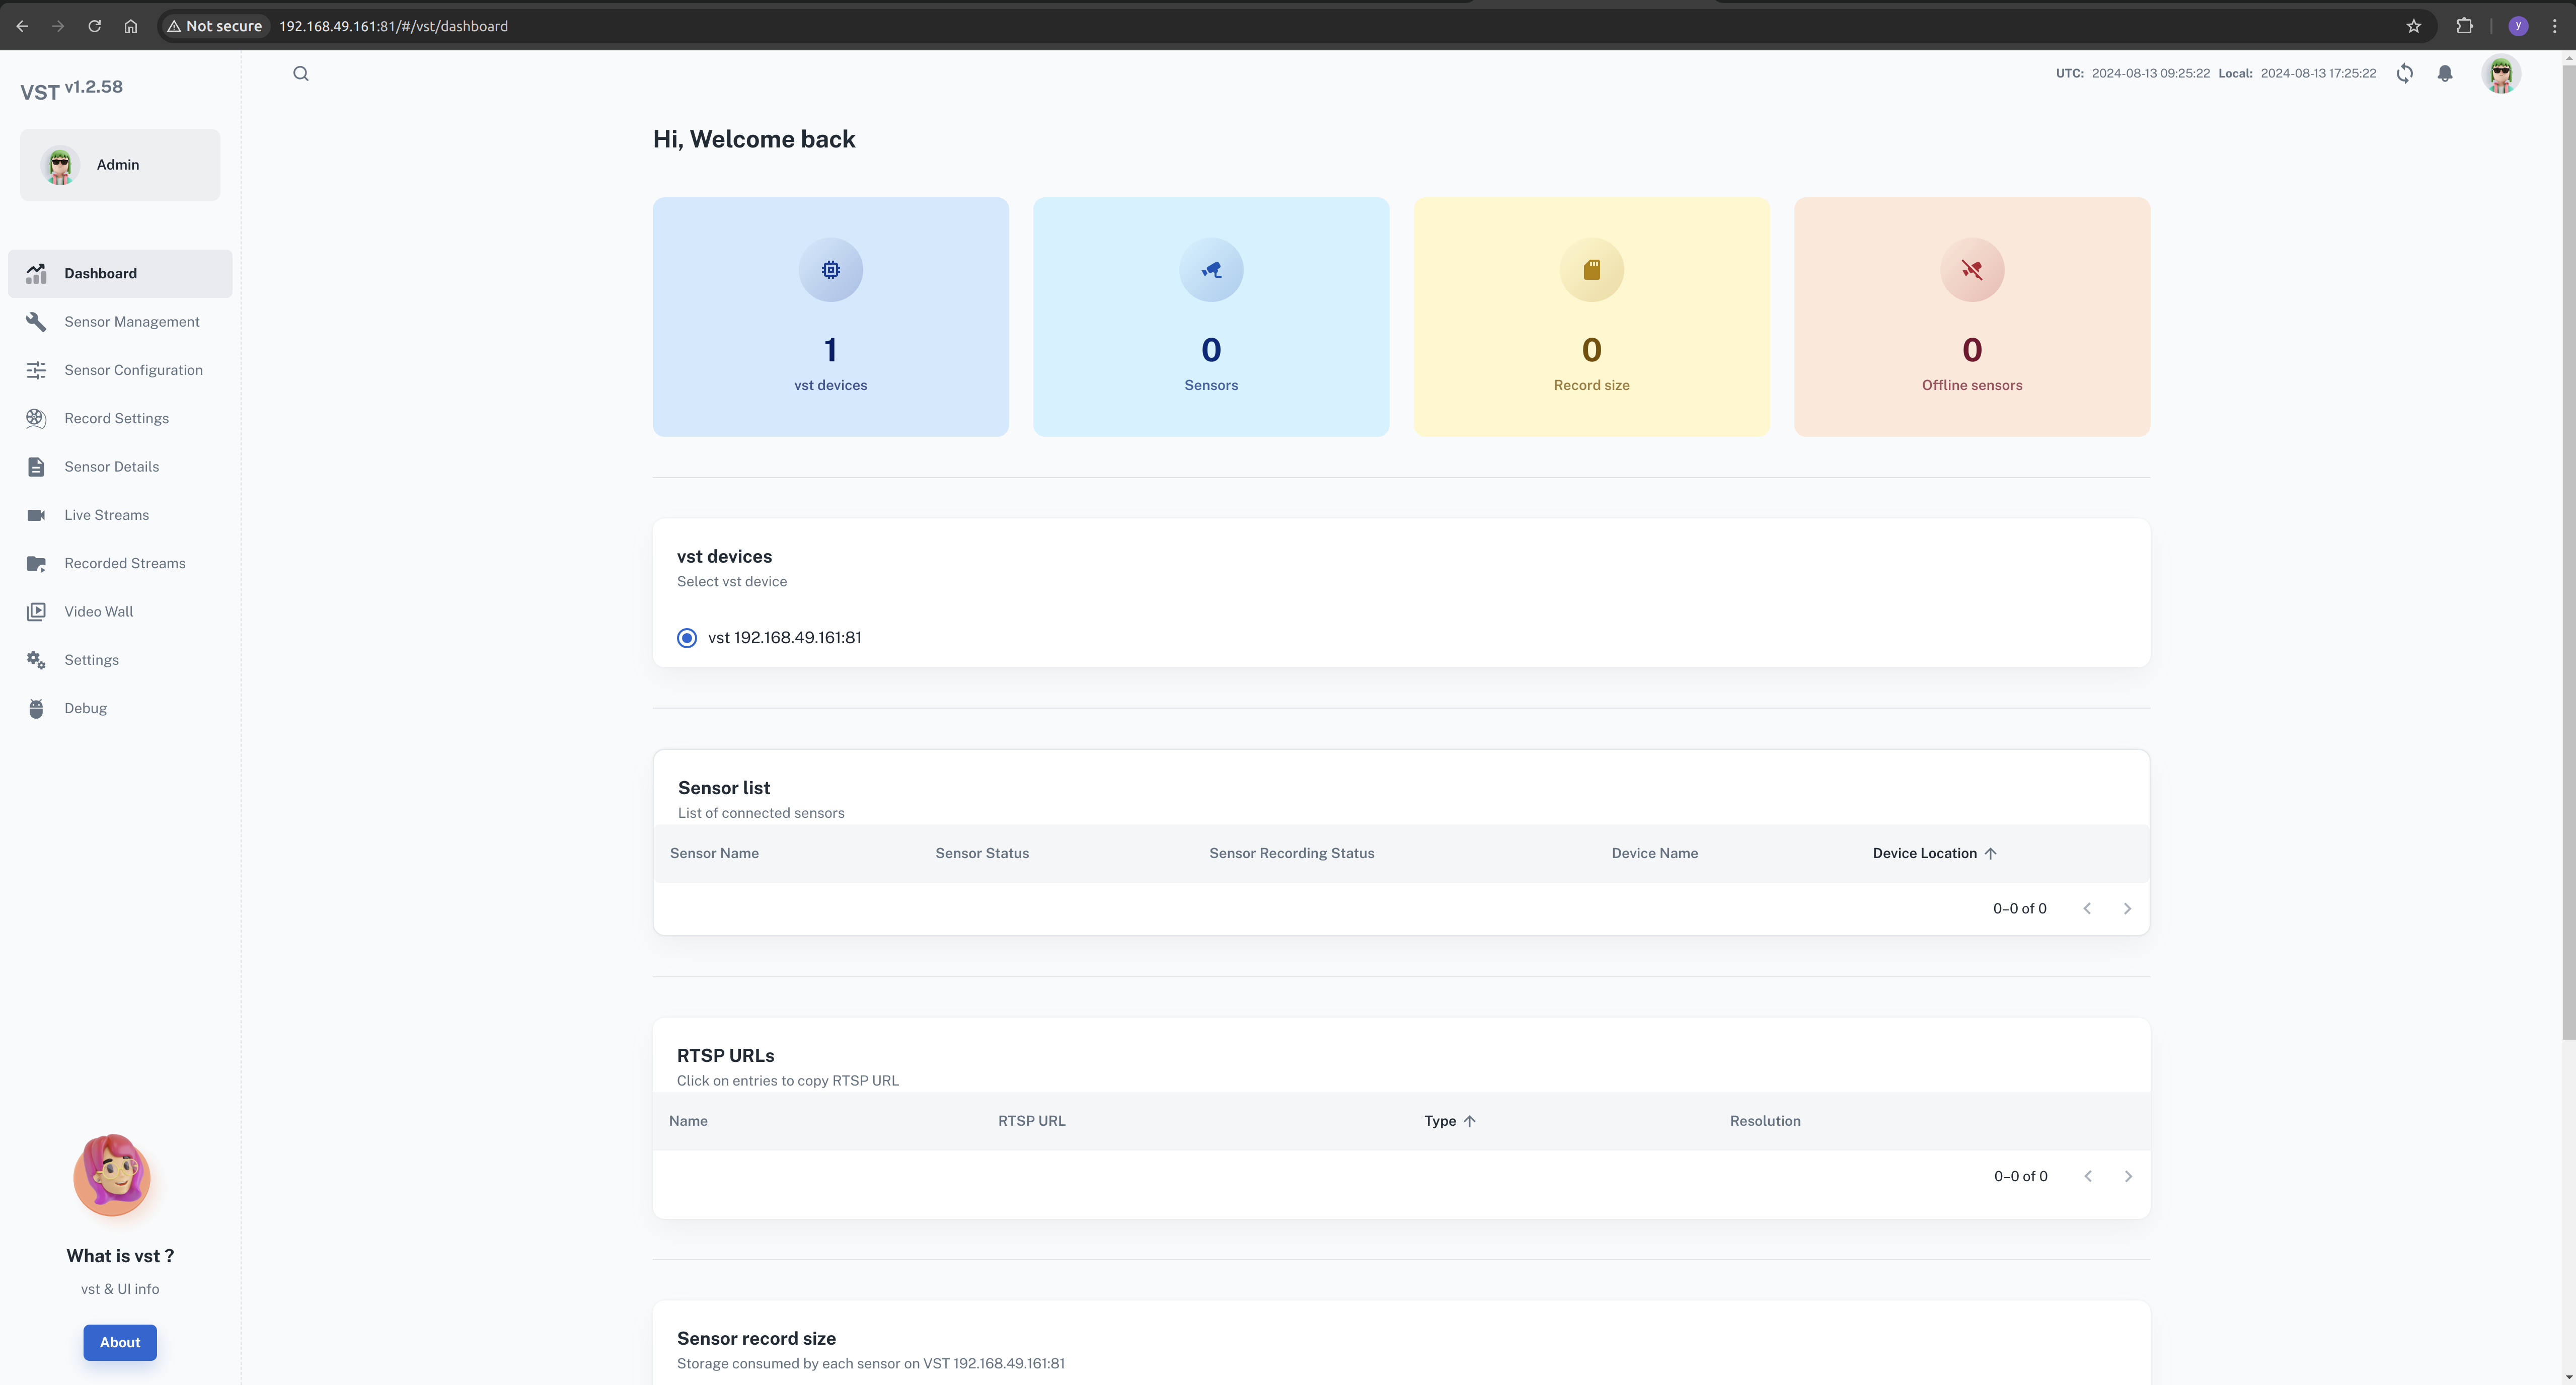
Open http://<ip-of-jetson>:81/ in a browser on the local network to check that the VST web UI is up:
Step 5. Get the AI NVR Reference Workflow
NVIDIA publishes the AI NVR reference workflow on NGC. Open the JPS reference workflow download page, choose Download and then direct browser download:
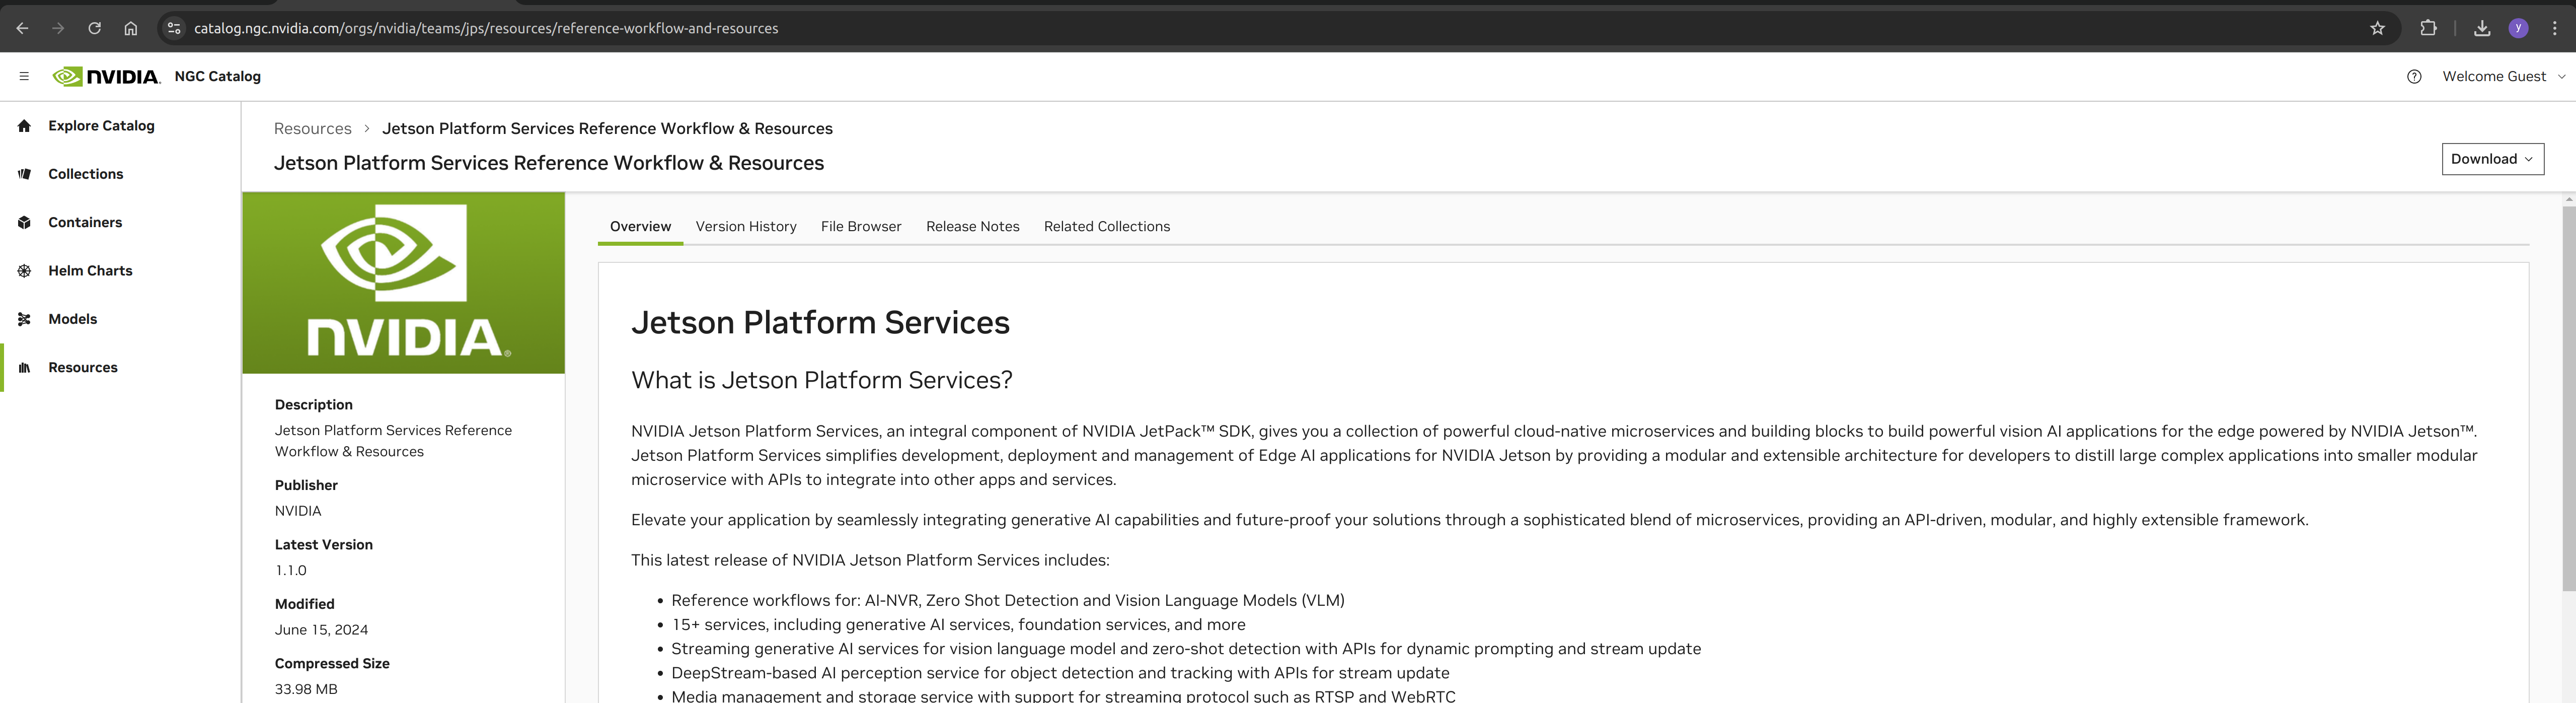
Then unpack it on the Jetson device:
cd <path-of-download>
unzip files.zip
cd files
tar -xvf ai_nvr-1.1.0.tar.gz
cd ai_nvr
Step 6. Configure DeepStream Output
To see inference results in real time, the DeepStream pipeline should output an RTSP stream. In <path-of-ai_nvr>/config/deepstream/pn26/service-maker/, edit the config file that matches your module — for an Orin NX 16GB that is ds-config-0_nx16.yaml — and make sure the pipeline ends with an RTSP sink on port 8555. The full config is included in the wiki tutorial.
Also edit the compose file that matches your module (for Orin NX 16GB: compose_nx16.yaml) and add the following line under the SDR service, so the DeepStream containers are not picked up as cameras:
WDM_WL_NAME_IGNORE_REGEX: ".*deepstream.*"Step 7. Launch the AI NVR Application
Pick the compose file for your module and start the stack:
cd <path-of-download>/files/ai_nvr

# Orin AGX:
# sudo docker compose -f compose_agx.yaml up -d --force-recreate

# Orin NX 16GB:
sudo docker compose -f compose_nx16.yaml up -d --force-recreate

# Orin NX 8GB:
# sudo docker compose -f compose_nx8.yaml up -d --force-recreate

# Orin Nano:
# sudo docker compose -f compose_nano.yaml up -d --force-recreate
The application creates the remaining containers, including DeepStream:

Step 8. Add Cameras and Open the Video Wall
Open http://<ip-of-jetson>:30080/vst/ in your browser and add your IP camera: Sensor Management → Add device manually → Submit, using the camera's RTSP address.
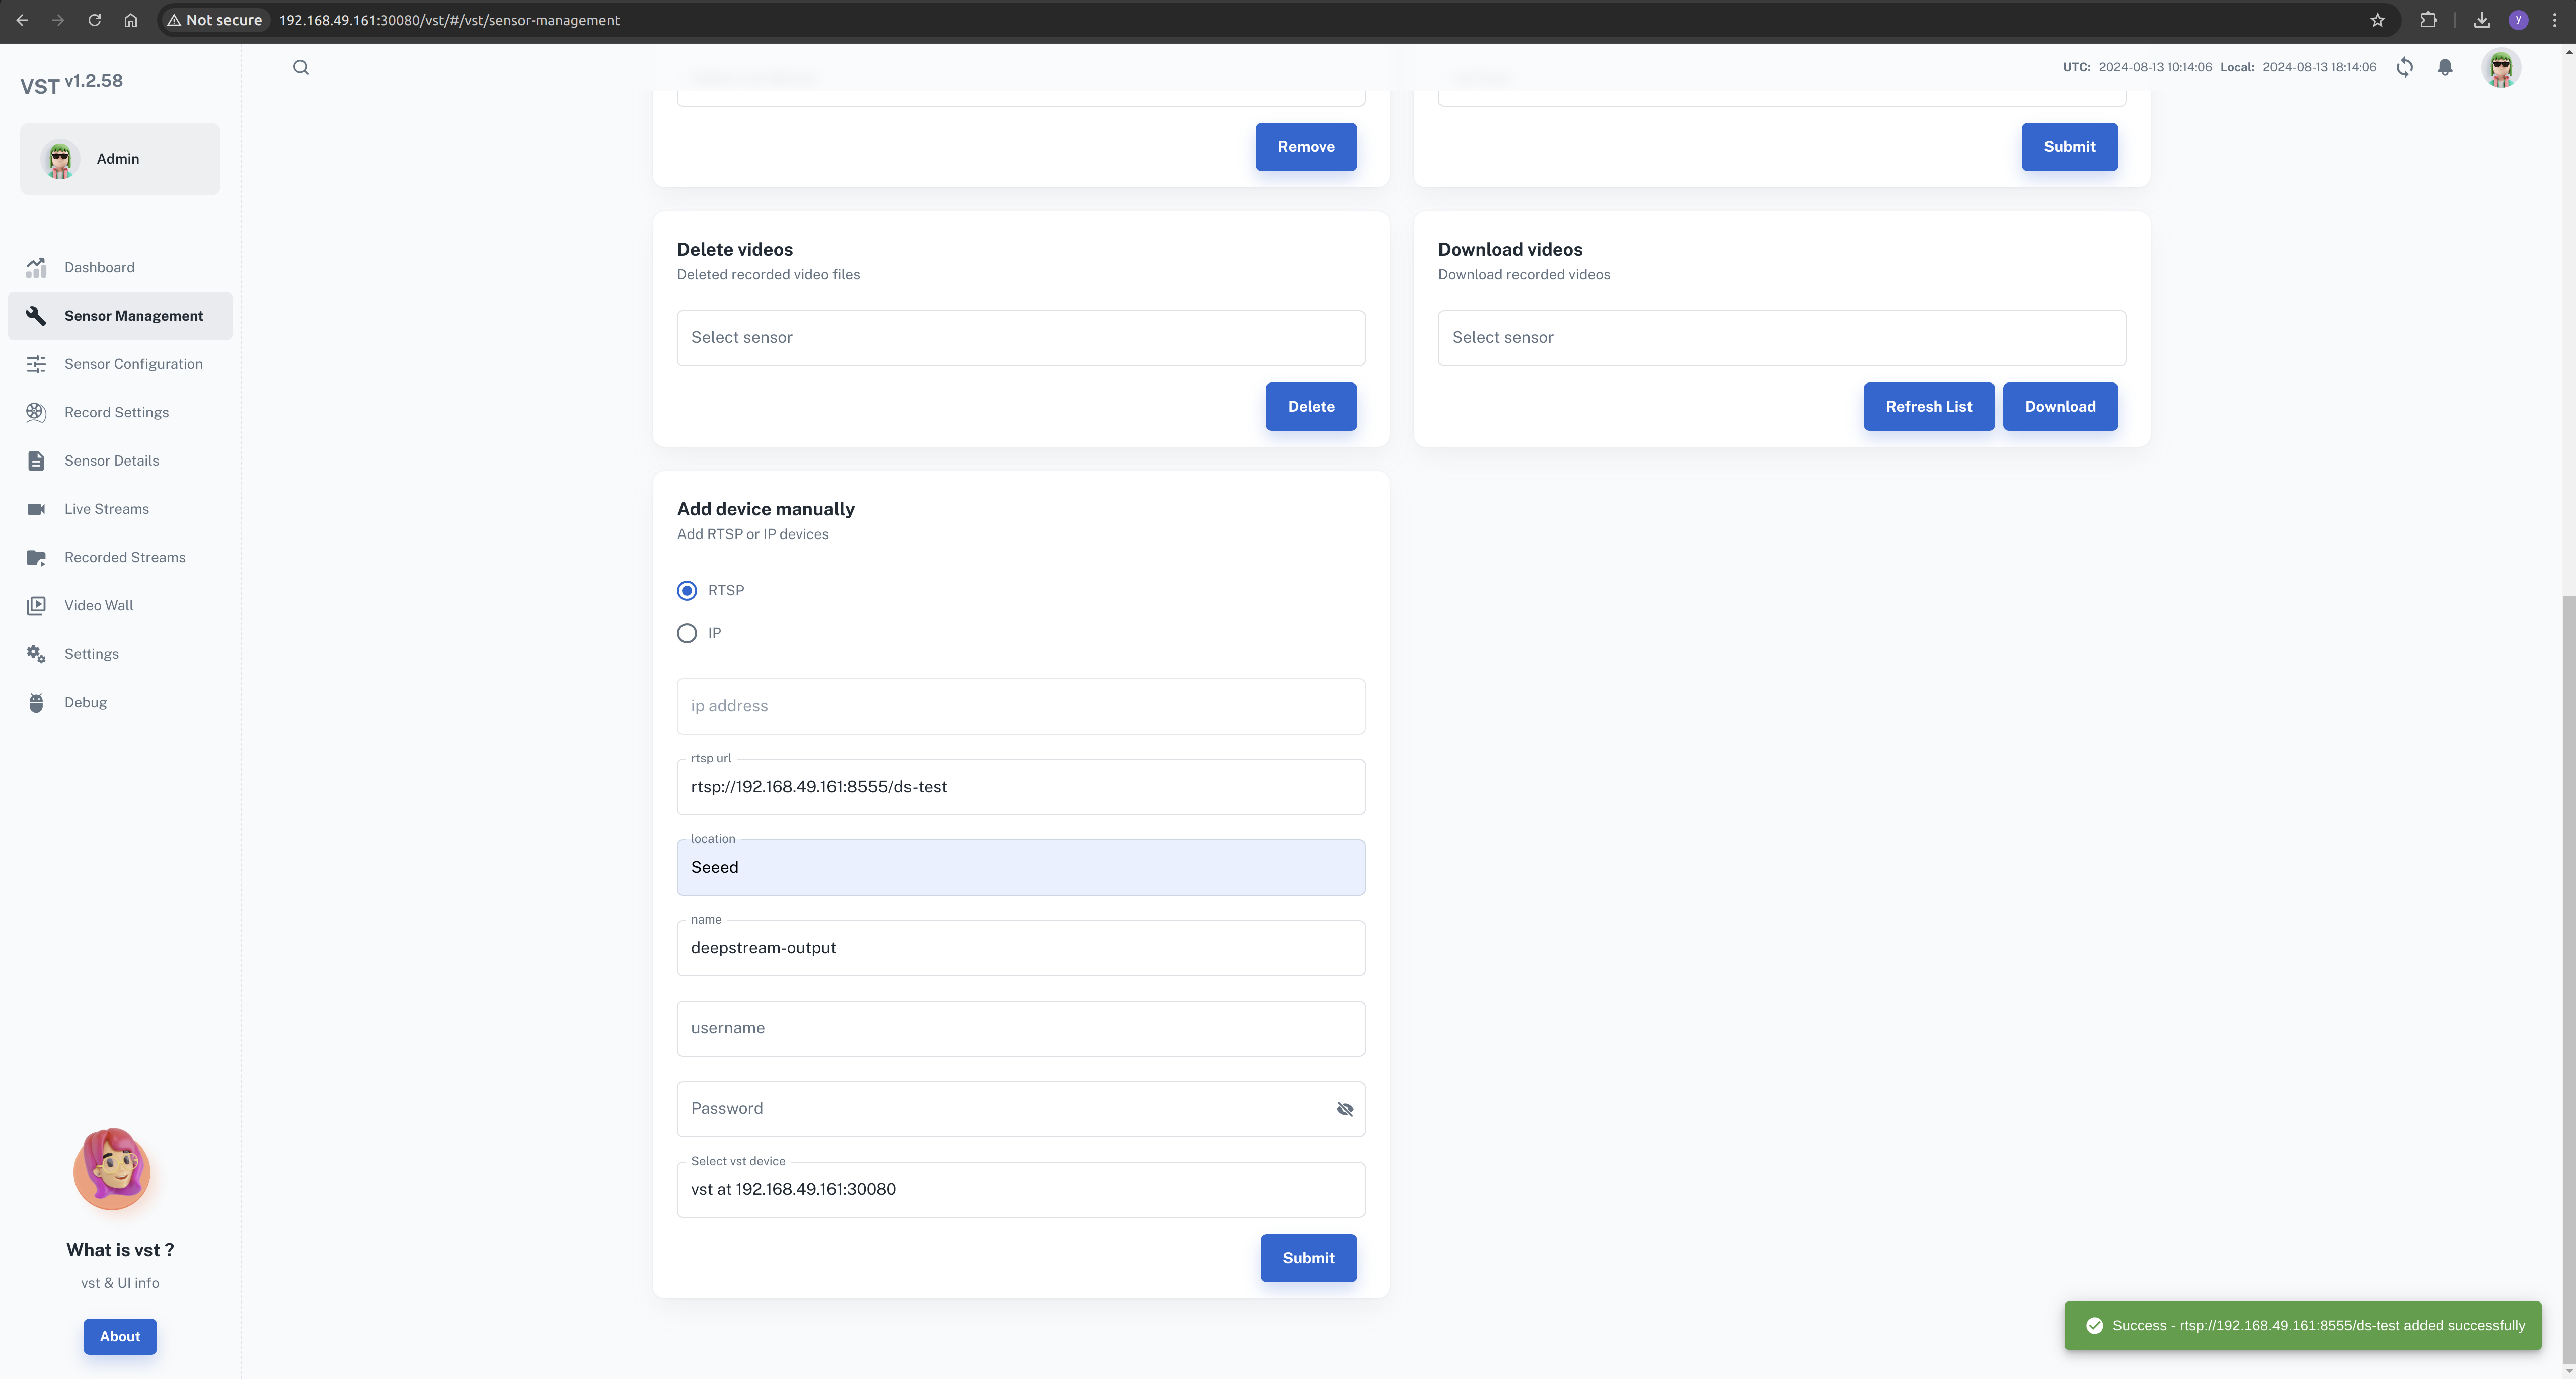
Add the DeepStream output stream as a second source, for example rtsp://<ip-of-jetson>:8555/ds-test. Two details from the wiki matter here:
- The stream address depends on your DeepStream config.
- The camera name of the DeepStream source must contain the word
deepstream, otherwise the overlay will not be applied.
Finally, go to Video Wall, select all sources, and press Start. You should see the original camera feed next to the analyzed stream with detection overlays.
Stopping the Project
Tear down the AI NVR application first, then stop the platform services:
cd <path-of-download>/files/ai_nvr
sudo docker compose -f compose_nx16.yaml down --remove-orphans

sudo systemctl stop jetson-redis
sudo systemctl stop jetson-ingress
sudo systemctl stop jetson-vst
A Lighter Alternative: Build the Pipeline Yourself
If you want to understand every component instead of assembling prebuilt services, section 4.9 includes a smaller DIY version of the same idea: a DeepStream pipeline driven by deepstream-app, fed by simulated RTSP streams (sim_rtsp_stream.py), with an event metadata path through a message broker. The scripts live in the course repository under 4-Computer-Vision/4.9-DeepStream-and-Jetson/code/ai-nvr. It is a good intermediate step if the full reference workflow feels like too much at once.
Going Further
- Swap or retrain the detection model for your own classes, then compare accuracy and throughput against the stock PeopleNet model.
- Add event logic on top of the metadata: line crossing, region intrusion, or dwell-time alerts.
- Combine the pipeline with a VLM for scene-level alerts, as in Seeed's Industrial Vision Monitoring demo.
- Try an open-source alternative such as Frigate on Jetson and compare its architecture with the JPS-based one.
Reflection Questions
- Which parts of this project depend on model quality, and which depend on system design?
- In a real deployment, what would fail first: the model, the stream, the storage, or the operator workflow?
- What does the microservice architecture buy you here, and what does it cost you?
- How would you extend this setup into a production pilot with multiple Jetson devices?
Summary
This appendix turns the course's deployment half into one concrete system: cameras in, DeepStream analysis in the middle, and recording, events, and a video wall out. Working through it shows how the concepts from 4.2 to 4.9 fit together in a real edge application.