reComputer RK Network Connection and Remote Access
Last updated:
Connect your reComputer RK3576 or RK3588 to the network, log in from another computer over SSH, and copy files with MobaXterm's SFTP browser.
Before you begin
Complete Armbian first-boot setup and keep your Linux username and password available. Run network-configuration commands on the reComputer. Run SSH client commands on the computer you use to connect. Wi-Fi requires a detected wireless interface; the nmcli examples require NetworkManager.
Network connection
Wired network connection
Connect an Ethernet port on the reComputer to a router or switch. On a network with DHCP, the device obtains an address automatically. Keep this connection while setting up Wi-Fi if you need SSH access.
Wireless WiFi connection
Graphical desktop (GUI)
You can choose to configure WiFi through a graphical desktop or command-line tools. If you have a monitor connected and are in a desktop environment, this is the most intuitive way to configure it.
- Open the network menu from the desktop panel.
- Select your Wi-Fi network.
- Enter its password and select Connect.
Command Line (nmcli)
If you operate via SSH or serial terminal, you can configure it using NetworkManager's command-line tools.
Commonly used operation cheat sheet
| Function | Command | Description |
|---|---|---|
| Scan WiFi | nmcli device wifi list | List all available hotspots nearby |
| Connect to WiFi | nmcli device wifi connect "SSID" password "PWD" | Replace SSID and PWD with actuals |
| Check status | nmcli connection show | Displays all current network connections |
| Disconnect | nmcli connection down <connection_name> | Disconnect the specified network |
Example of operation
Step 1: Scan for available WiFi
sudo nmcli device wifi listExample output:
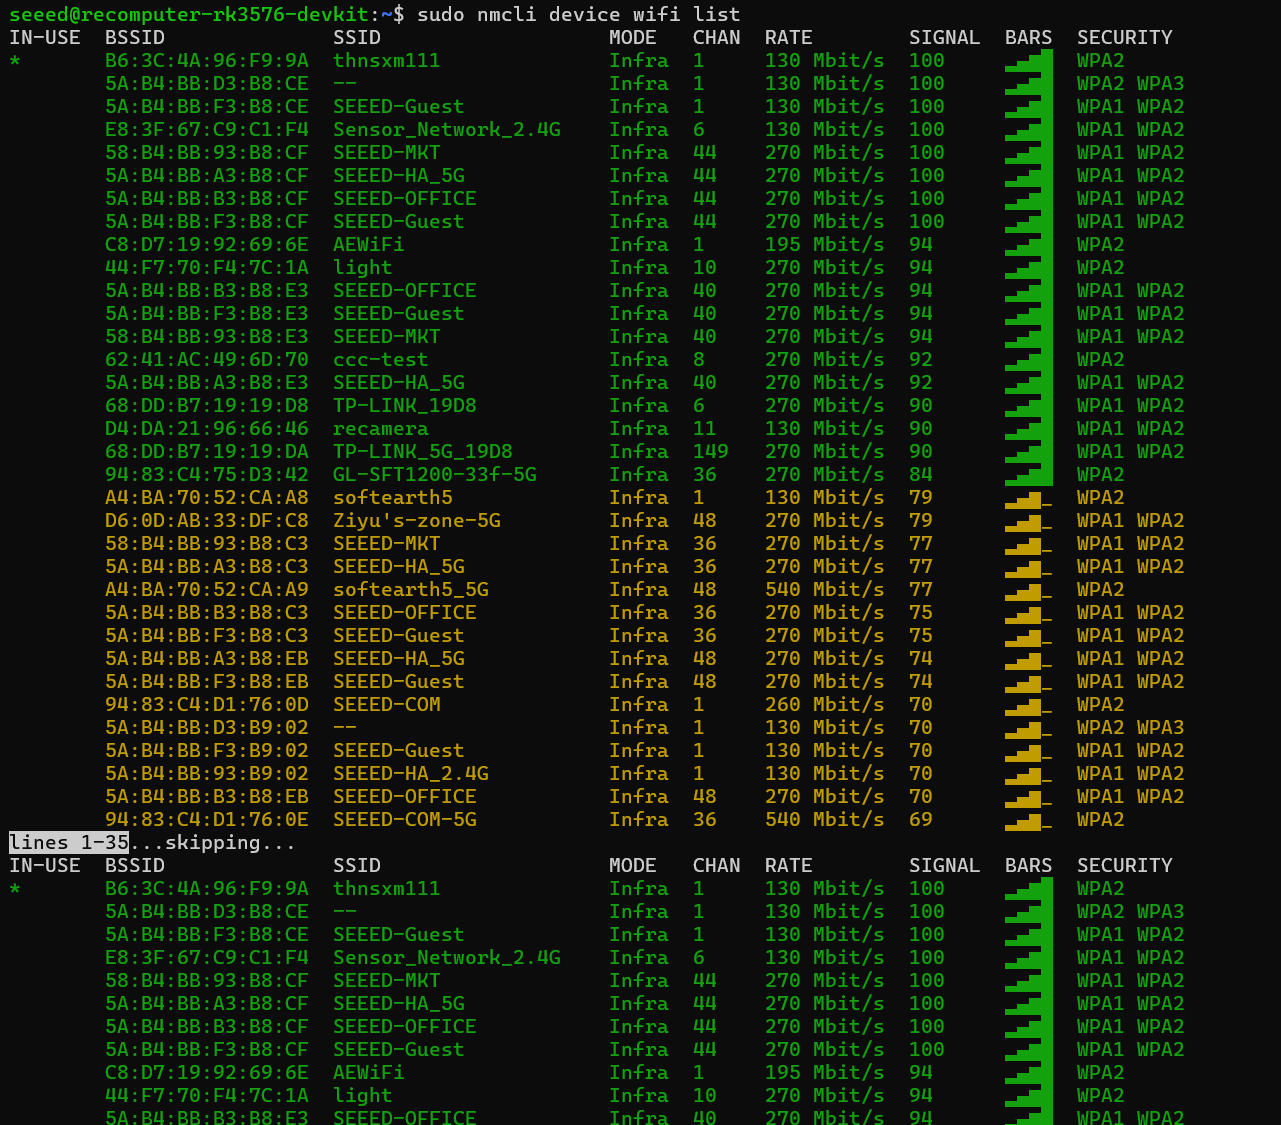
IN-USE  BSSID              SSID                   MODE   CHAN  RATE        SIGNAL  BARS  SECURITY
*       B6:3C:4A:96:F9:9A  thnsxm111              Infra  1     130 Mbit/s  100     ▂▄▆█  WPA2
        5A:B4:BB:D3:B8:CE  --                     Infra  1     130 Mbit/s  100     ▂▄▆█  WPA2 WPA3
        5A:B4:BB:F3:B8:CE  SEEED-Guest            Infra  1     130 Mbit/s  100     ▂▄▆█  WPA1 WPA2
        E8:3F:67:C9:C1:F4  Sensor_Network_2.4G    Infra  6     130 Mbit/s  100     ▂▄▆█  WPA1 WPA2
Step 2: Connect to WiFi
Replace YOUR_SSID and YOUR_WIFI_PASSWORD with your network details:
sudo nmcli device wifi connect "YOUR_SSID" password "YOUR_WIFI_PASSWORD"After a successful connection, you'll be prompted: Device 'wlan0' successfully activated with '...'
Advanced configuration
Use a static address only when you know the correct subnet, gateway, DNS servers, and an unused address for your network. The values below are examples; replace all of them and use your actual NetworkManager connection name. Reconnecting an interface can disconnect your SSH session, so keep local access available.
# 1. Modify connection configuration (Assuming connection name is "Wired connection 1")
nmcli con mod "Wired connection 1" ipv4.addresses 192.168.1.100/24
nmcli con mod "Wired connection 1" ipv4.gateway 192.168.1.1
nmcli con mod "Wired connection 1" ipv4.dns "8.8.8.8 114.114.114.114"
nmcli con mod "Wired connection 1" ipv4.method manual

# 2. Restart the connection to apply settings
nmcli con up "Wired connection 1"
Remote login guide (SSH)
Hardware: reComputer RK3576 / RK3588 Operating System: Debian 12 This guide provides instructions on how to access your reComputer remotely using the Secure Shell (SSH) protocol.
Prerequisites
- The reComputer must be powered on and connected to the same Local Area Network (LAN) as your primary computer.
- An Ethernet connection is recommended for initial setup to ensure stability.
Identify the Device IP Address
You need the IP address of the reComputer to establish a connection.
- Via Local Terminal: If you have a monitor and keyboard connected to the reComputer, run:
hostname -I
- Via Router Dashboard: Access your router's web interface and look for a device named recomputer or similar in the DHCP client list.
Connection Methods
Option A: Windows (PowerShell or Command Prompt) Modern Windows versions include a built-in SSH client.
- Press Win + R, type cmd, and hit Enter.
- Run the command below, replacing
YOUR_USERNAMEwith your Linux user andDEVICE_IPwith the address found above:
ssh YOUR_USERNAME@DEVICE_IP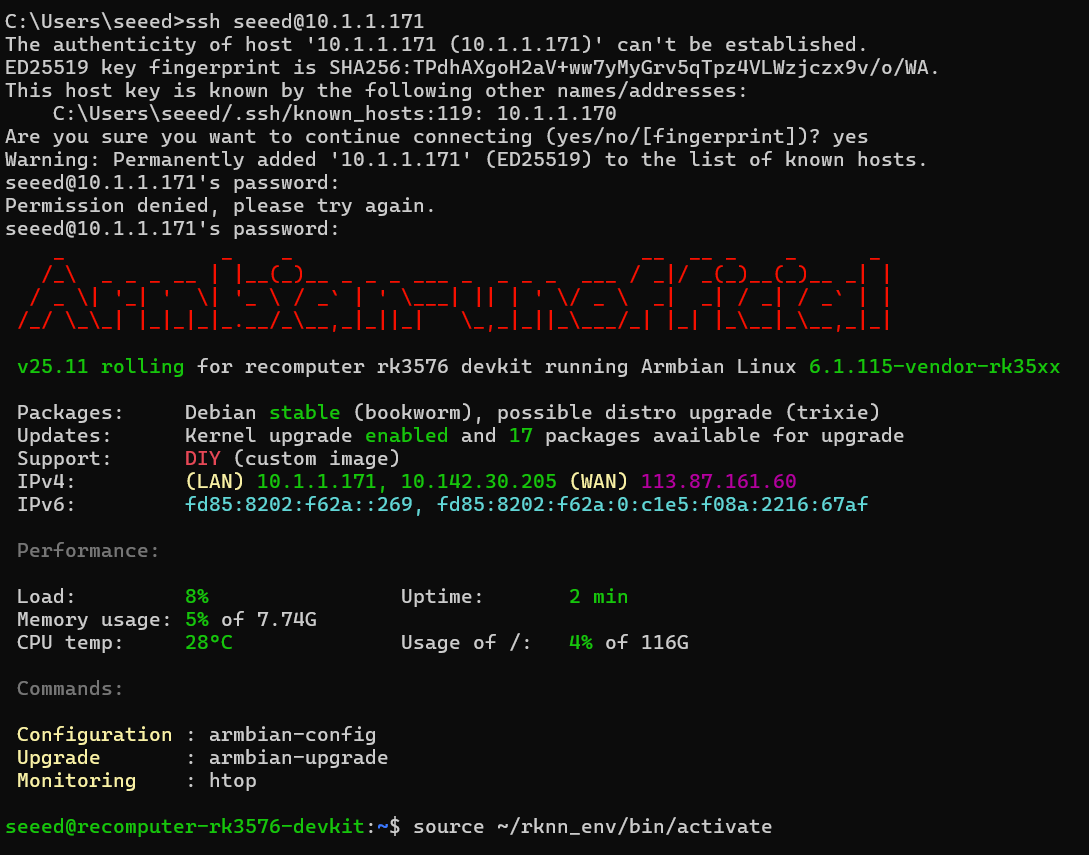
- Check that you are connecting to the intended device, then confirm its host key on the first connection.
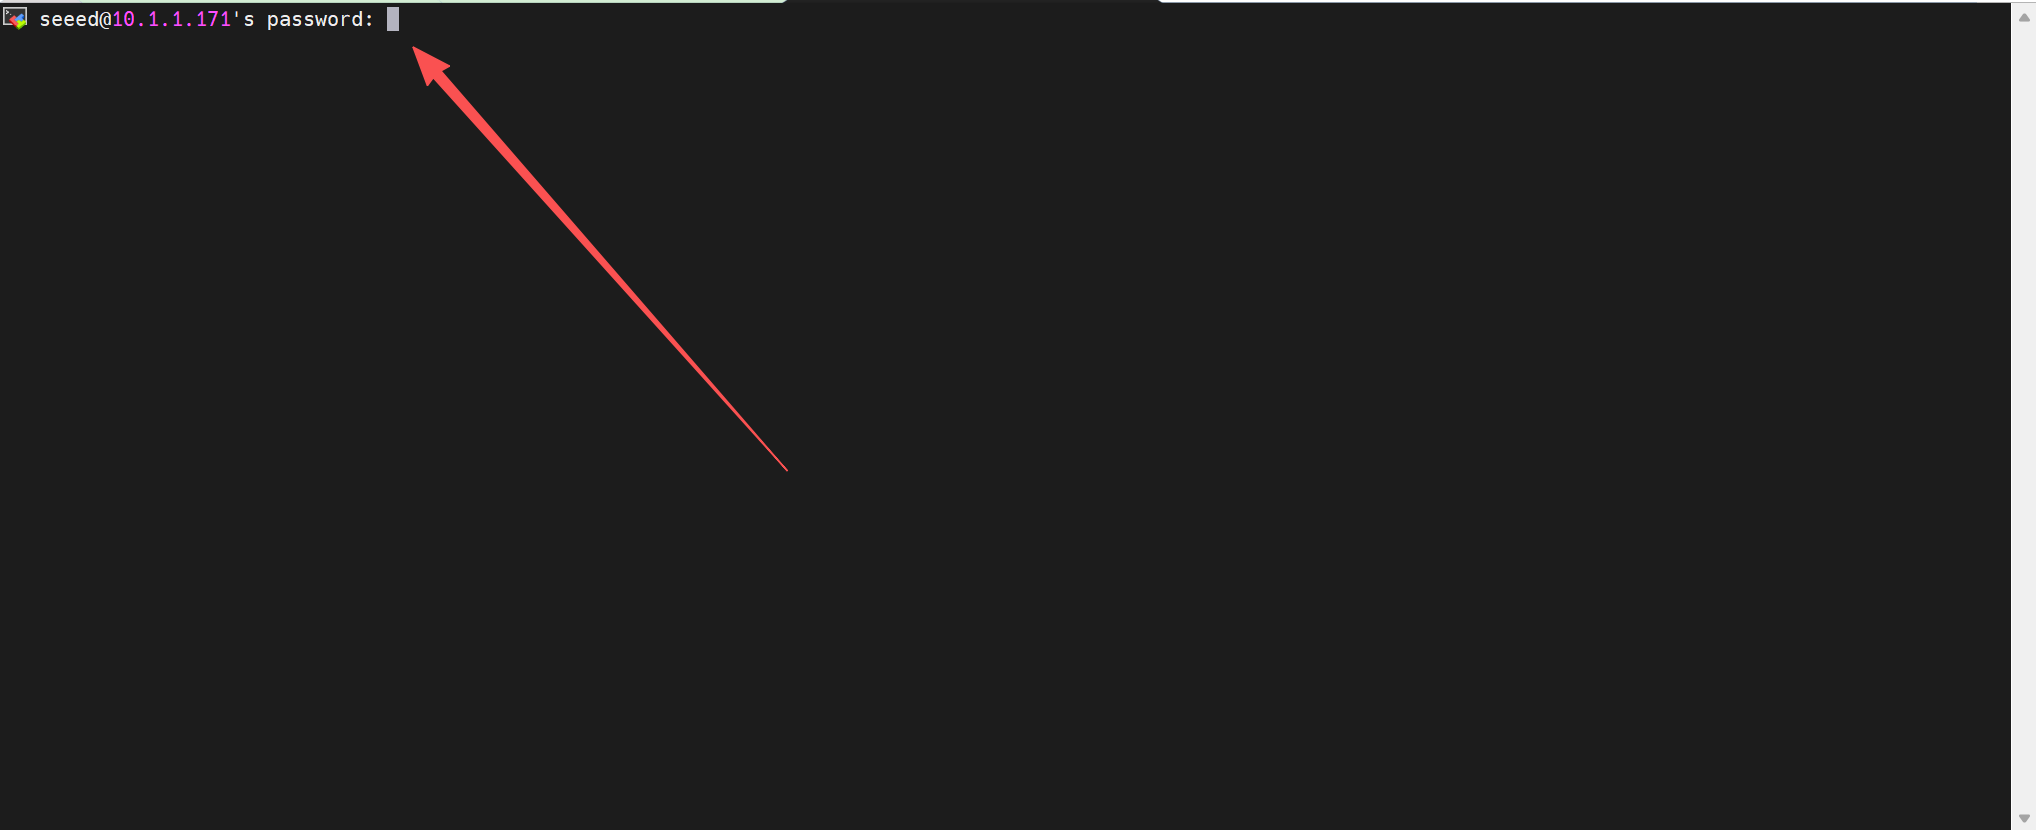
- Enter the password you set during first-boot setup. Characters do not appear while you type.
Option B: Linux / macOS Terminal Open your native terminal and run:
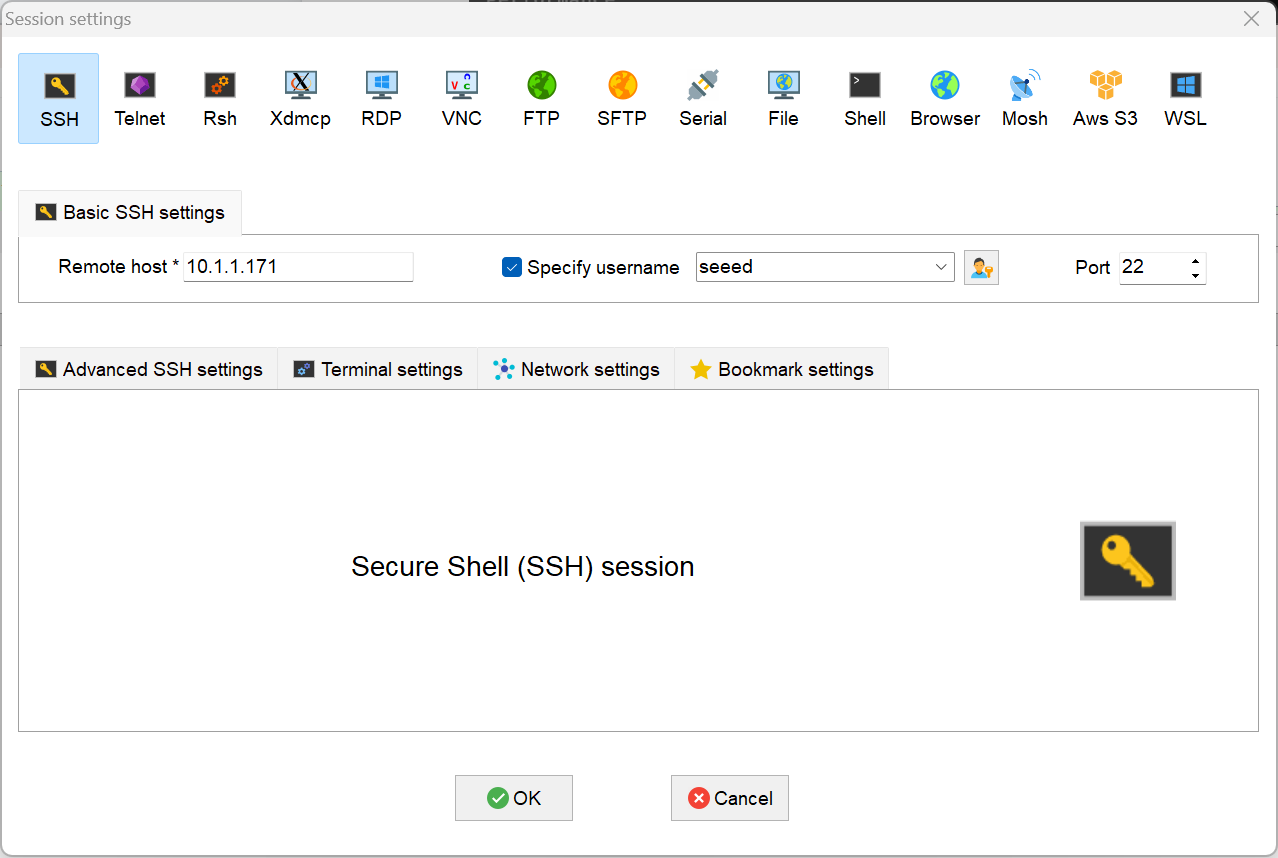
ssh YOUR_USERNAME@DEVICE_IPOption C: Professional Tools (Recommended) For a more robust development environment, consider:
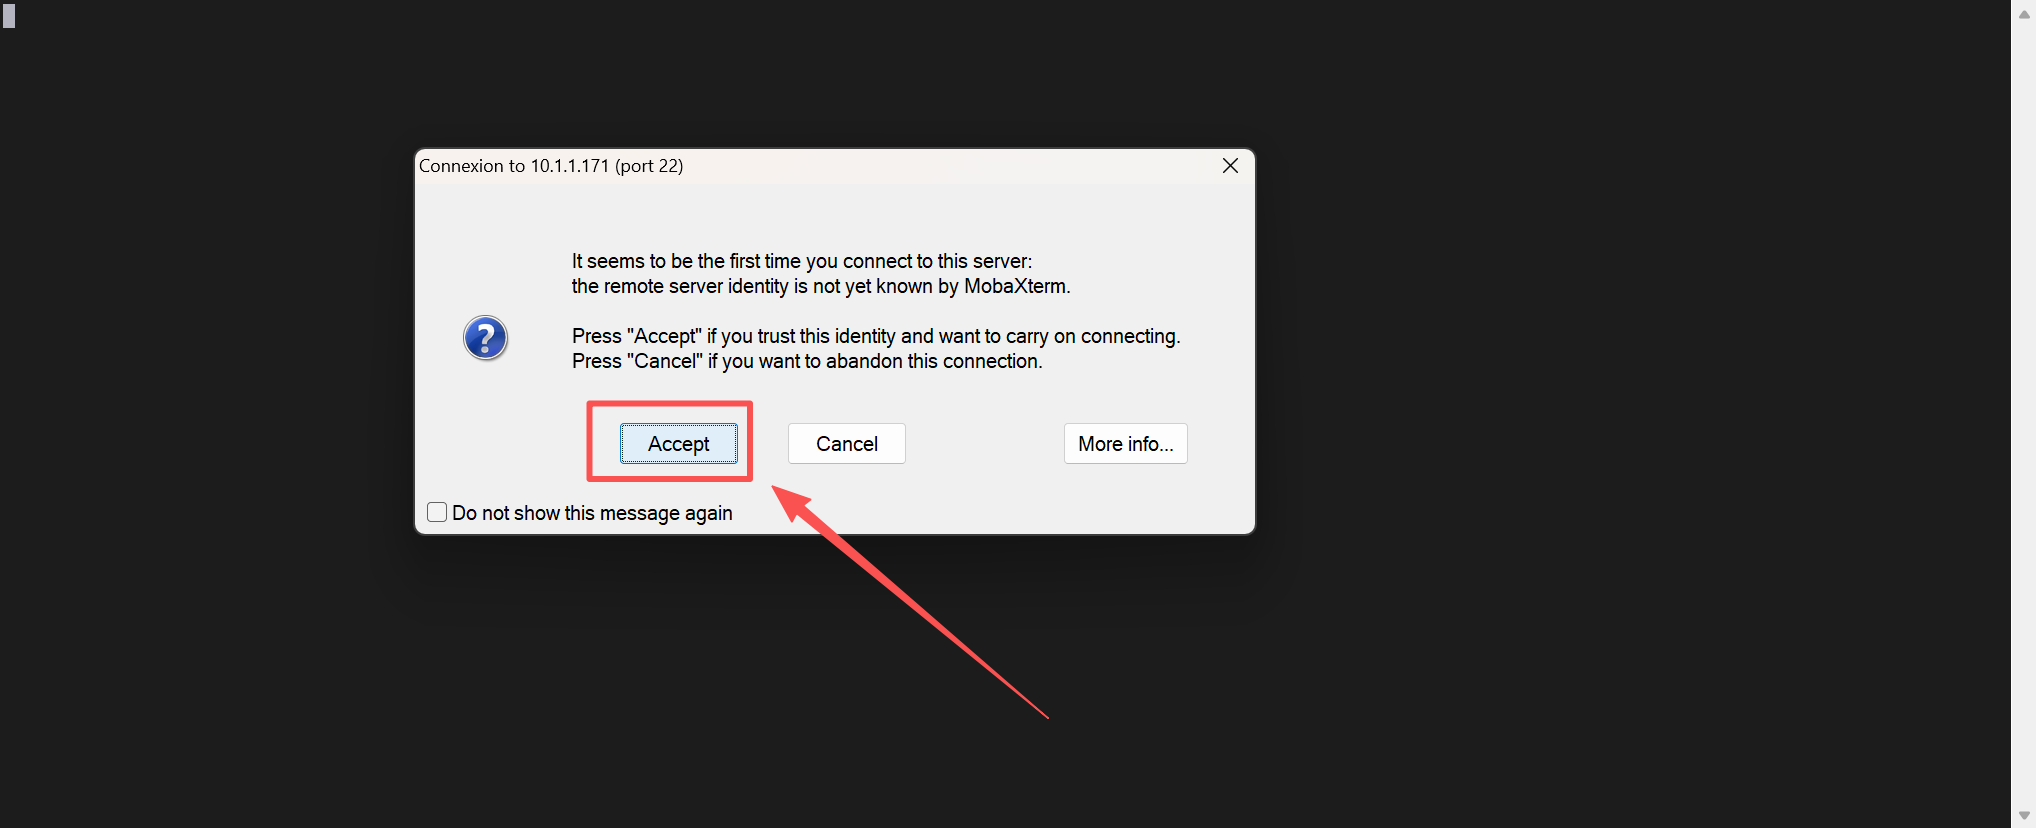
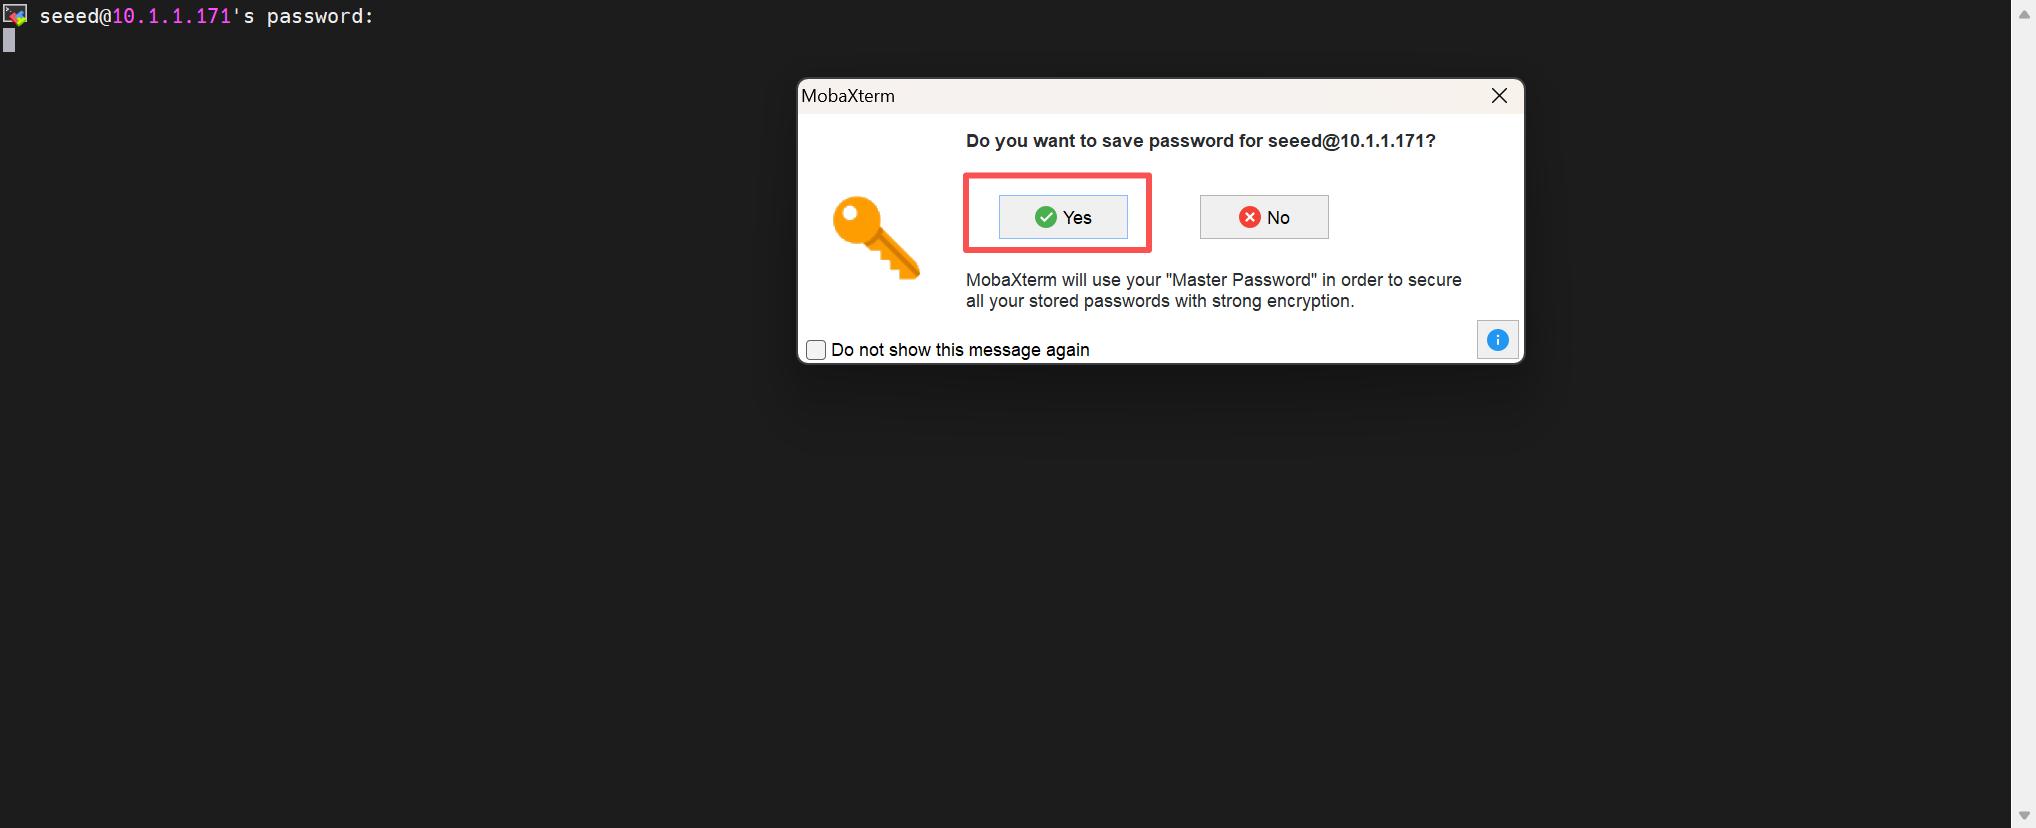
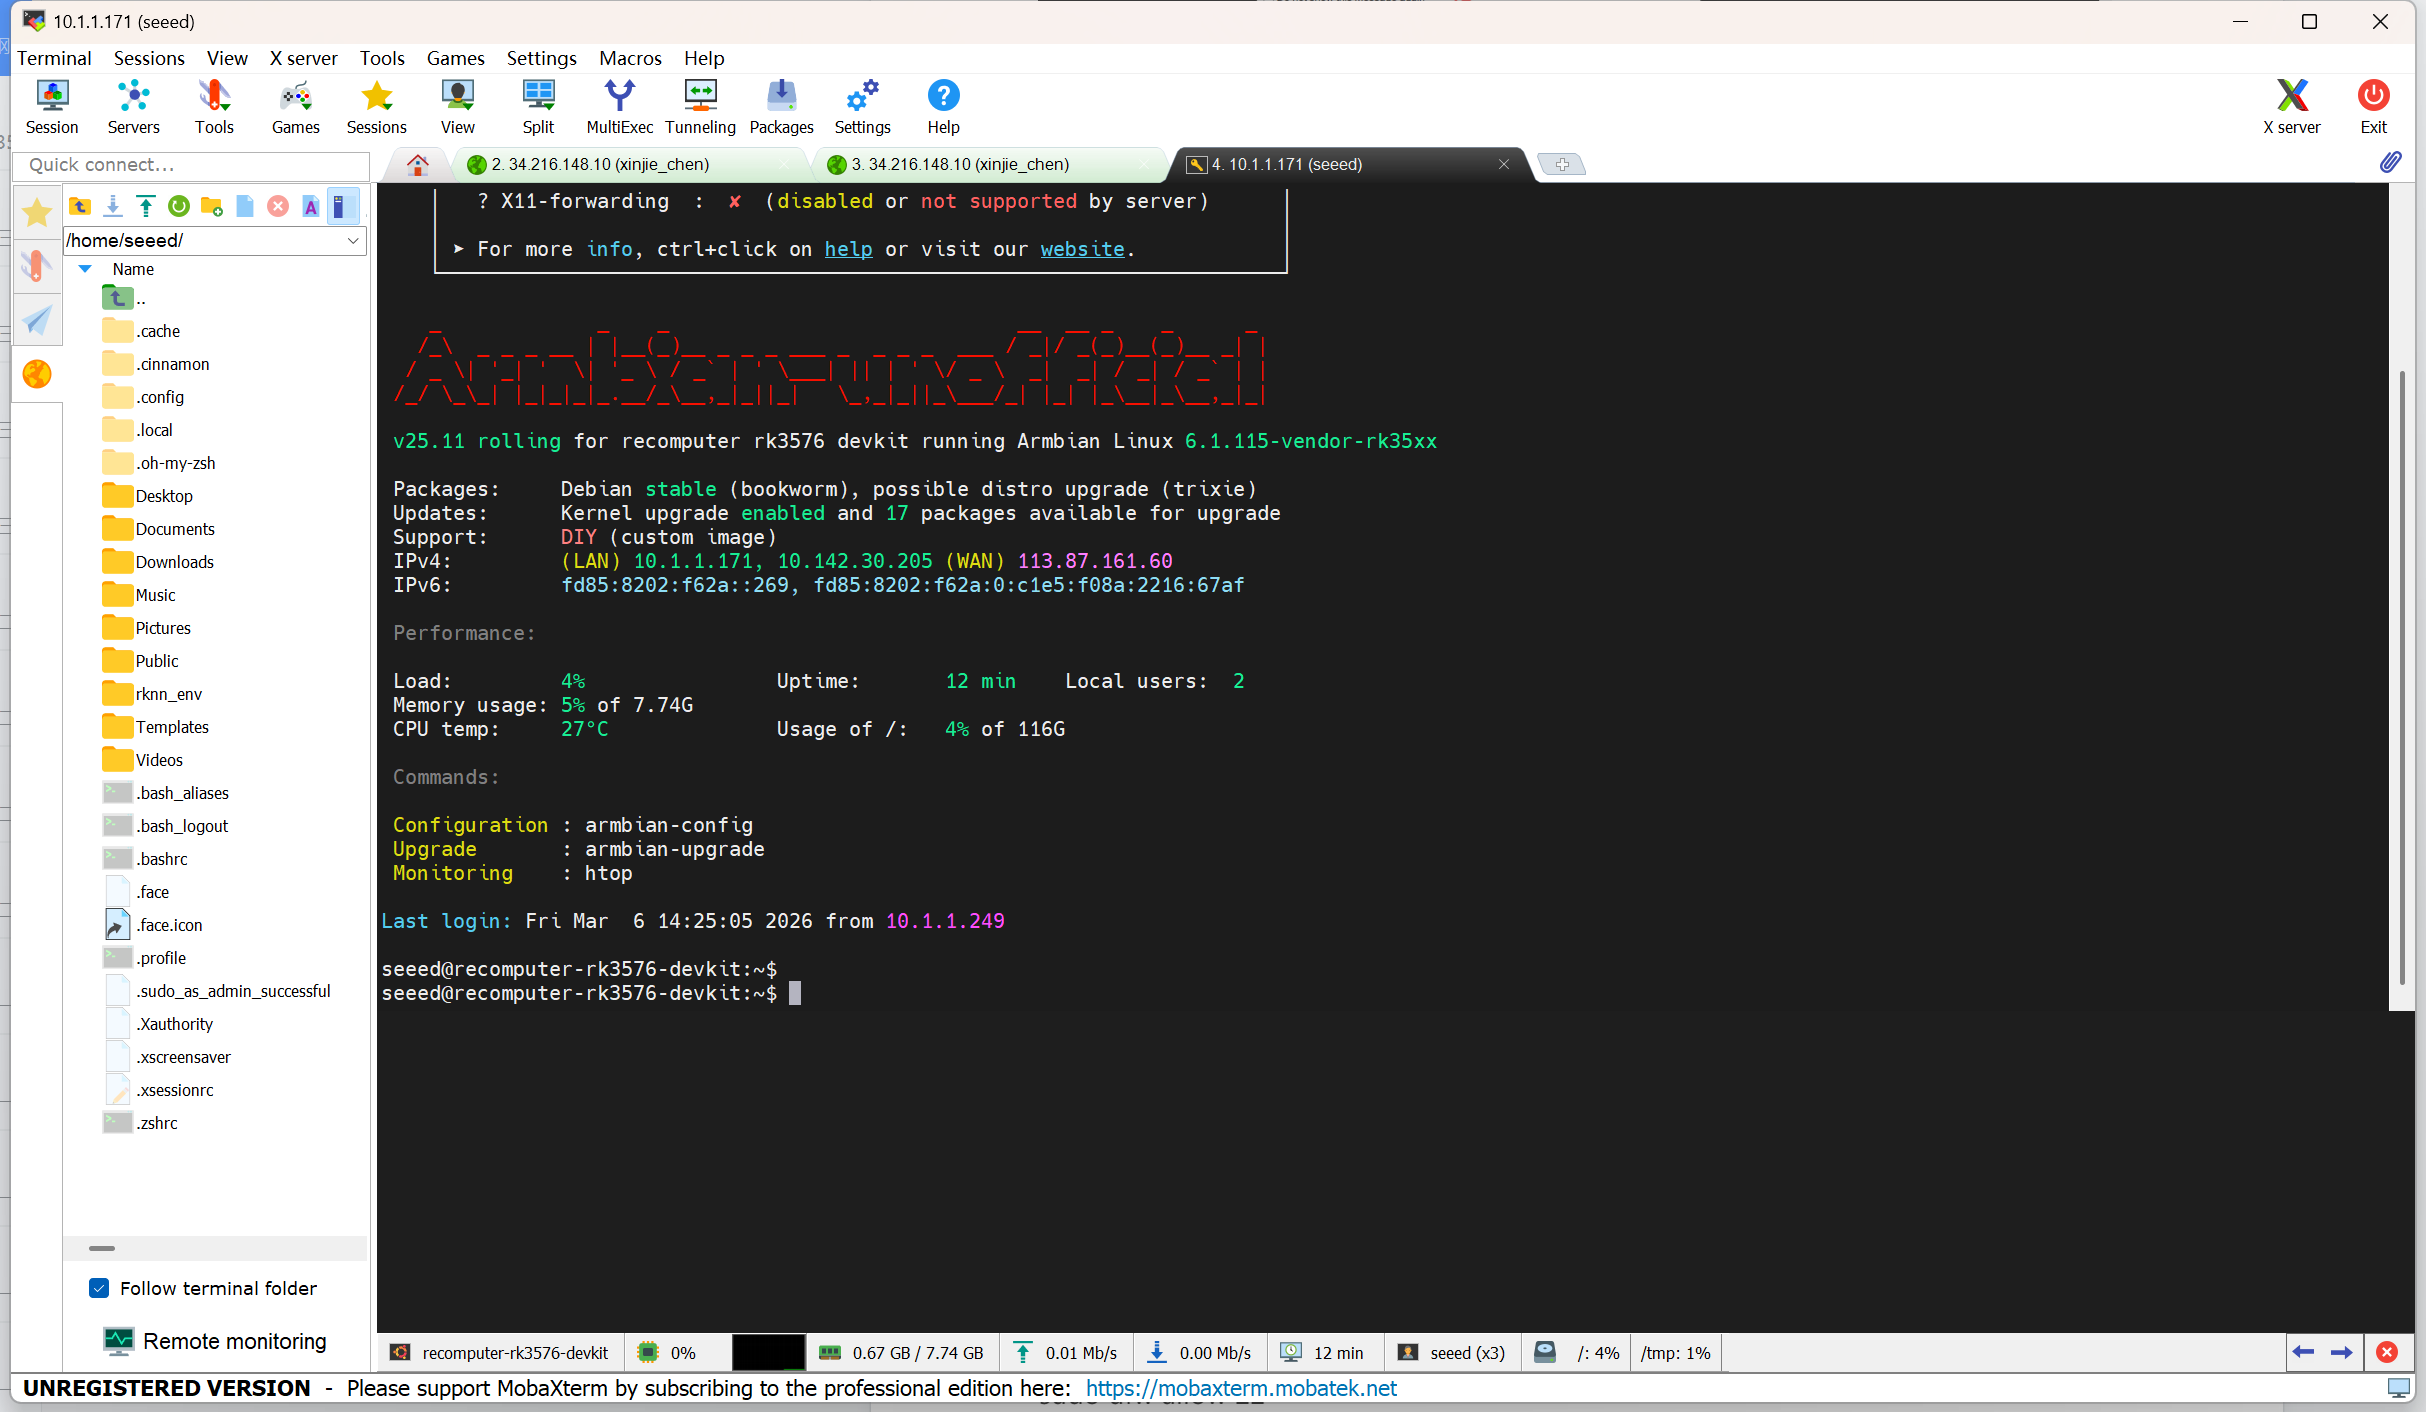
- MobaXterm: Features a built-in SFTP sidebar for easy file dragging.
Troubleshooting
- Connection Refused: Ensure the SSH service is active on the reComputer. You can check this locally by running:
sudo systemctl status ssh- Firewall Issues: If the service is running but blocked, allow port 22 through the firewall:
sudo ufw allow 22- Host Key Verification Failed: First confirm that the device was reflashed or its host key intentionally changed. Then remove the old entry on your computer, replacing
<Your_Device_IP>with its address:
ssh-keygen -R <Your_Device_IP>File Transfer Guide (MobaXterm SFTP)
- Device: reComputer RK3576 / RK3588
- OS: Debian 12
- Core Tool: MobaXterm(Built-in SFTP Sidebar)
Interface Overview
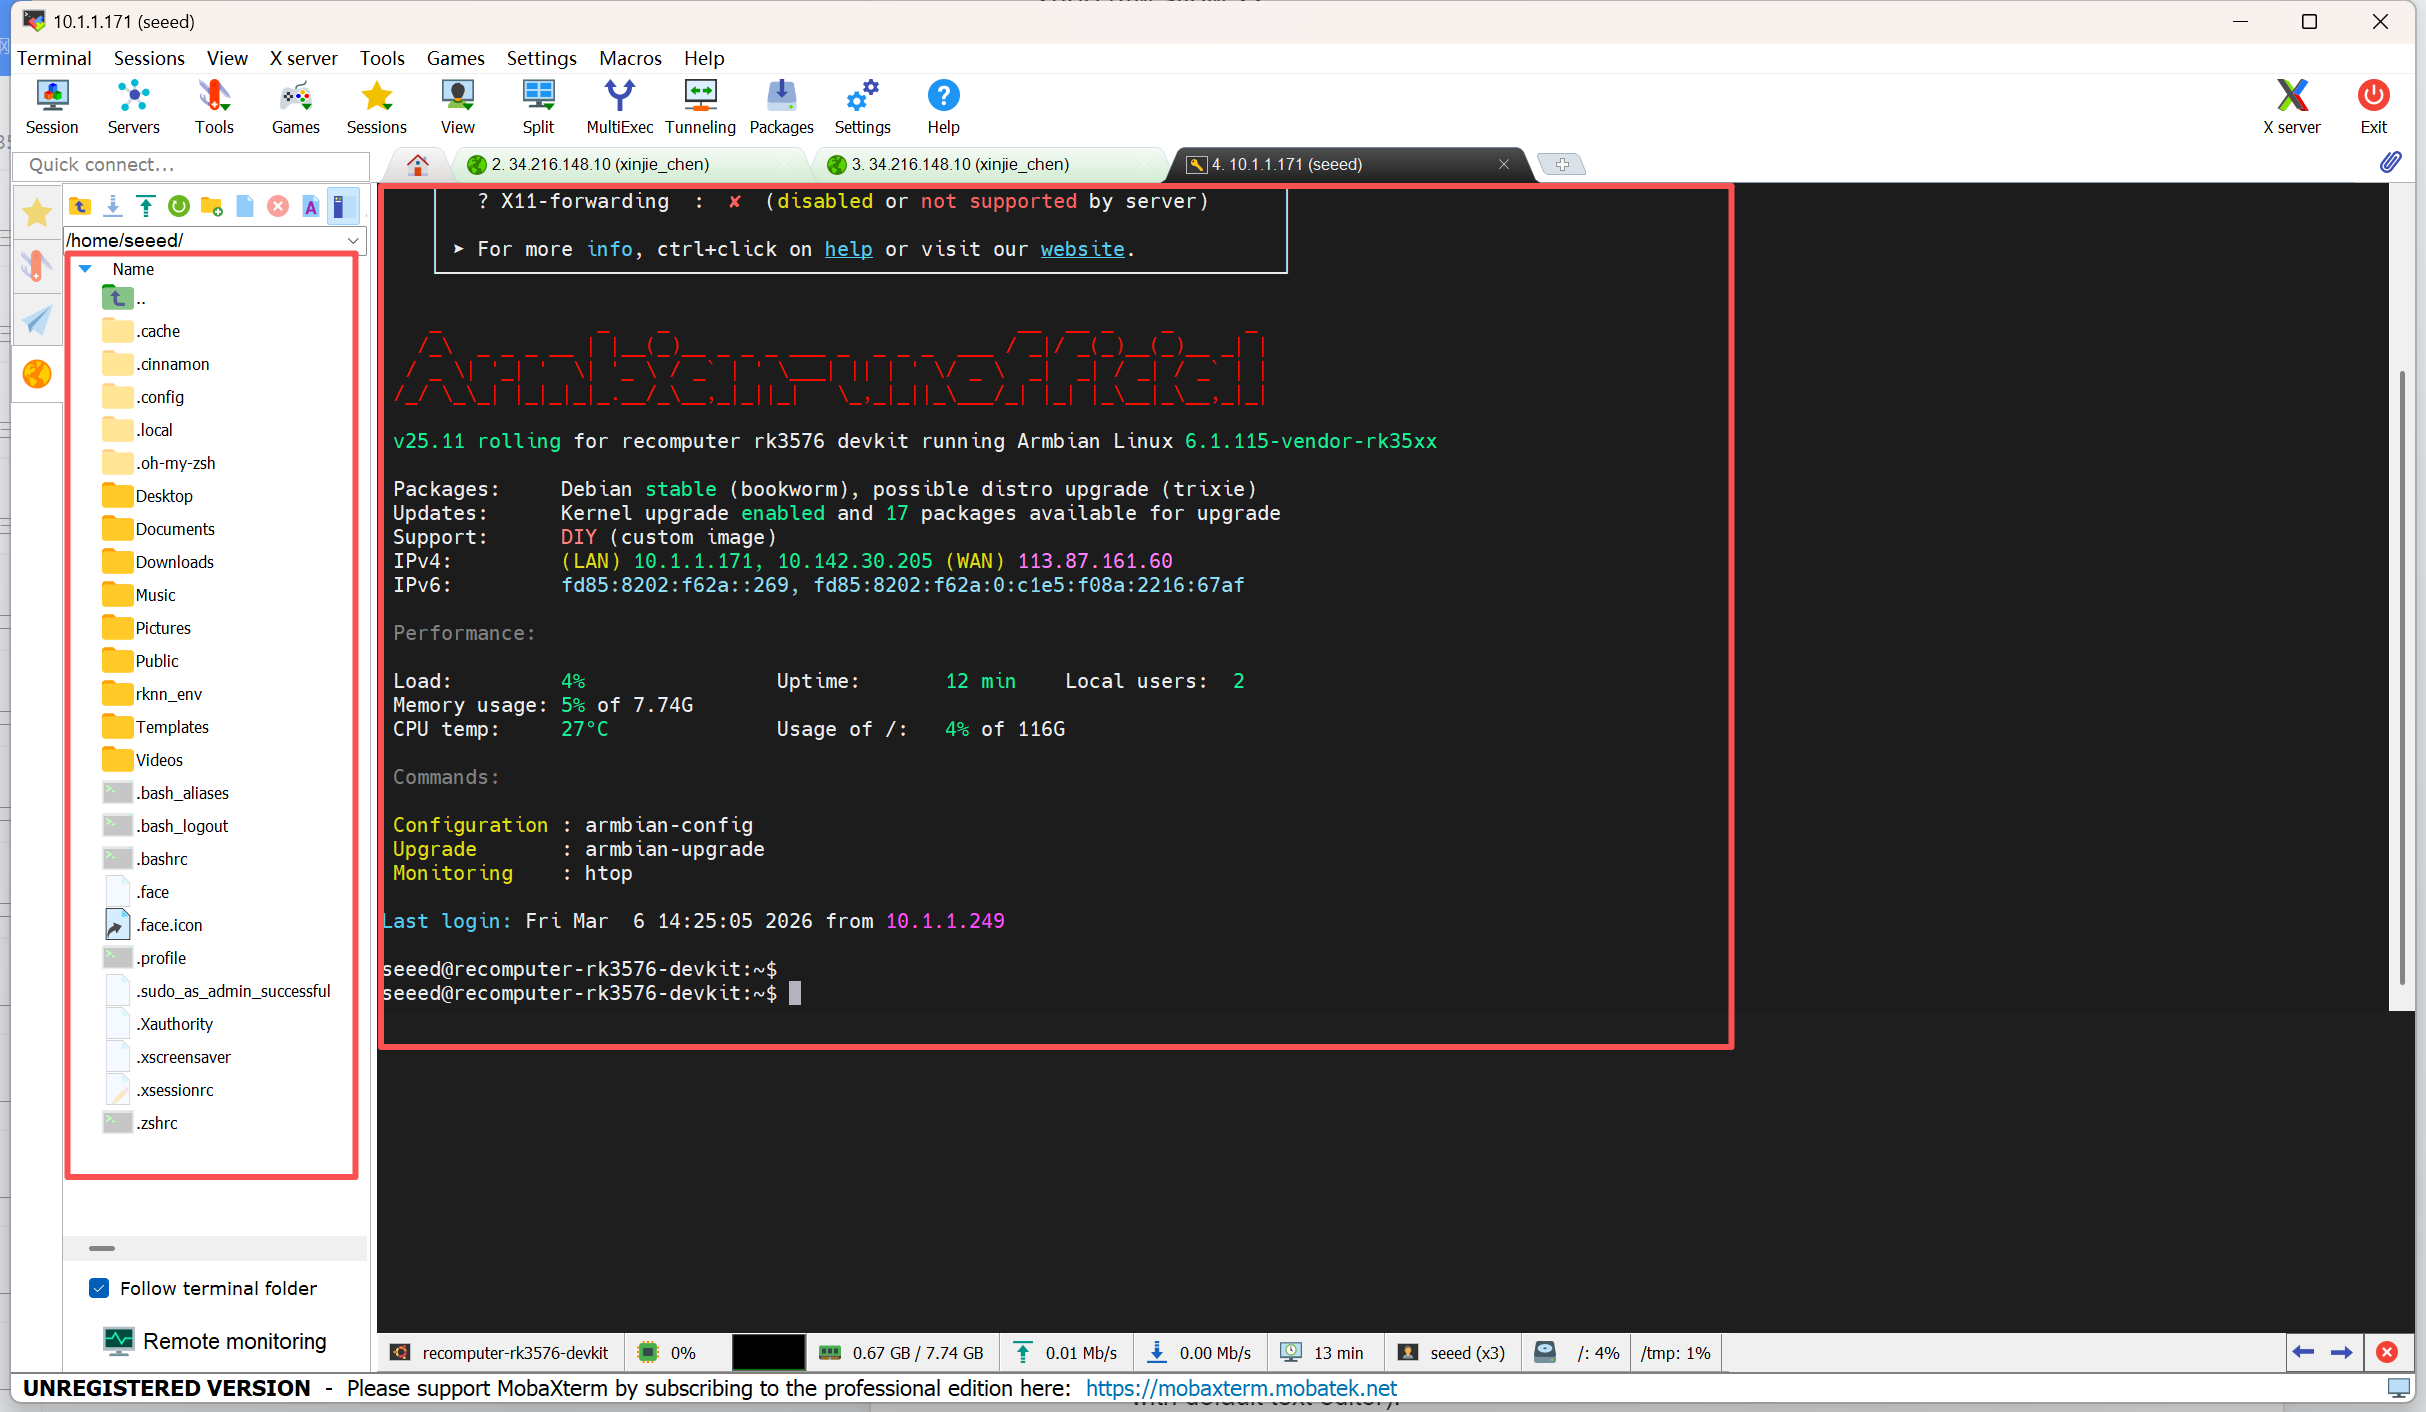
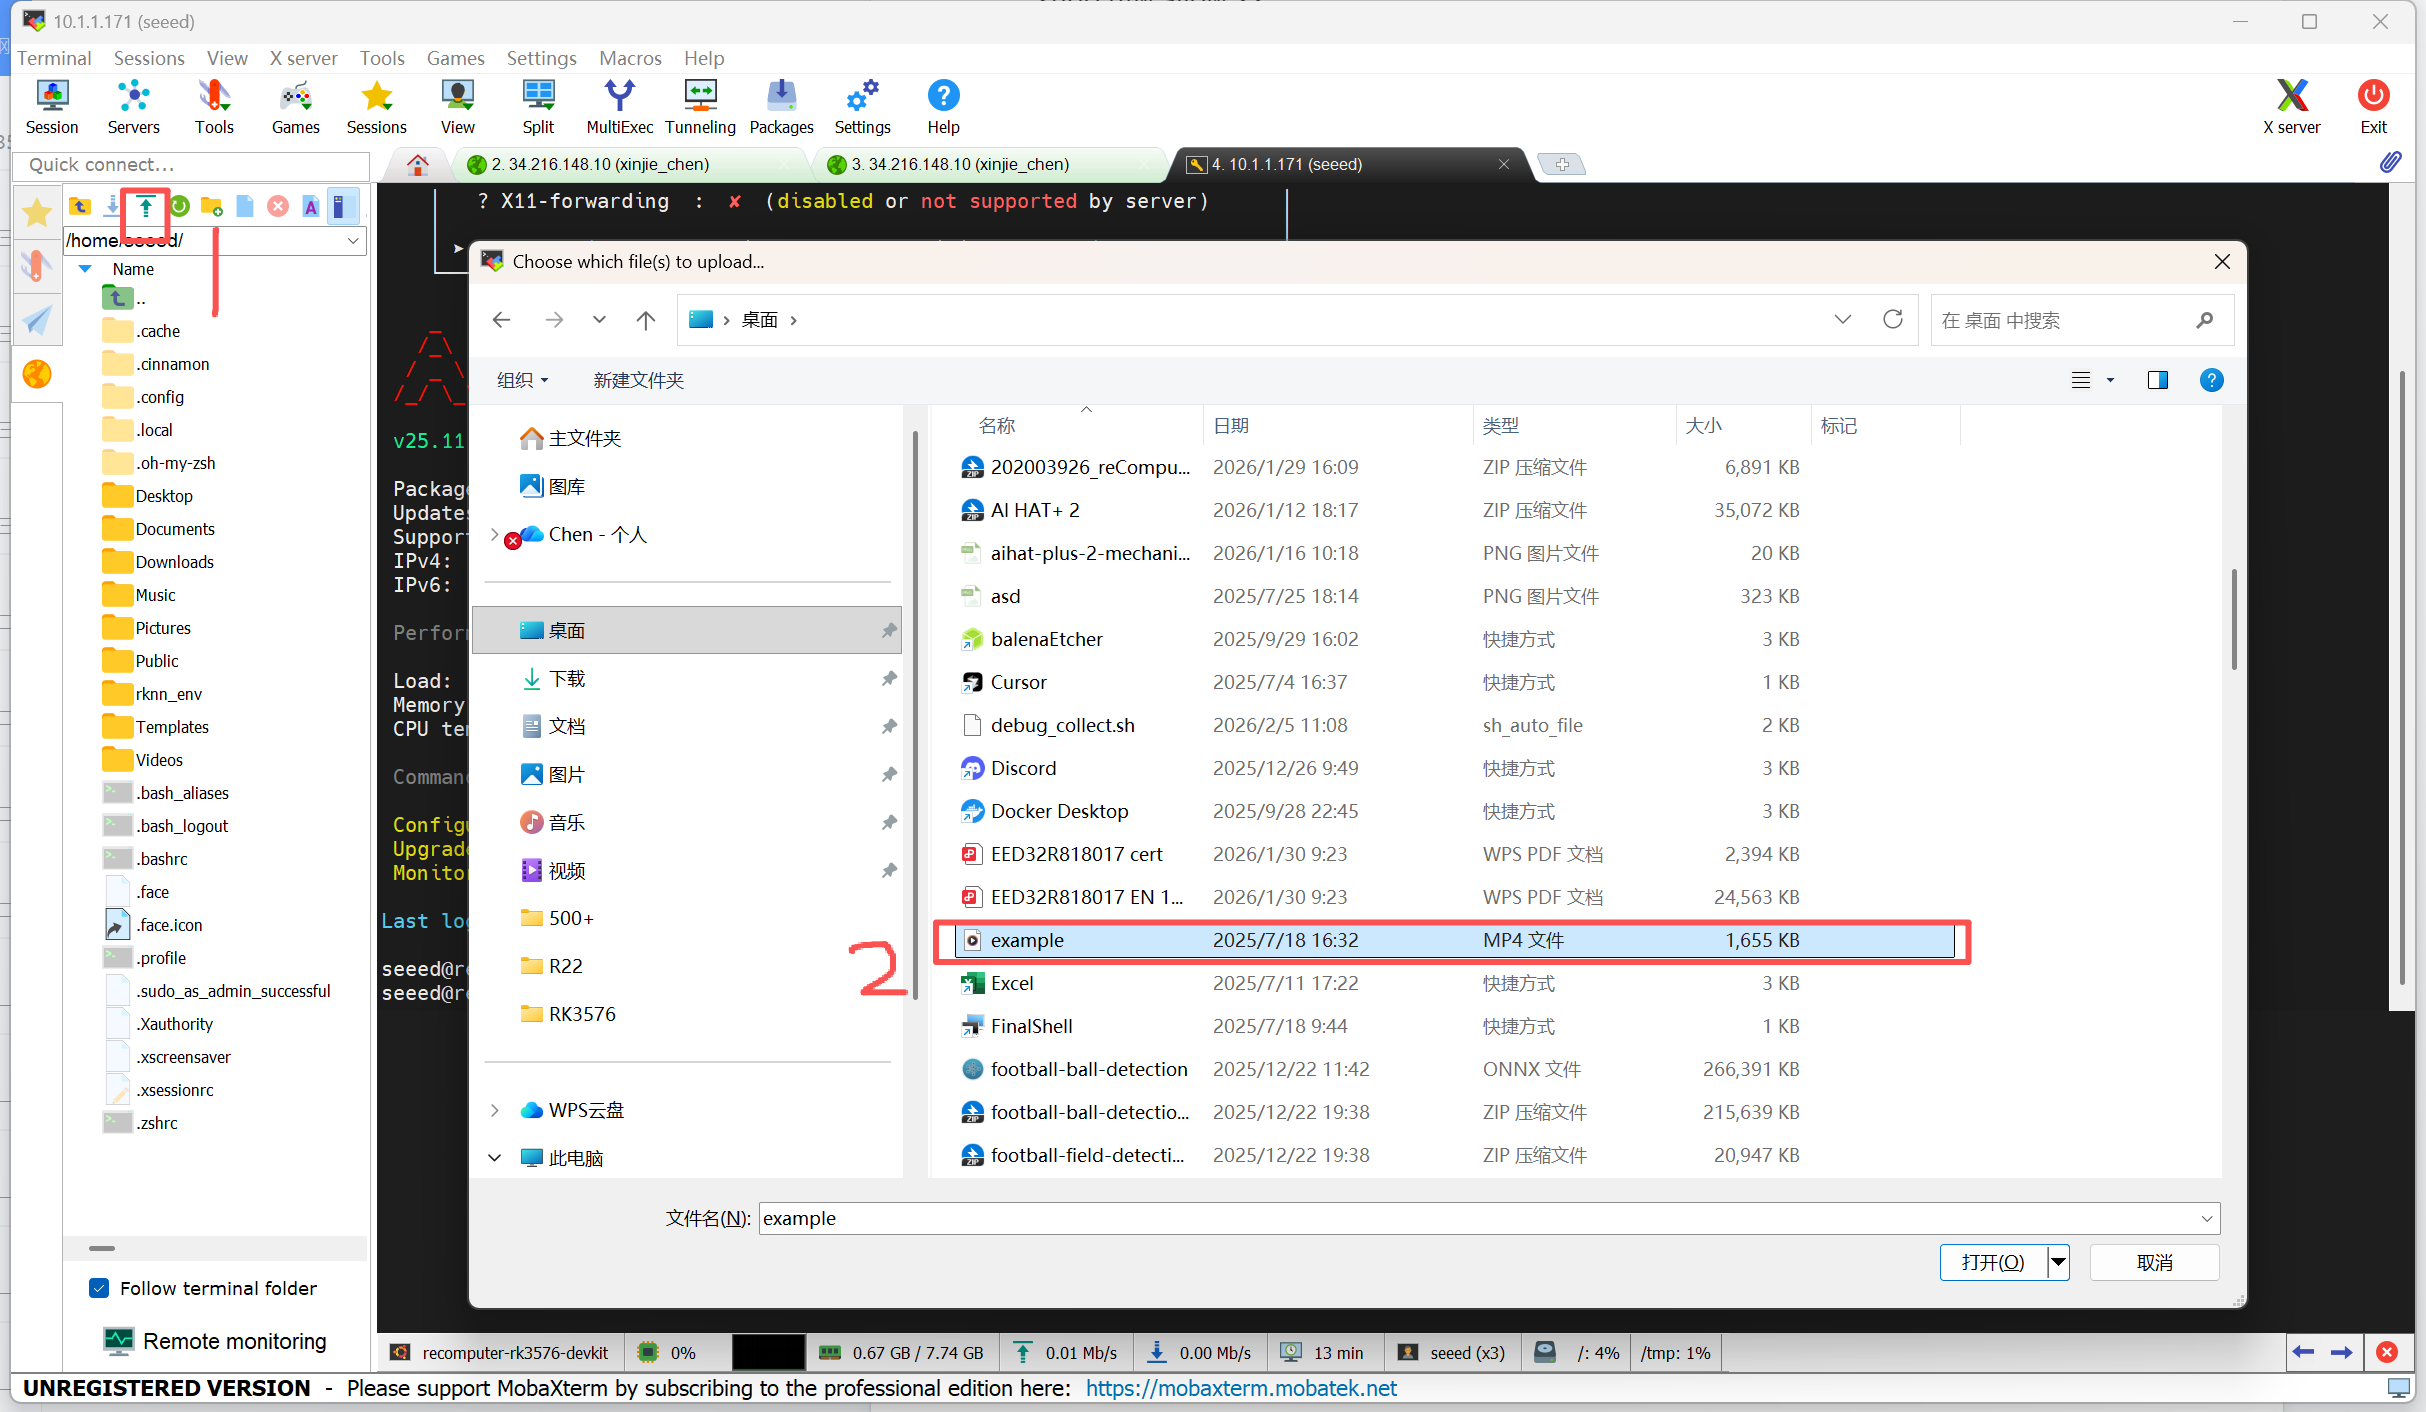
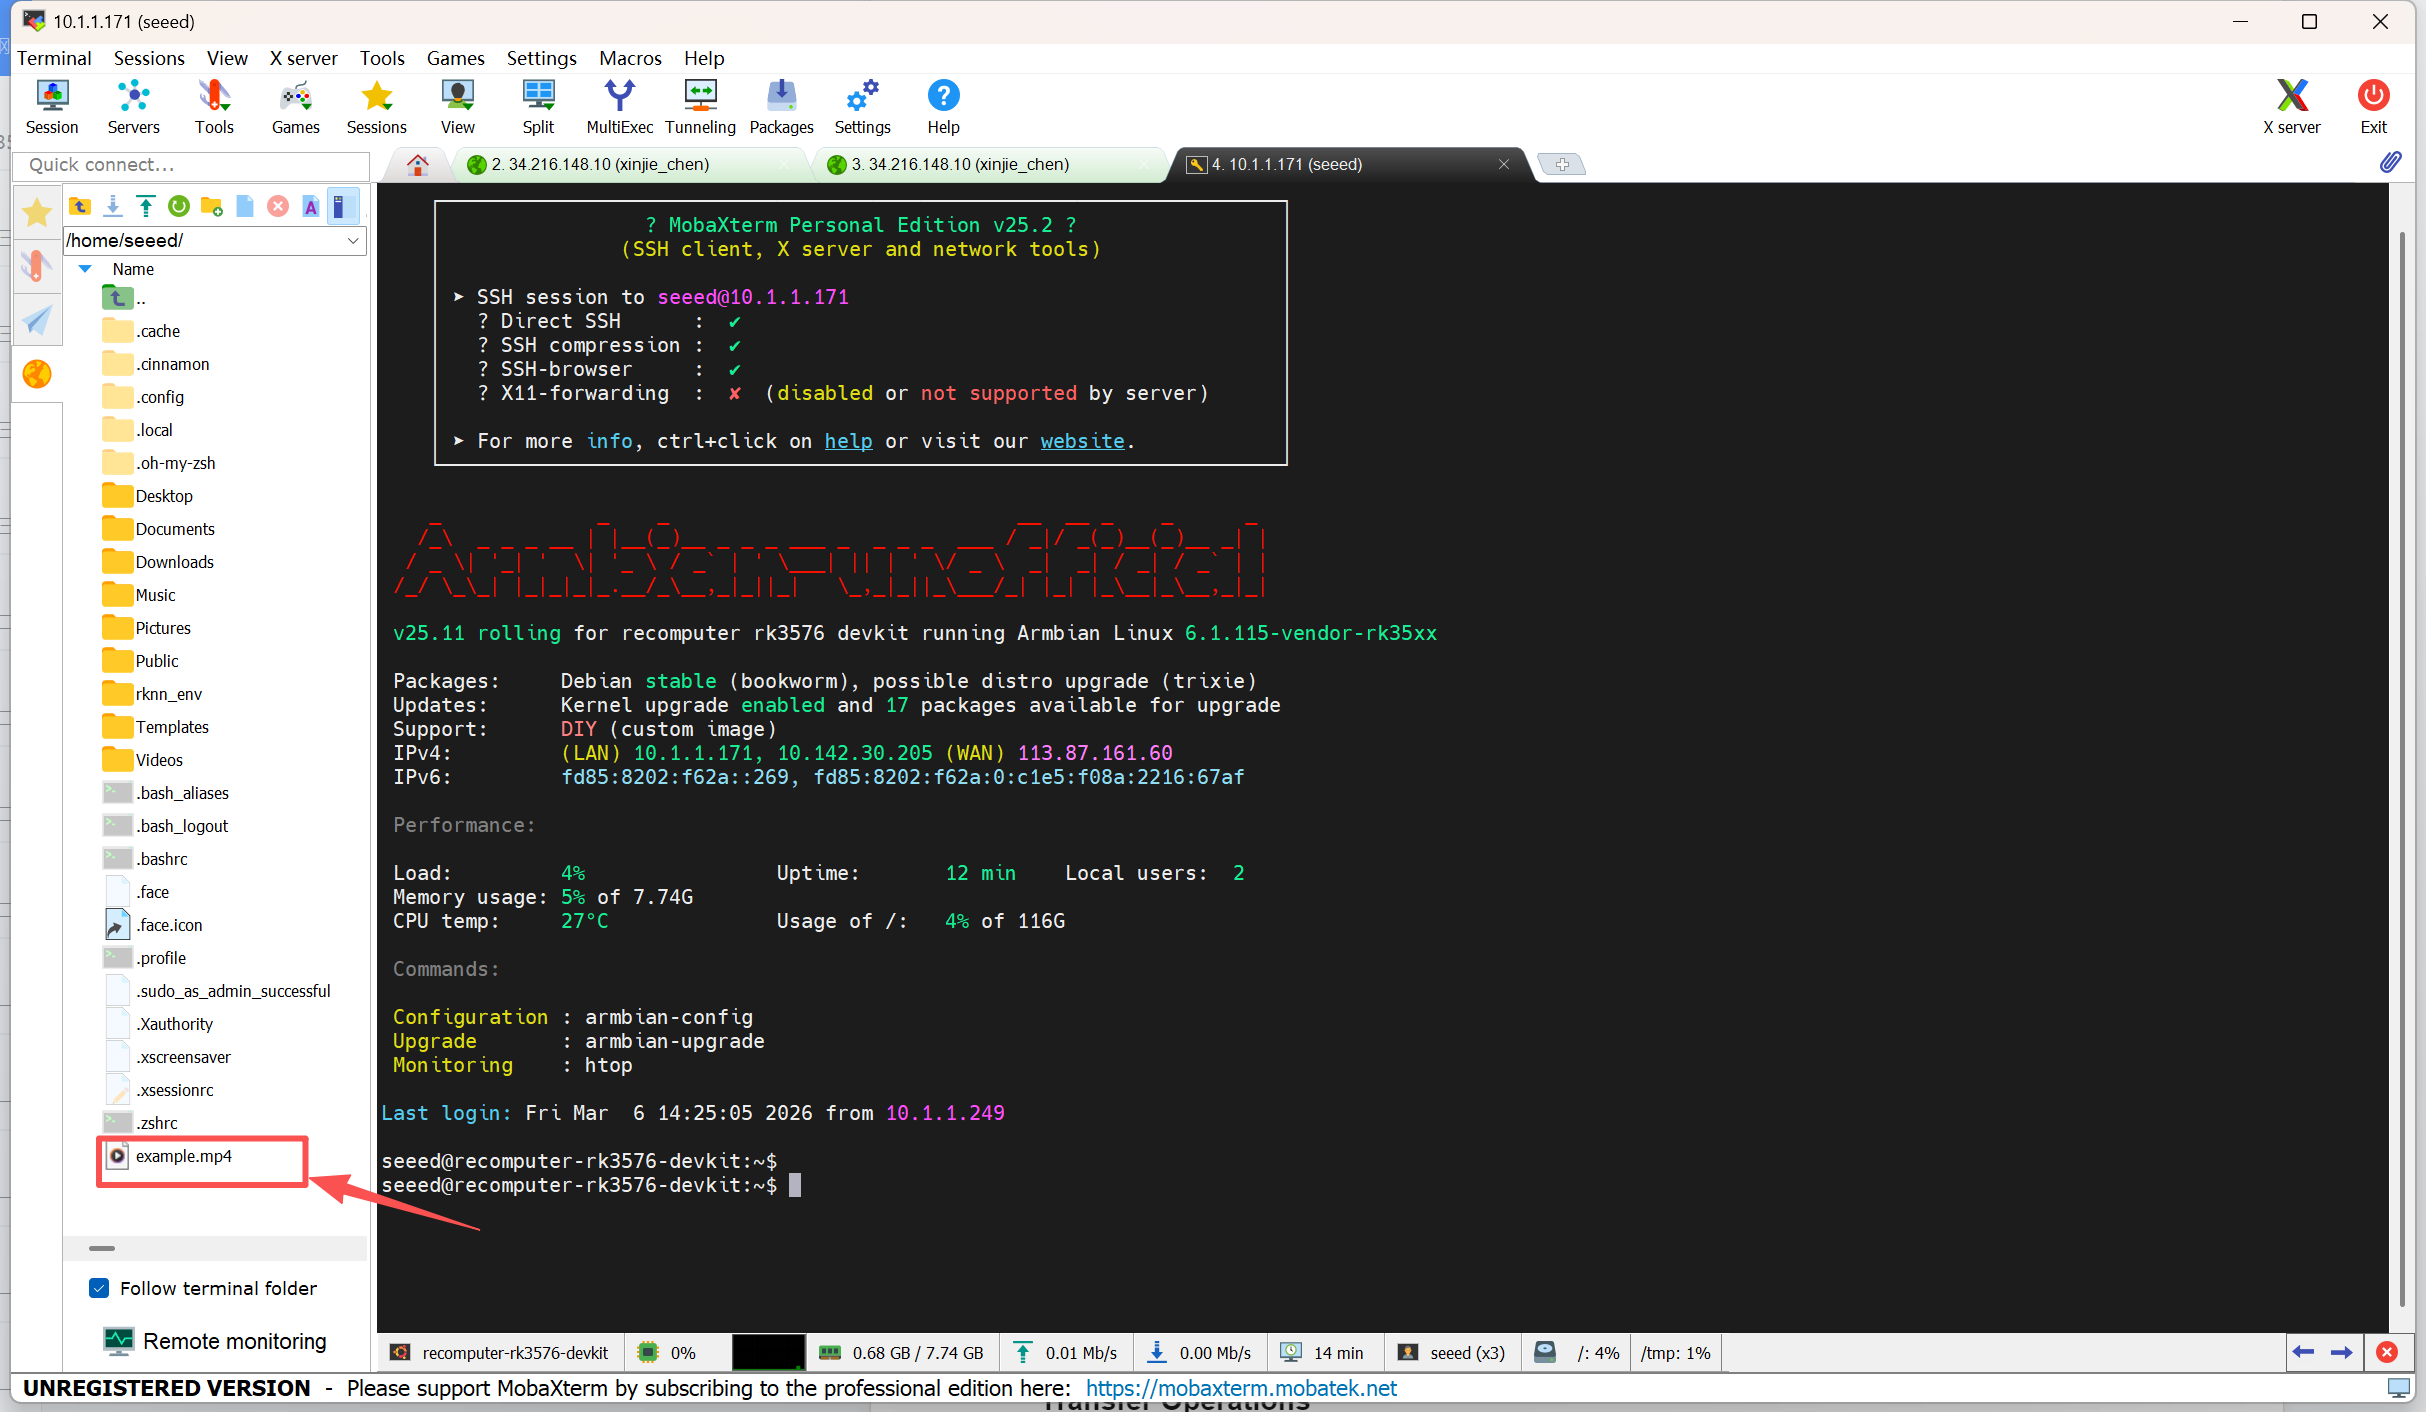
Once you have successfully logged in via SSH, MobaXterm will automatically open an SFTP tab on the left side of the interface.
- Left Panel: Displays the file system on the reComputer (Remote).
- Right Panel: Your terminal command-line window.
Transfer Operations
Upload
- Drag & Drop: Simply select files from your Windows folder and drag them into the SFTP panel on the left.
- Upload Button: Click the blue up-arrow icon above the left panel to select and upload files from your PC.
Download
- Drag & Drop: Select files in the left panel and drag them out to your Windows desktop or folder.
- Right-click, or select the "Download" button at the top: Right-click the file and select Download.
Advanced Features
- Live Edit
- Operation: Double-click a text file in the left panel (or right-click and select Open with default text editor).
- Sync: Edit and save; MobaXterm will prompt you to sync changes back to the reComputer. Click Yes.
- Quick Navigation
- Click the "Follow terminal path" icon (yellow square) to sync the SFTP view with your terminal's current directory (cd).
Important Notes
- Permissions: Upload to your own home directory.
/home/seeedis the example path for a user namedseeed; use your actual username. - System Files: To edit system files (e.g., in /etc/), upload to /home/seeed first, then use sudo mv in the terminal.
- Reconnection: If the SFTP panel becomes unresponsive, click the Refresh button to resync.