Course Code Management
This guide is for school / organization administrators. It explains how to manage CodeCraft course codes in the school admin portal. How students use a course code to sign in is covered separately in Sign in with a Course Code. For an overview of CodeCraft’s education solution, see CodeCraft for Education.
Overview
Section titled “Overview”| Role | Responsibilities | Entry point |
|---|---|---|
| School admin / teacher | Sign in, manage the school, create and hand out course codes | School admin portal: codecraft-admin.seeed.cc/s/<your-school-id> |
| Student | Enter a course code to use CodeCraft — no account, no password | CodeCraft app: the “Class code” button on the home page |
What is a course code?
Section titled “What is a course code?”A course code is a shareable code that students use to enter CodeCraft — no sign-up or login required, so they can start right away.
Course codes are created and their seats are managed by the school / organization administrator. Each course code has:
- Seats — how many students can use the course code at the same time;
- Validity — the start time and end time;
- Remark — optional, to help you remember what the code is for.
Your school has a total seat pool (for example, 100). At any moment, the seats of all active course codes cannot exceed this pool. To expand the pool, contact your local distributor.
Accessing the school admin portal
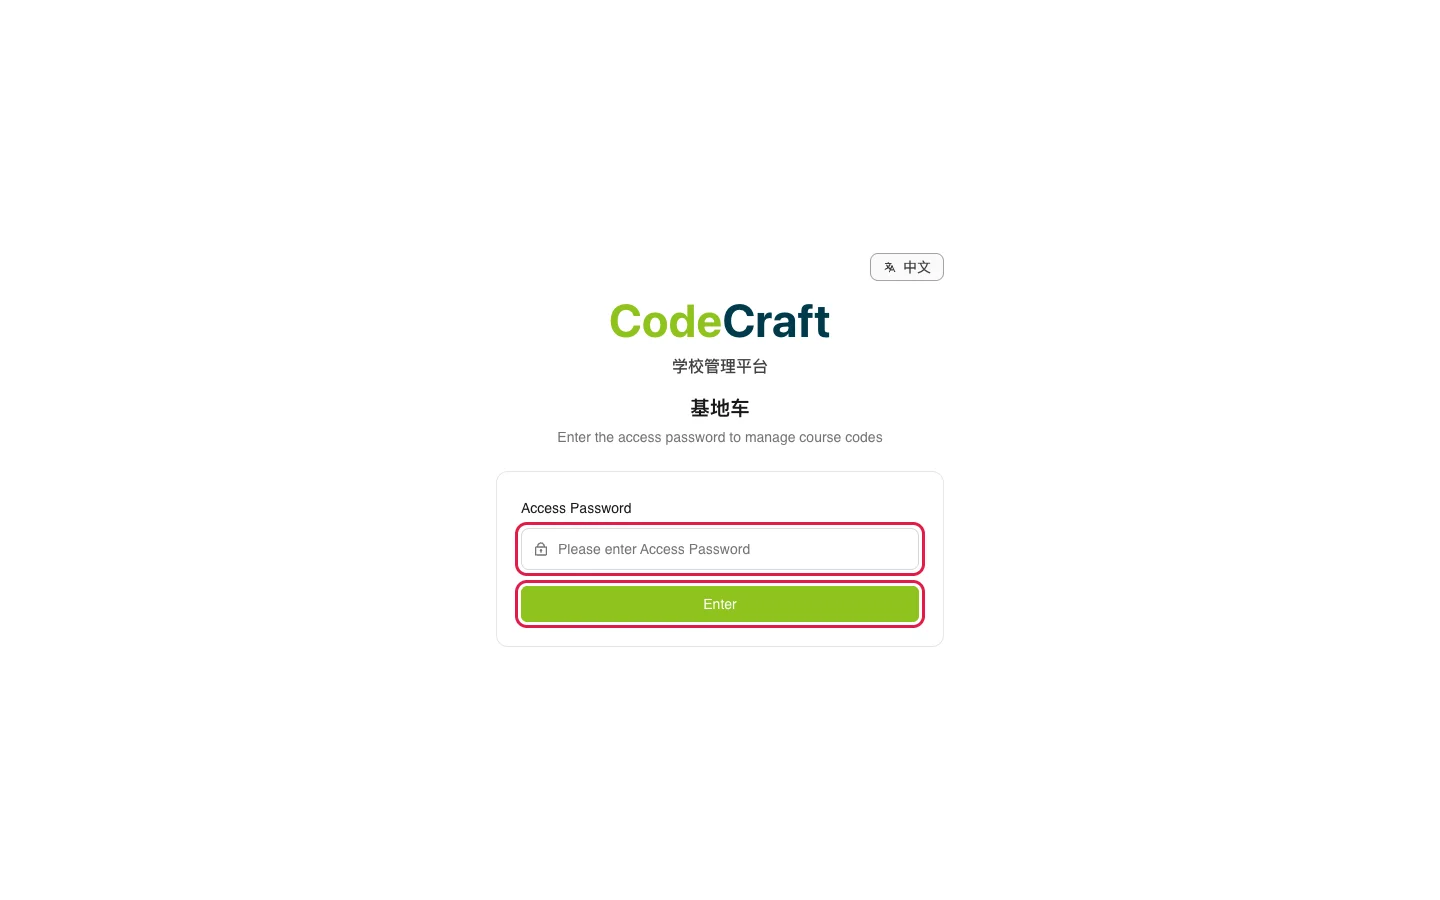
Section titled “Accessing the school admin portal”- In a browser, open your school admin link:
https://codecraft-admin.seeed.cc/s/<your-school-id> - Type your access password, then click Enter.
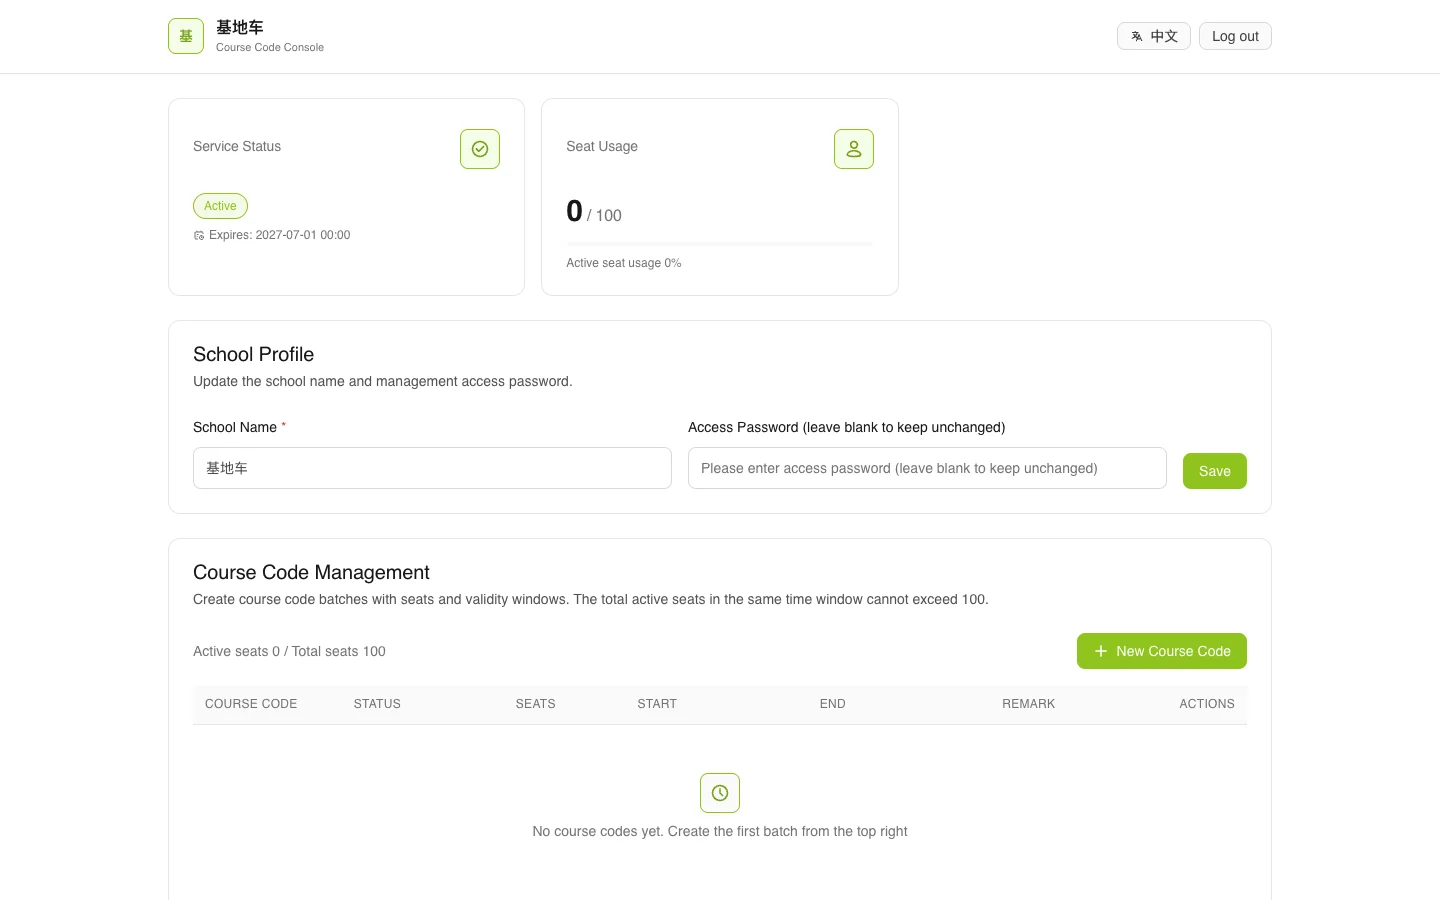
You are now in the school management console. The top shows your school name, plus Service Status (showing “Active” and the service expiry date) and Seat Usage (showing used seats / total seats, for example 0 / 100).
Managing your school
Section titled “Managing your school”Keep the access password safe
Anyone who has the access password can manage your school, so keep it tightly controlled and update it regularly.
- In the console, find the School Profile card.
- To rename the school, edit School Name. To change the password, enter a new one in Access Password (leave blank to keep unchanged) — leaving it blank keeps the current password. Then click Save. The new password is required the next time anyone signs in.

Creating a course code
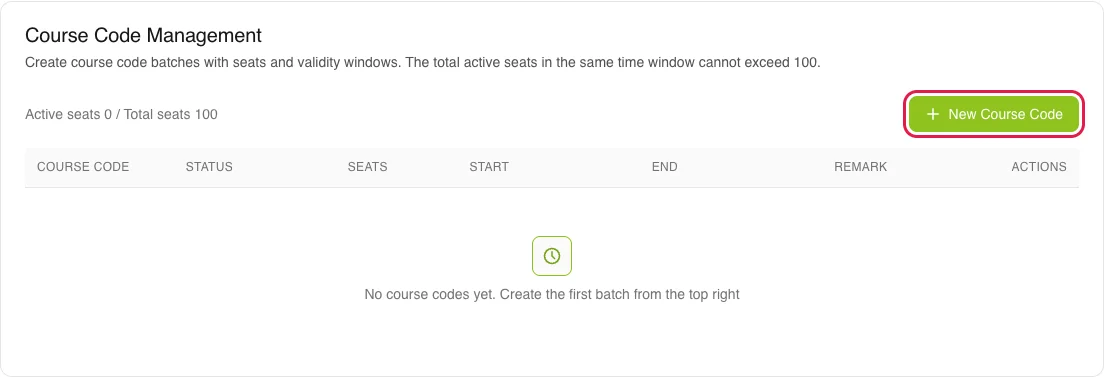
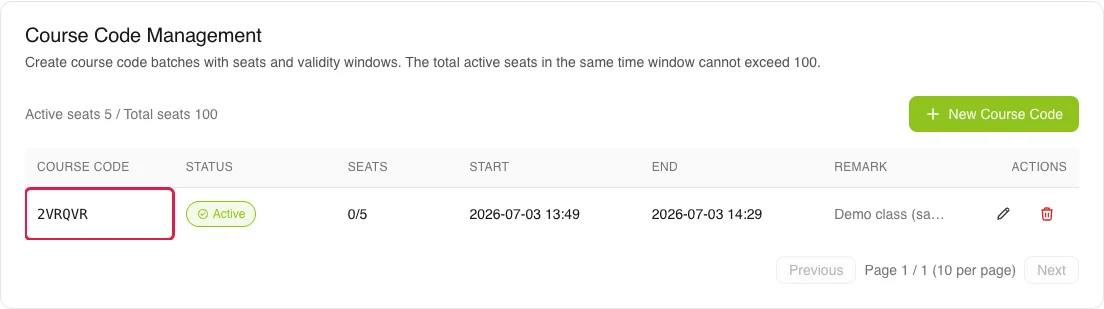
Section titled “Creating a course code”- In the console, go to the Course Code Management card. It shows current seat usage (active seats N / total seats 100) and the list of existing codes, with columns: Course Code, Status, Seats, Start, End, Remark, Actions.
- Click New Course Code in the top-right corner.
-
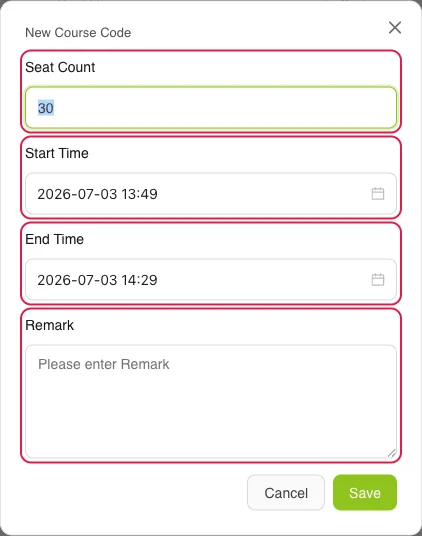
In the dialog, fill in:
- Seat Count — how many students can use the code at once, e.g. the number of students in one of your classes;
- Start Time — when the code becomes usable;
- End Time — when the code expires;
- Remark — optional, e.g. the class or lesson name.
Then click Save.
- A new course code appearing in the list (for example
FSBK83) means it was created successfully — copy it from there and hand it to your students. The Actions column lets you edit or delete the code.
These messages are shown to students when they sign in with a course code:
| Message | Meaning | What to do |
|---|---|---|
| Class code not found | The code is wrong, or it has been deleted | Check the code with your teacher; the teacher can verify it or create a new code in the admin portal |
| Class code not yet active, expired, or no seats left | Outside the validity window, or all seats are taken | Wait for the start time, or ask the teacher for a code with more seats |
| Class code expired | The code’s end time has passed | There is a 10-minute buffer for the teacher to extend the validity; after they extend it, click Retry to continue |
| Signed out due to inactivity | About 4 hours without activity; the system signs you out | Sign in again with the course code |