Install the system on the MicroSD Card
File Download
Download the system image from the official resource download page.
Prepare MicroSD Card
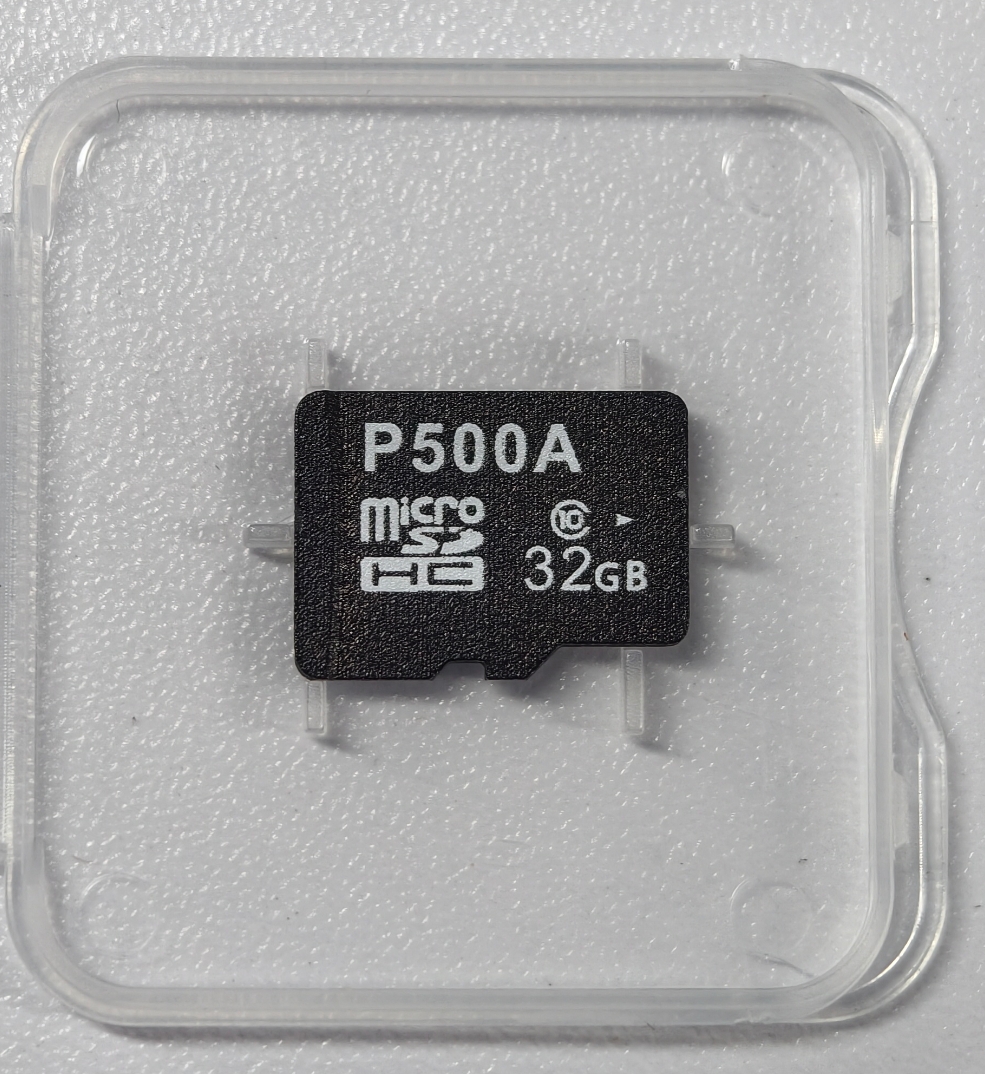
Insert the MicroSD card into an SD card reader, then connect the reader to your computer's USB port.
Flash the Image with balenaEtcher
It is recommended to use balenaEtcher to complete the flashing process.
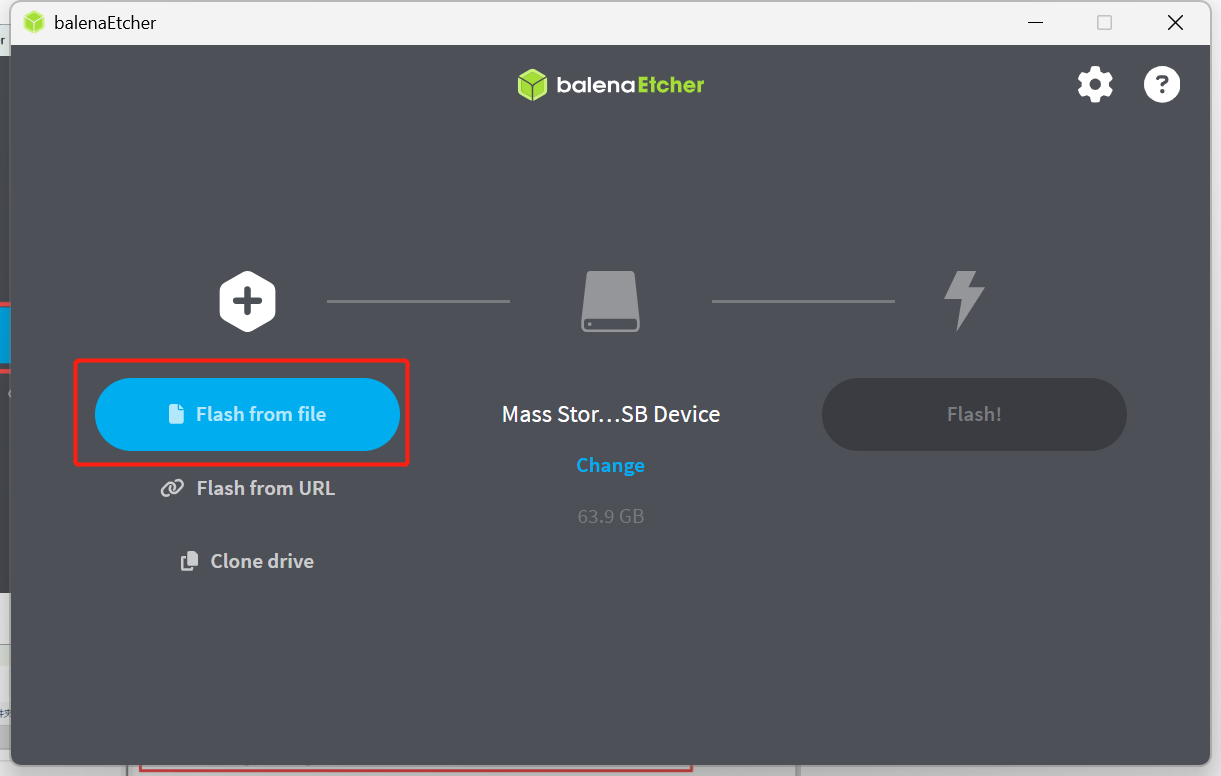
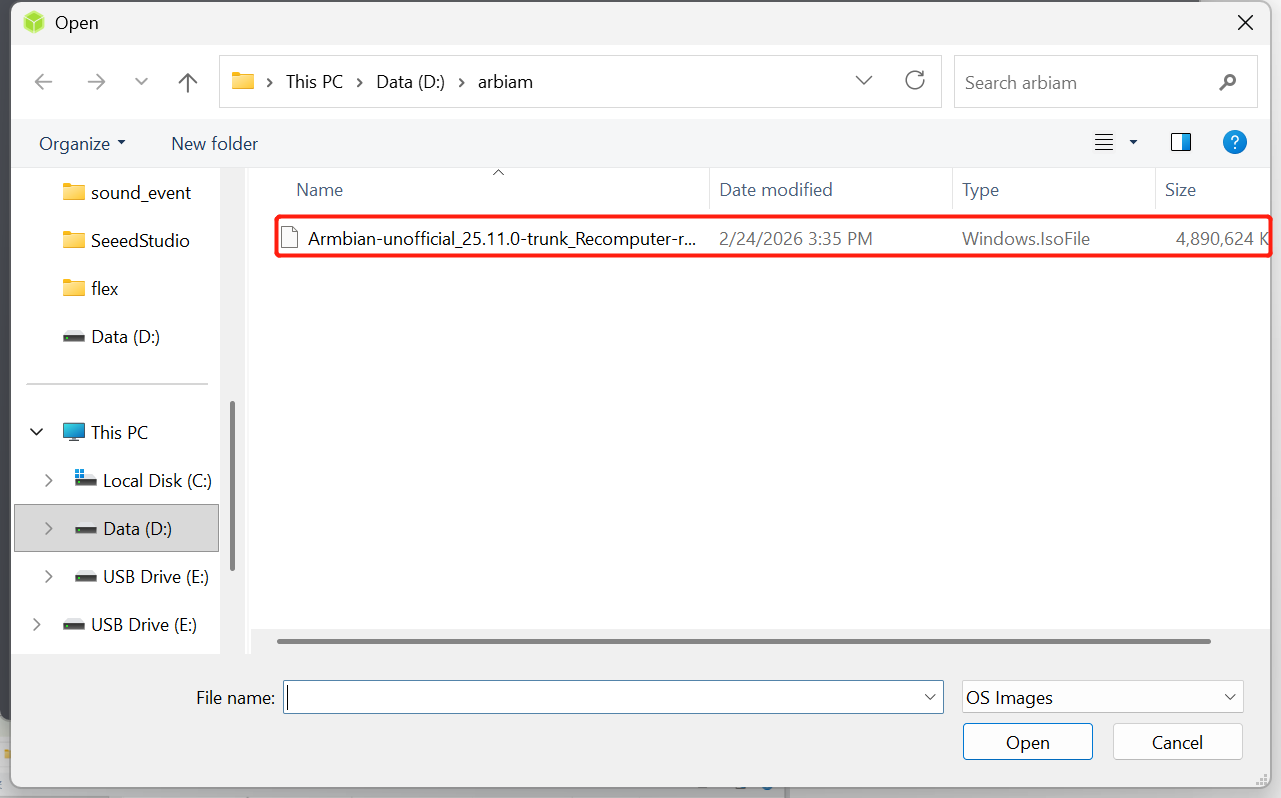
Click "Flash from file" and locate the downloaded .img file.
 Click "Select target" to choose your MicroSD card.
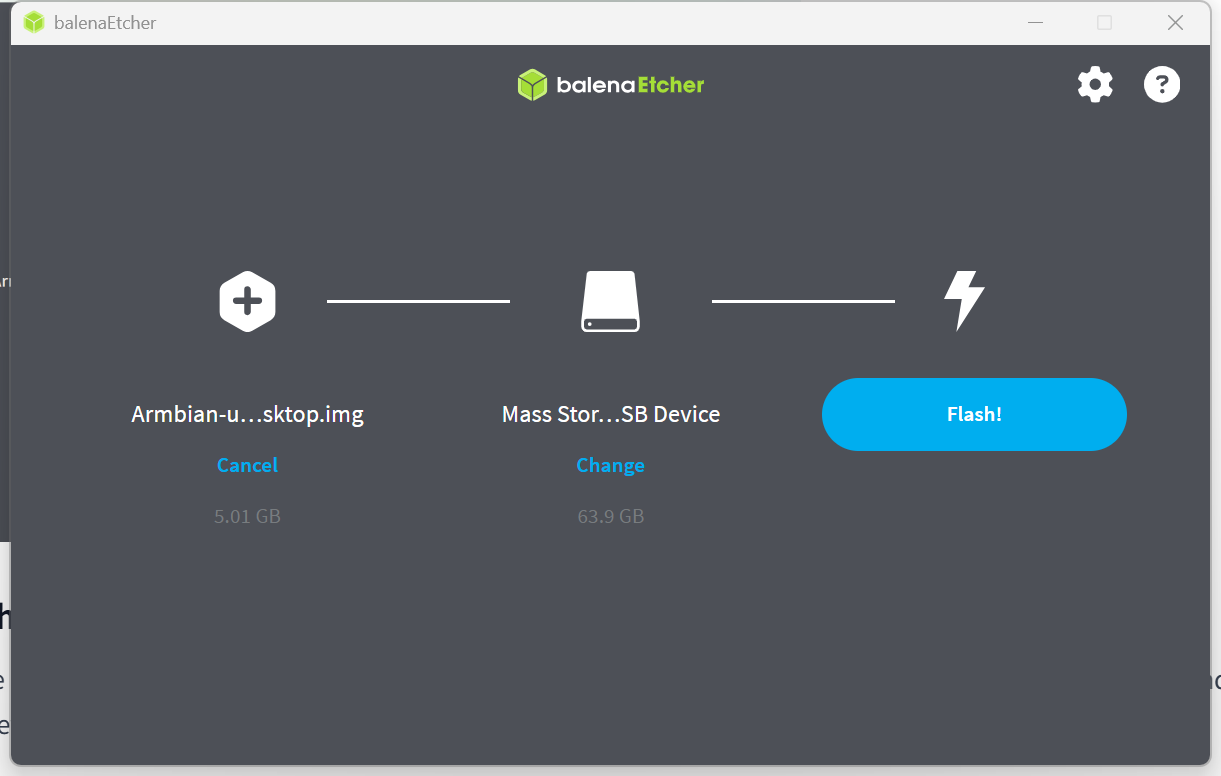
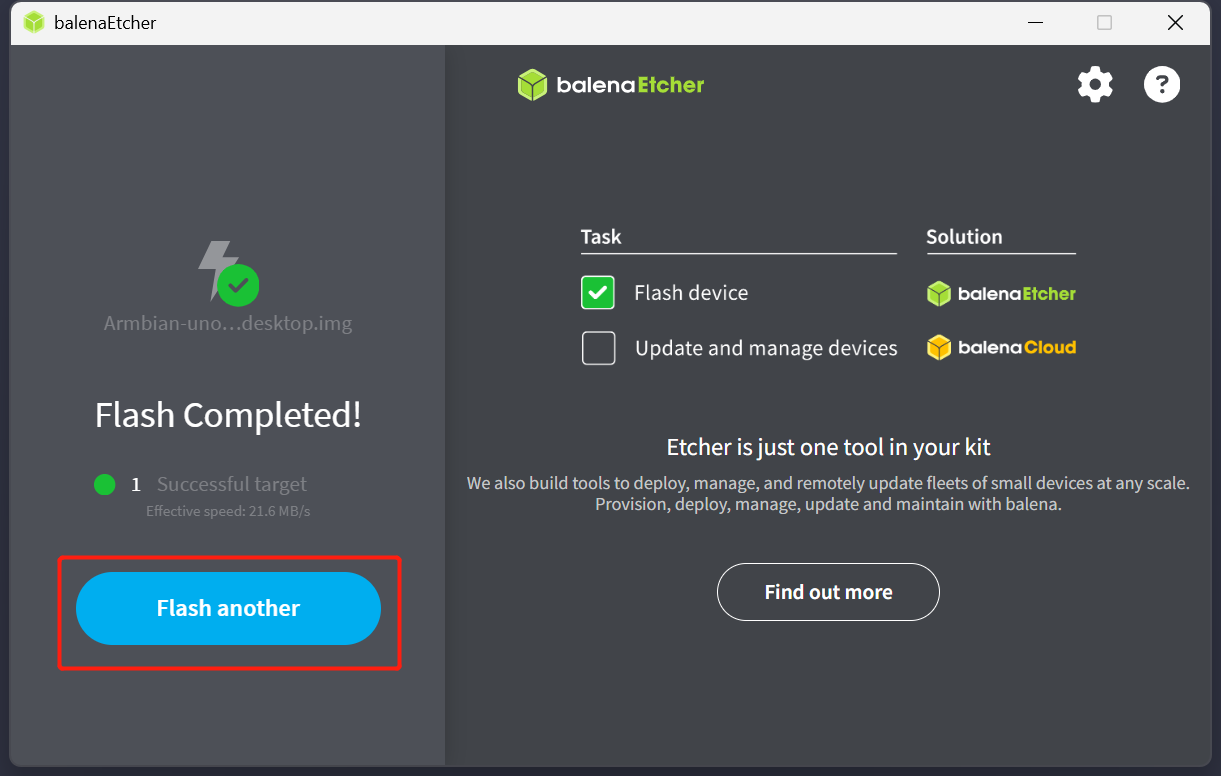
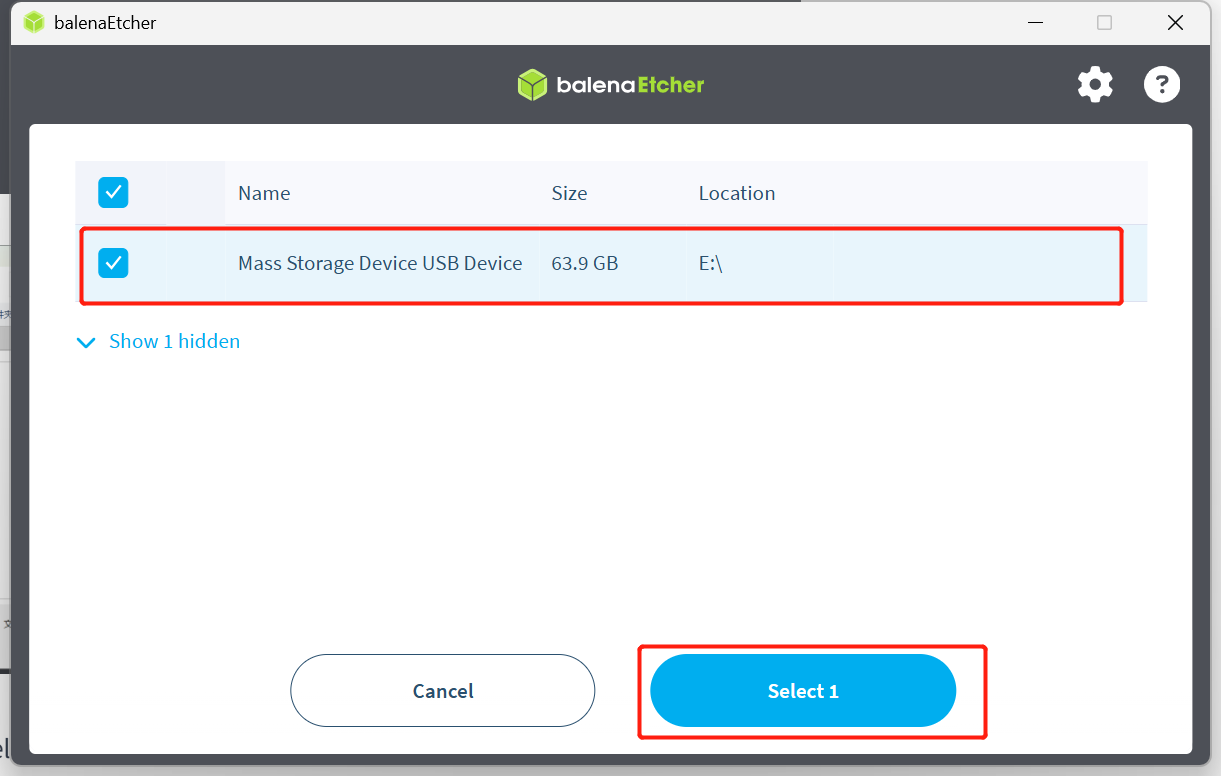 Click "Flash!" and wait for the process to complete.
Boot the System
Once the image is successfully written to the MicroSD card, insert it into the MicroSD card slot (as shown below) and power on the device. The system will begin to boot, and the desktop will be displayed on your HDMI monitor.
Log in to the System
Refer to the First Boot tutorial to complete the initial system startup and configuration settings.
Flash the Image with Armbian Imager
Armbian Imager is an official, lightweight firmware flashing tool specifically designed to quickly and securely write Armbian OS images to SD cards or USB flash drives.
Download link:https://armbian.com/imager
GitHub Repository:https://github.com/armbian/imager
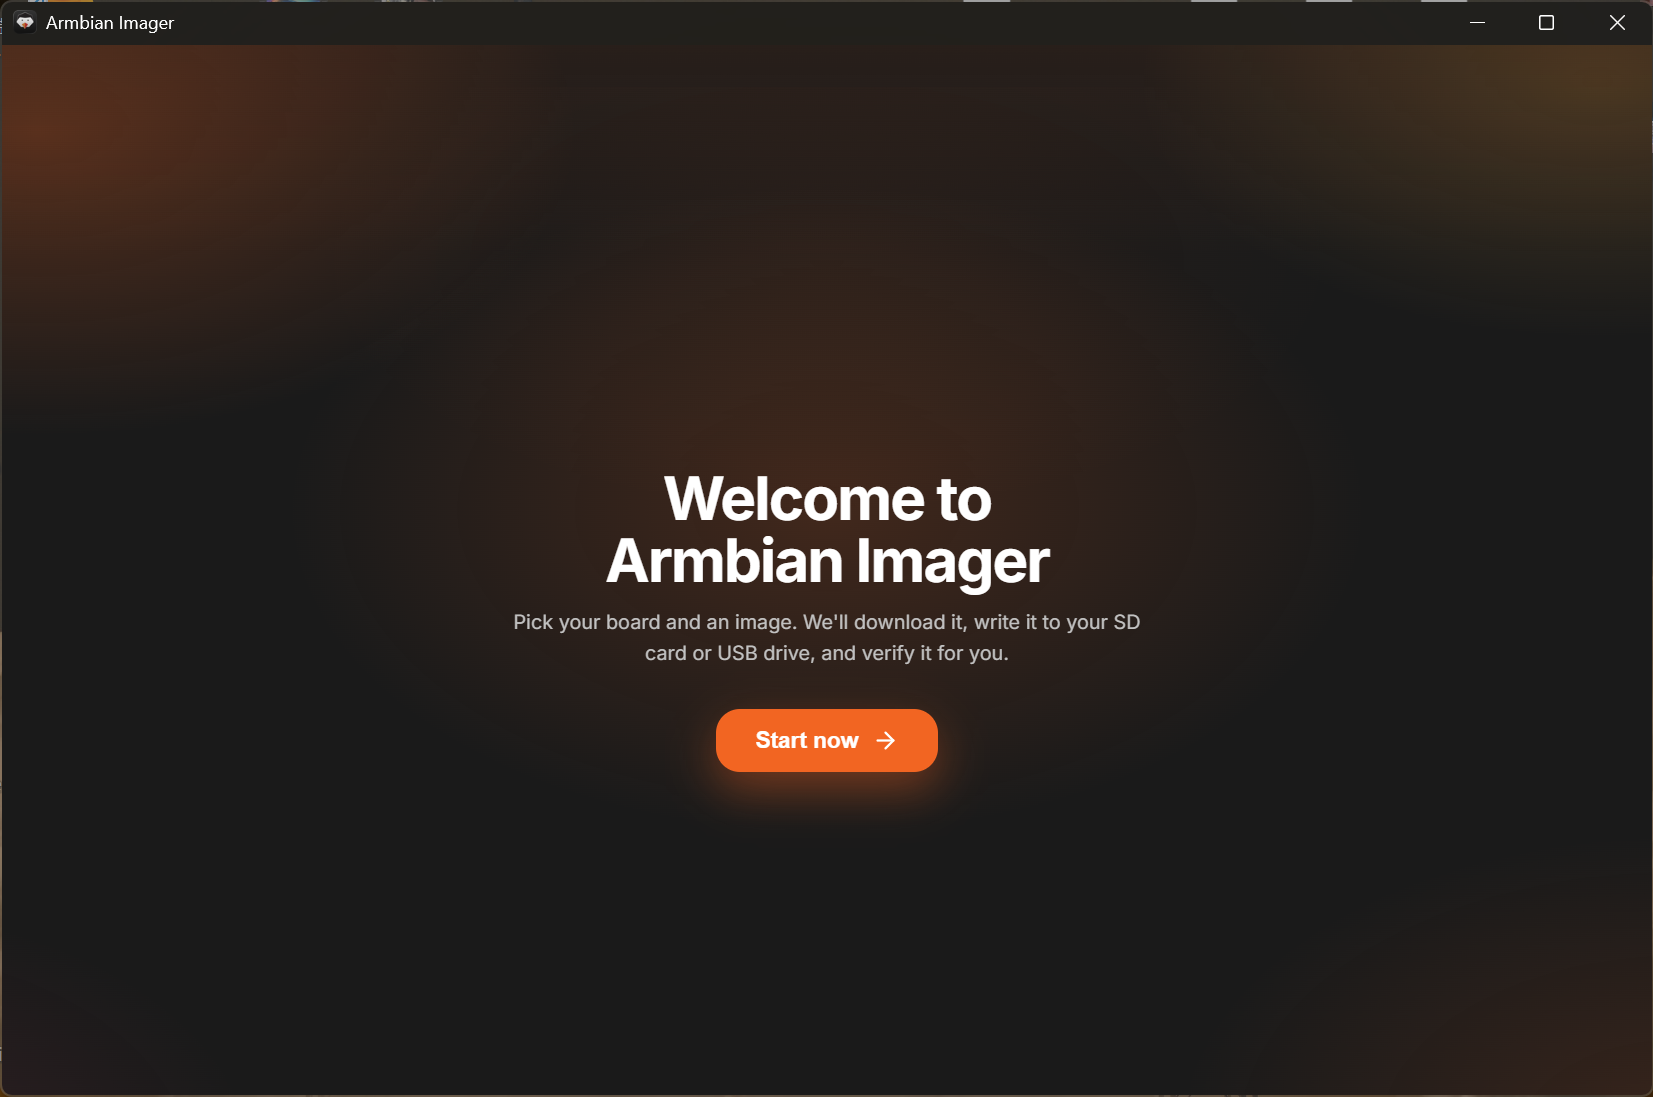
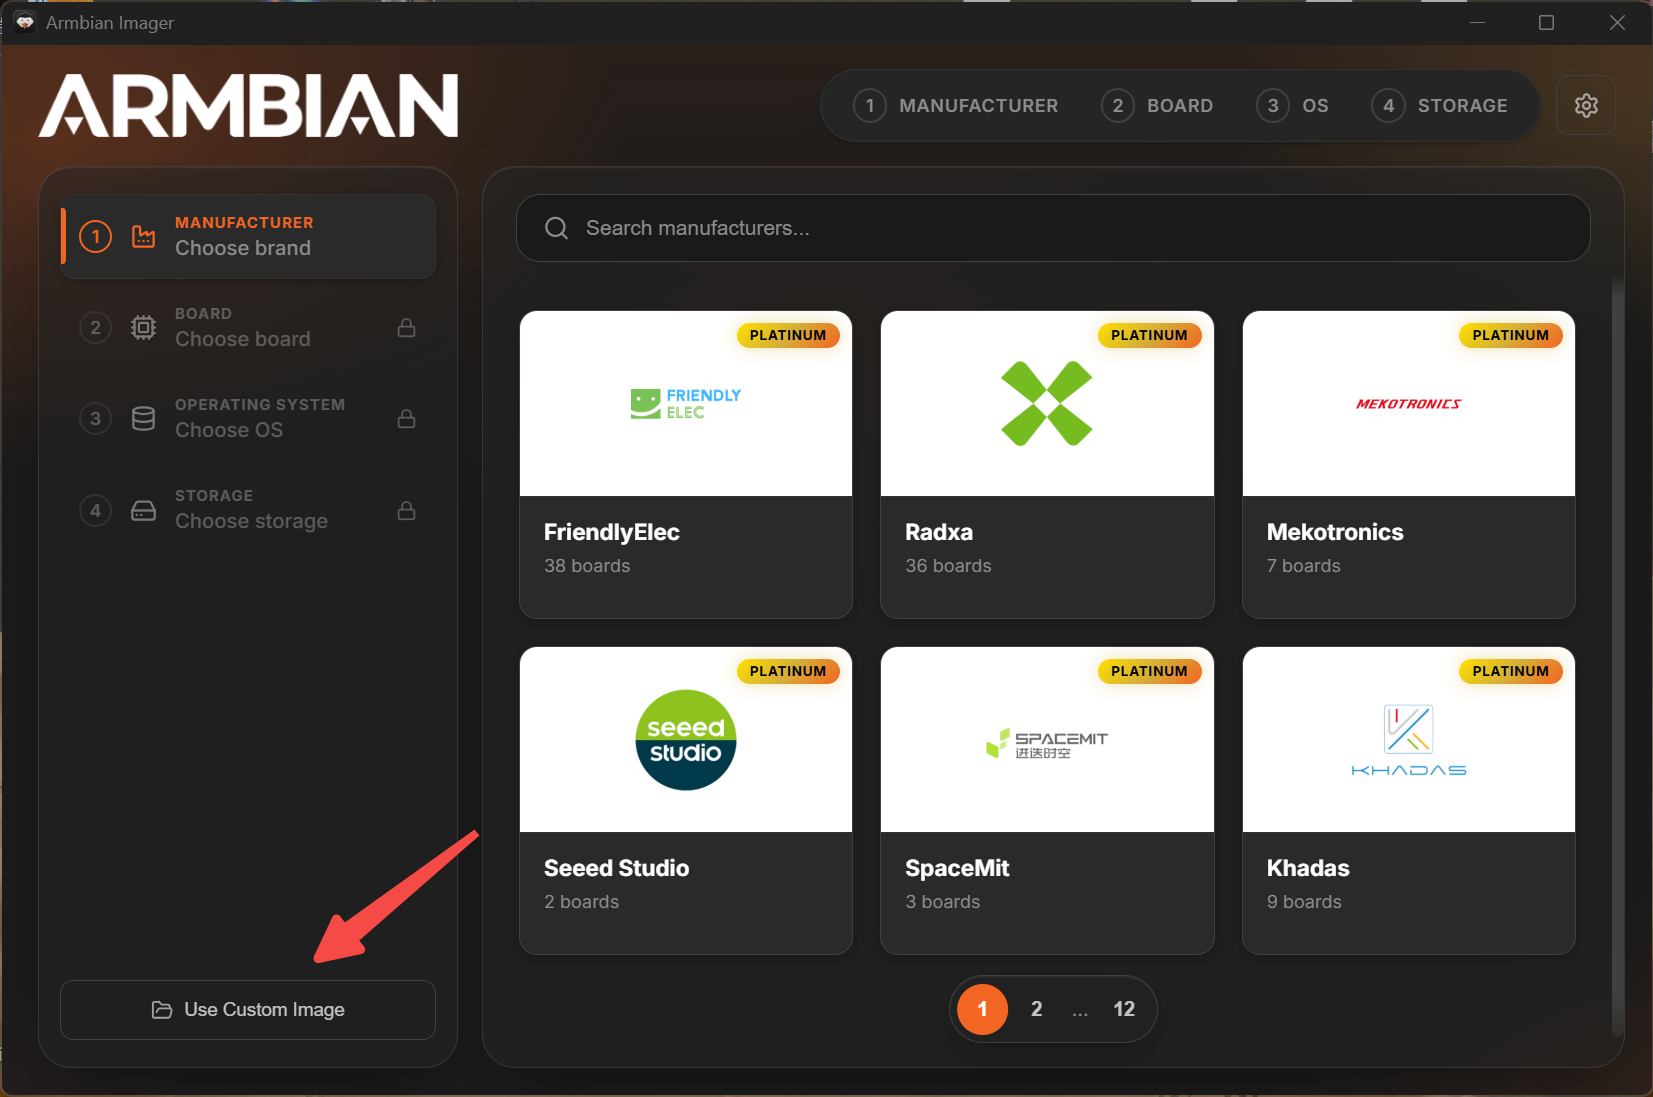
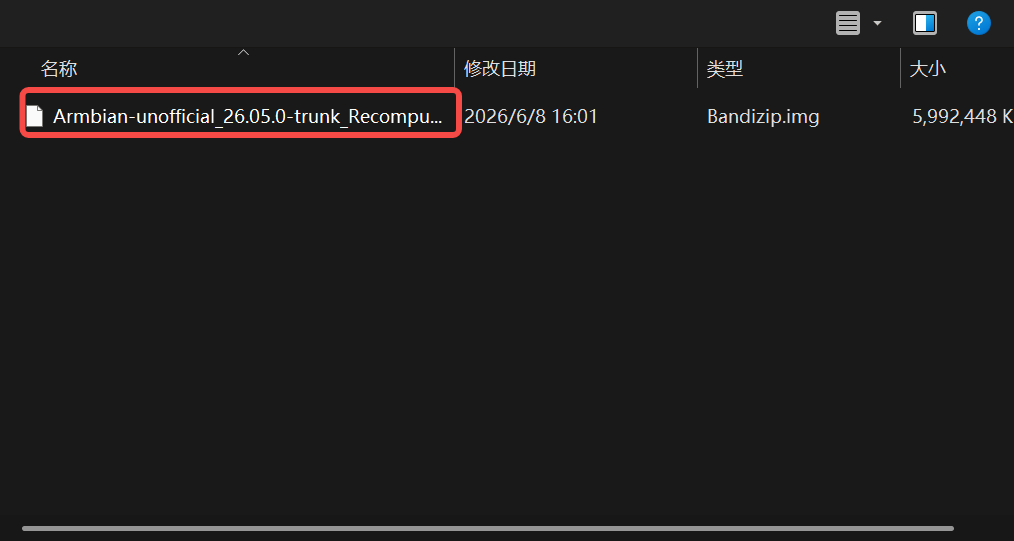
Click "Use Custom Image" and select the downloaded image file. (Image link: https://files.seeedstudio.com/RK3576/images.zip)
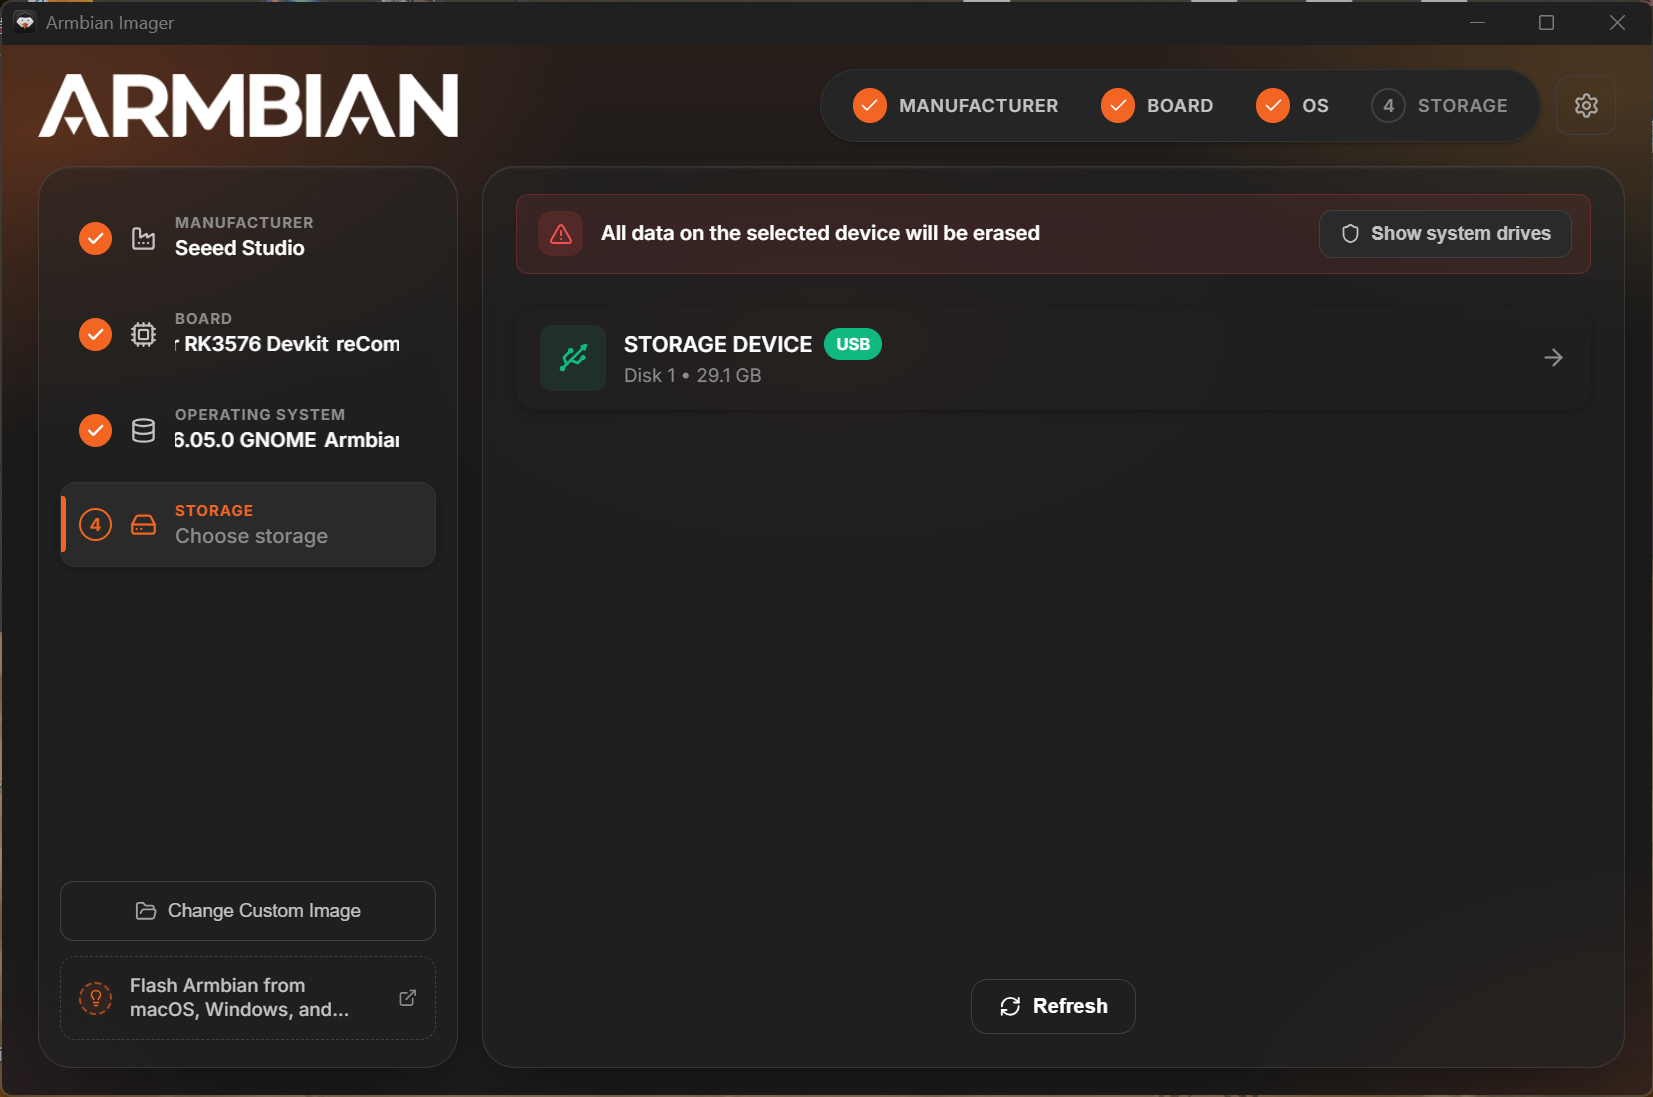
 Select the corresponding SD card for storage.
 Configure the pre-flashing settings.
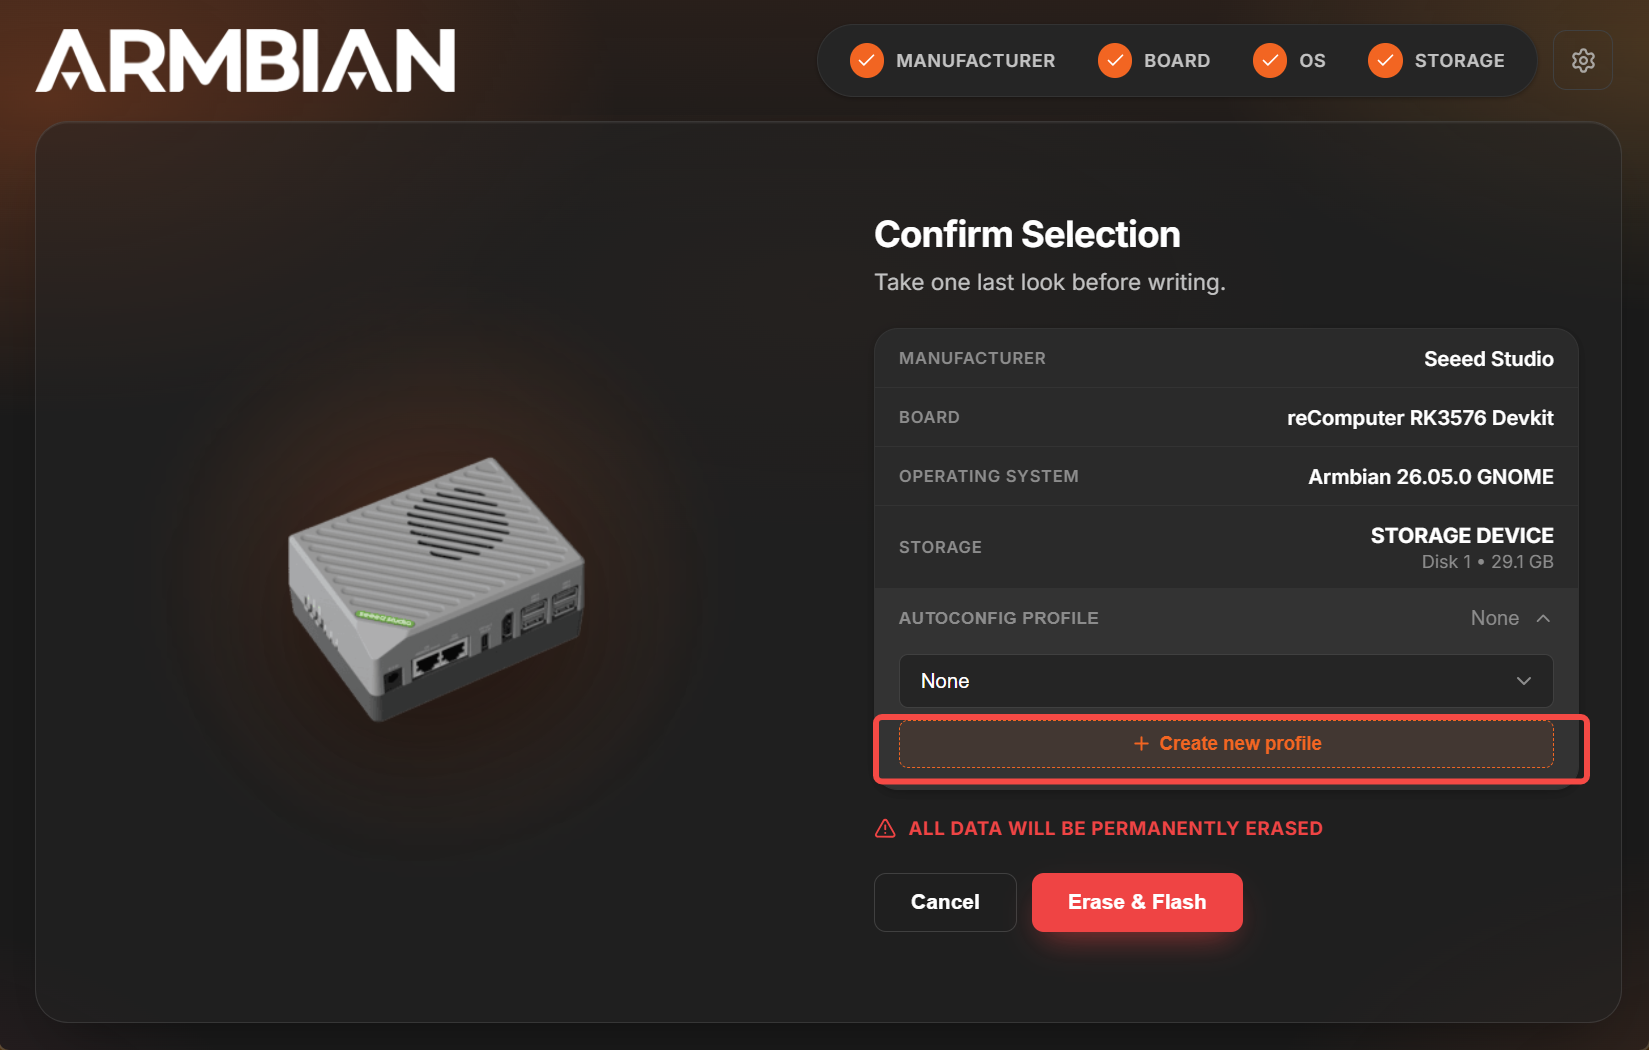
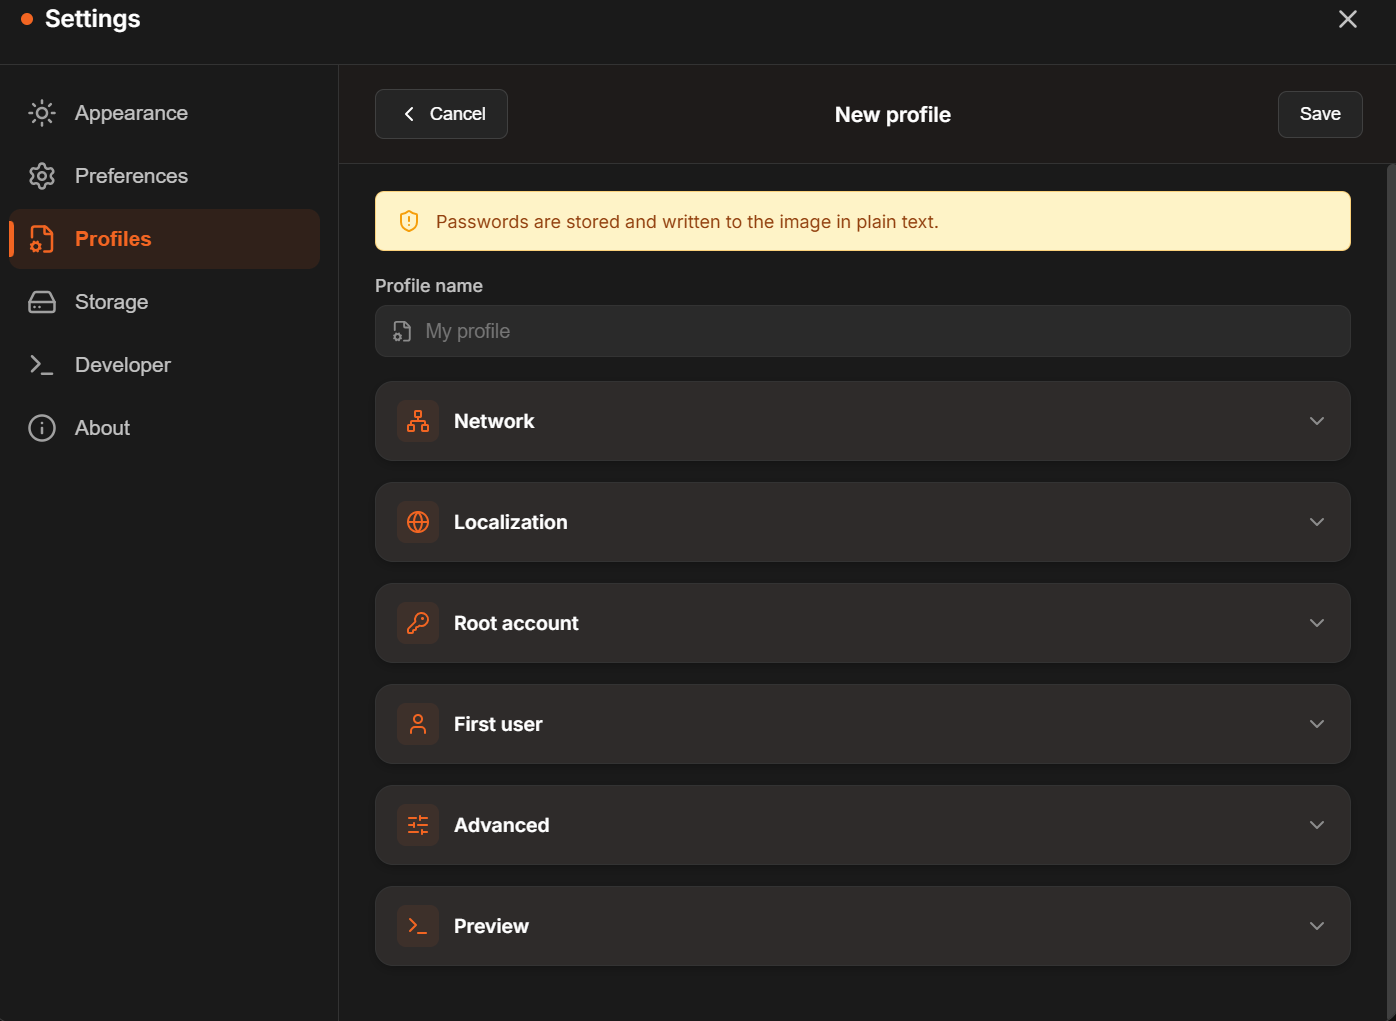
Once configured, name and select the profile, then proceed to flash.
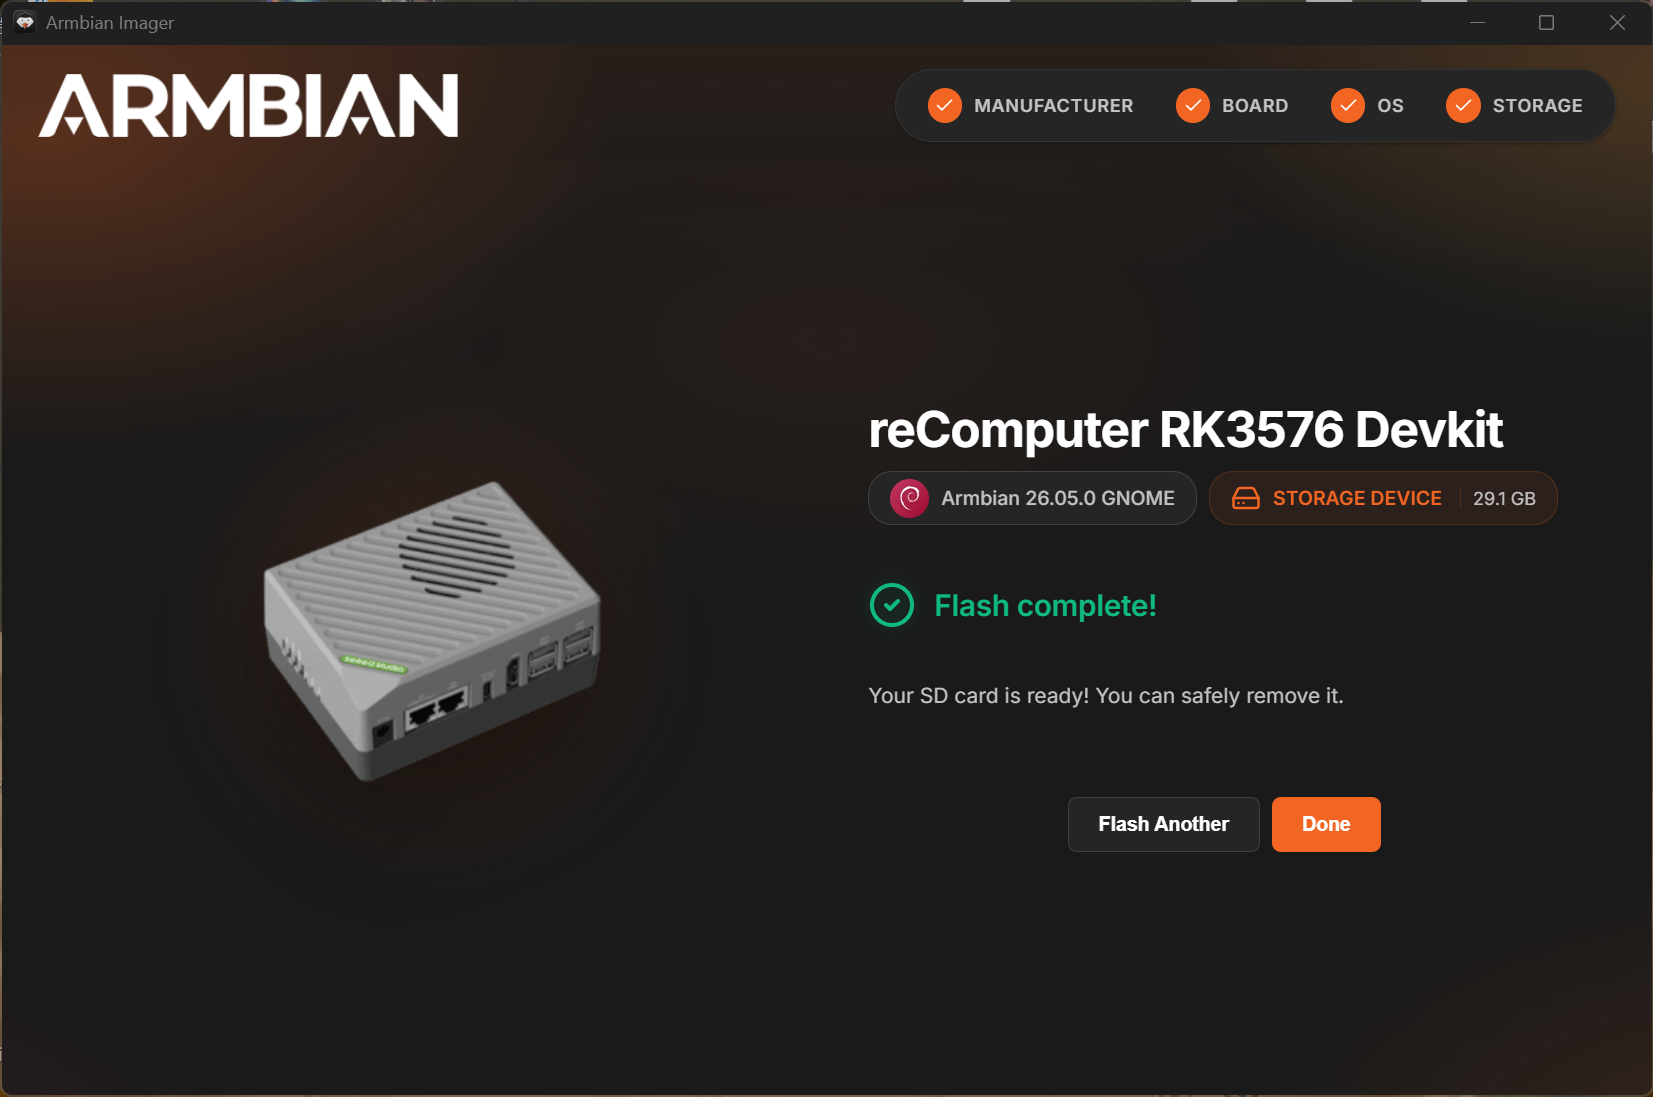
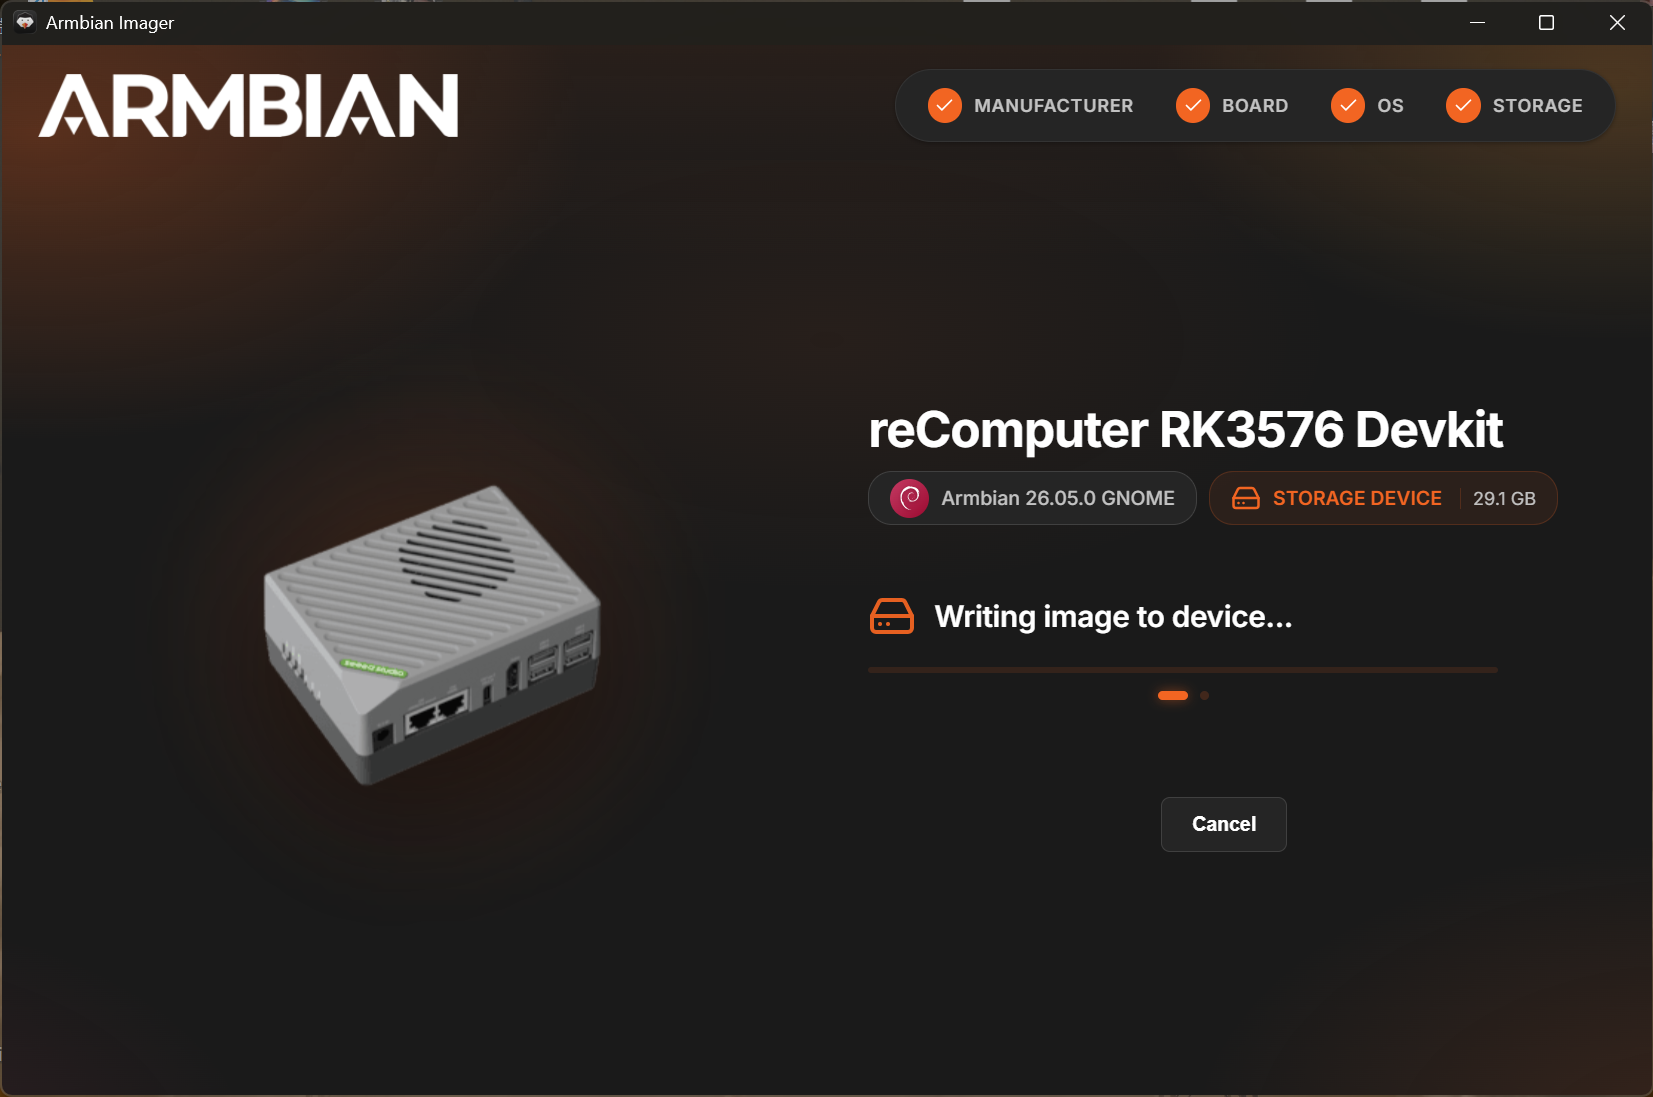 Flashing complete.