使用 SSCMACore 库输出模型信息
本 wiki 提供了一个分步指南,介绍如何使用 SSCMACore(Seeed SenseCraft Model Assistant Core)库为 XIAO ESP32S3 Sense 开发板在 SenseCraft AI 上配置模型输出。通过遵循这些说明,您将能够设置您的 XIAO ESP32S3 Sense 以使用预训练模型,并利用 SSCMACore 库处理模型的输出。
在继续之前,请确保您具备以下条件:
- XIAO ESP32S3 Sense
- 用于将 XIAO ESP32S3 Sense 连接到计算机的 USB-C 数据线
- 安装了 Seeed_Arduino_SSCMACore 库的 Arduino IDE
| XIAO ESP32S3 Sense |
|---|
 |
步骤 1. 确保模型已加载到 XIAO ESP32S3 Sense 上
Section titled “步骤 1. 确保模型已加载到 XIAO ESP32S3 Sense 上”在继续之前,请确保您的 XIAO ESP32S3 Sense 开发板已加载了训练好的模型。如果您还没有加载模型,请参考 SenseCraft AI 文档了解如何训练和部署模型到您的设备。
如果您想使用自己训练的模型,可以参考以下两个 Wiki。
步骤 2. 设置 SSCMA 库
Section titled “步骤 2. 设置 SSCMA 库”从 GitHub 仓库下载 Seeed_Arduino_SSCMACore 库。
按照以下步骤将下载的库添加到您的 Arduino 环境中:
- 打开 Arduino IDE。
- 转到 Sketch -> Include Library -> Add .ZIP Library。
- 导航到下载的 Seeed_Arduino_SSCMACore 库并选择它。
- 点击 Open 将库添加到您的 Arduino 环境中。
步骤 3. 选择并配置示例代码
Section titled “步骤 3. 选择并配置示例代码”SSCMA 库提供了两个示例代码,演示如何在 XIAO ESP32S3 Sense 开发板上处理模型输出。根据您的需求选择以下示例之一:
示例 1:推理
Section titled “示例 1:推理”- 打开
inference.ino示例代码。
#include <SSCMA_Micro_Core.h>
#include <Arduino.h>#include <esp_camera.h>

SET_LOOP_TASK_STACK_SIZE(40 * 1024);

SSCMAMicroCore instance;SSCMAMicroCore::VideoCapture capture;

void setup() {
    // Init serial port    Serial.begin(115200);
    // Init video capture    MA_RETURN_IF_UNEXPECTED(capture.begin(SSCMAMicroCore::VideoCapture::DefaultCameraConfigXIAOS3));
    // Init SSCMA Micro Core    MA_RETURN_IF_UNEXPECTED(instance.begin(SSCMAMicroCore::Config::DefaultConfig));
    Serial.println("Init done");
}
void loop() {
    auto frame = capture.getManagedFrame();
    MA_RETURN_IF_UNEXPECTED(instance.invoke(frame));
    for (const auto& box : instance.getBoxes()) {        Serial.printf("Box: x=%f, y=%f, w=%f, h=%f, score=%f, target=%d\n", box.x, box.y, box.w, box.h, box.score, box.target);    }
    for (const auto& cls : instance.getClasses()) {        Serial.printf("Class: target=%d, score=%f\n", cls.target, cls.score);    }
    for (const auto& point : instance.getPoints()) {        Serial.printf("Point: x=%f, y=%f, z=%f, score=%f, target=%d\n", point.x, point.y, point.z, point.score, point.target);    }
    for (const auto& kp : instance.getKeypoints()) {        Serial.printf("Keypoints: box: x=%f, y=%f, w=%f, h=%f, score=%f, target=%d\n", kp.box.x, kp.box.y, kp.box.w, kp.box.h, kp.box.score, kp.box.target);        for (const auto& point : kp.points) {            Serial.printf("Keypoint: x=%f, y=%f, z=%f, score=%f, target=%d\n", point.x, point.y, point.z, point.score, point.target);        }    }
    auto perf = instance.getPerf();    Serial.printf("Perf: preprocess=%dms, inference=%dms, postprocess=%dms\n", perf.preprocess, perf.inference, perf.postprocess);
}
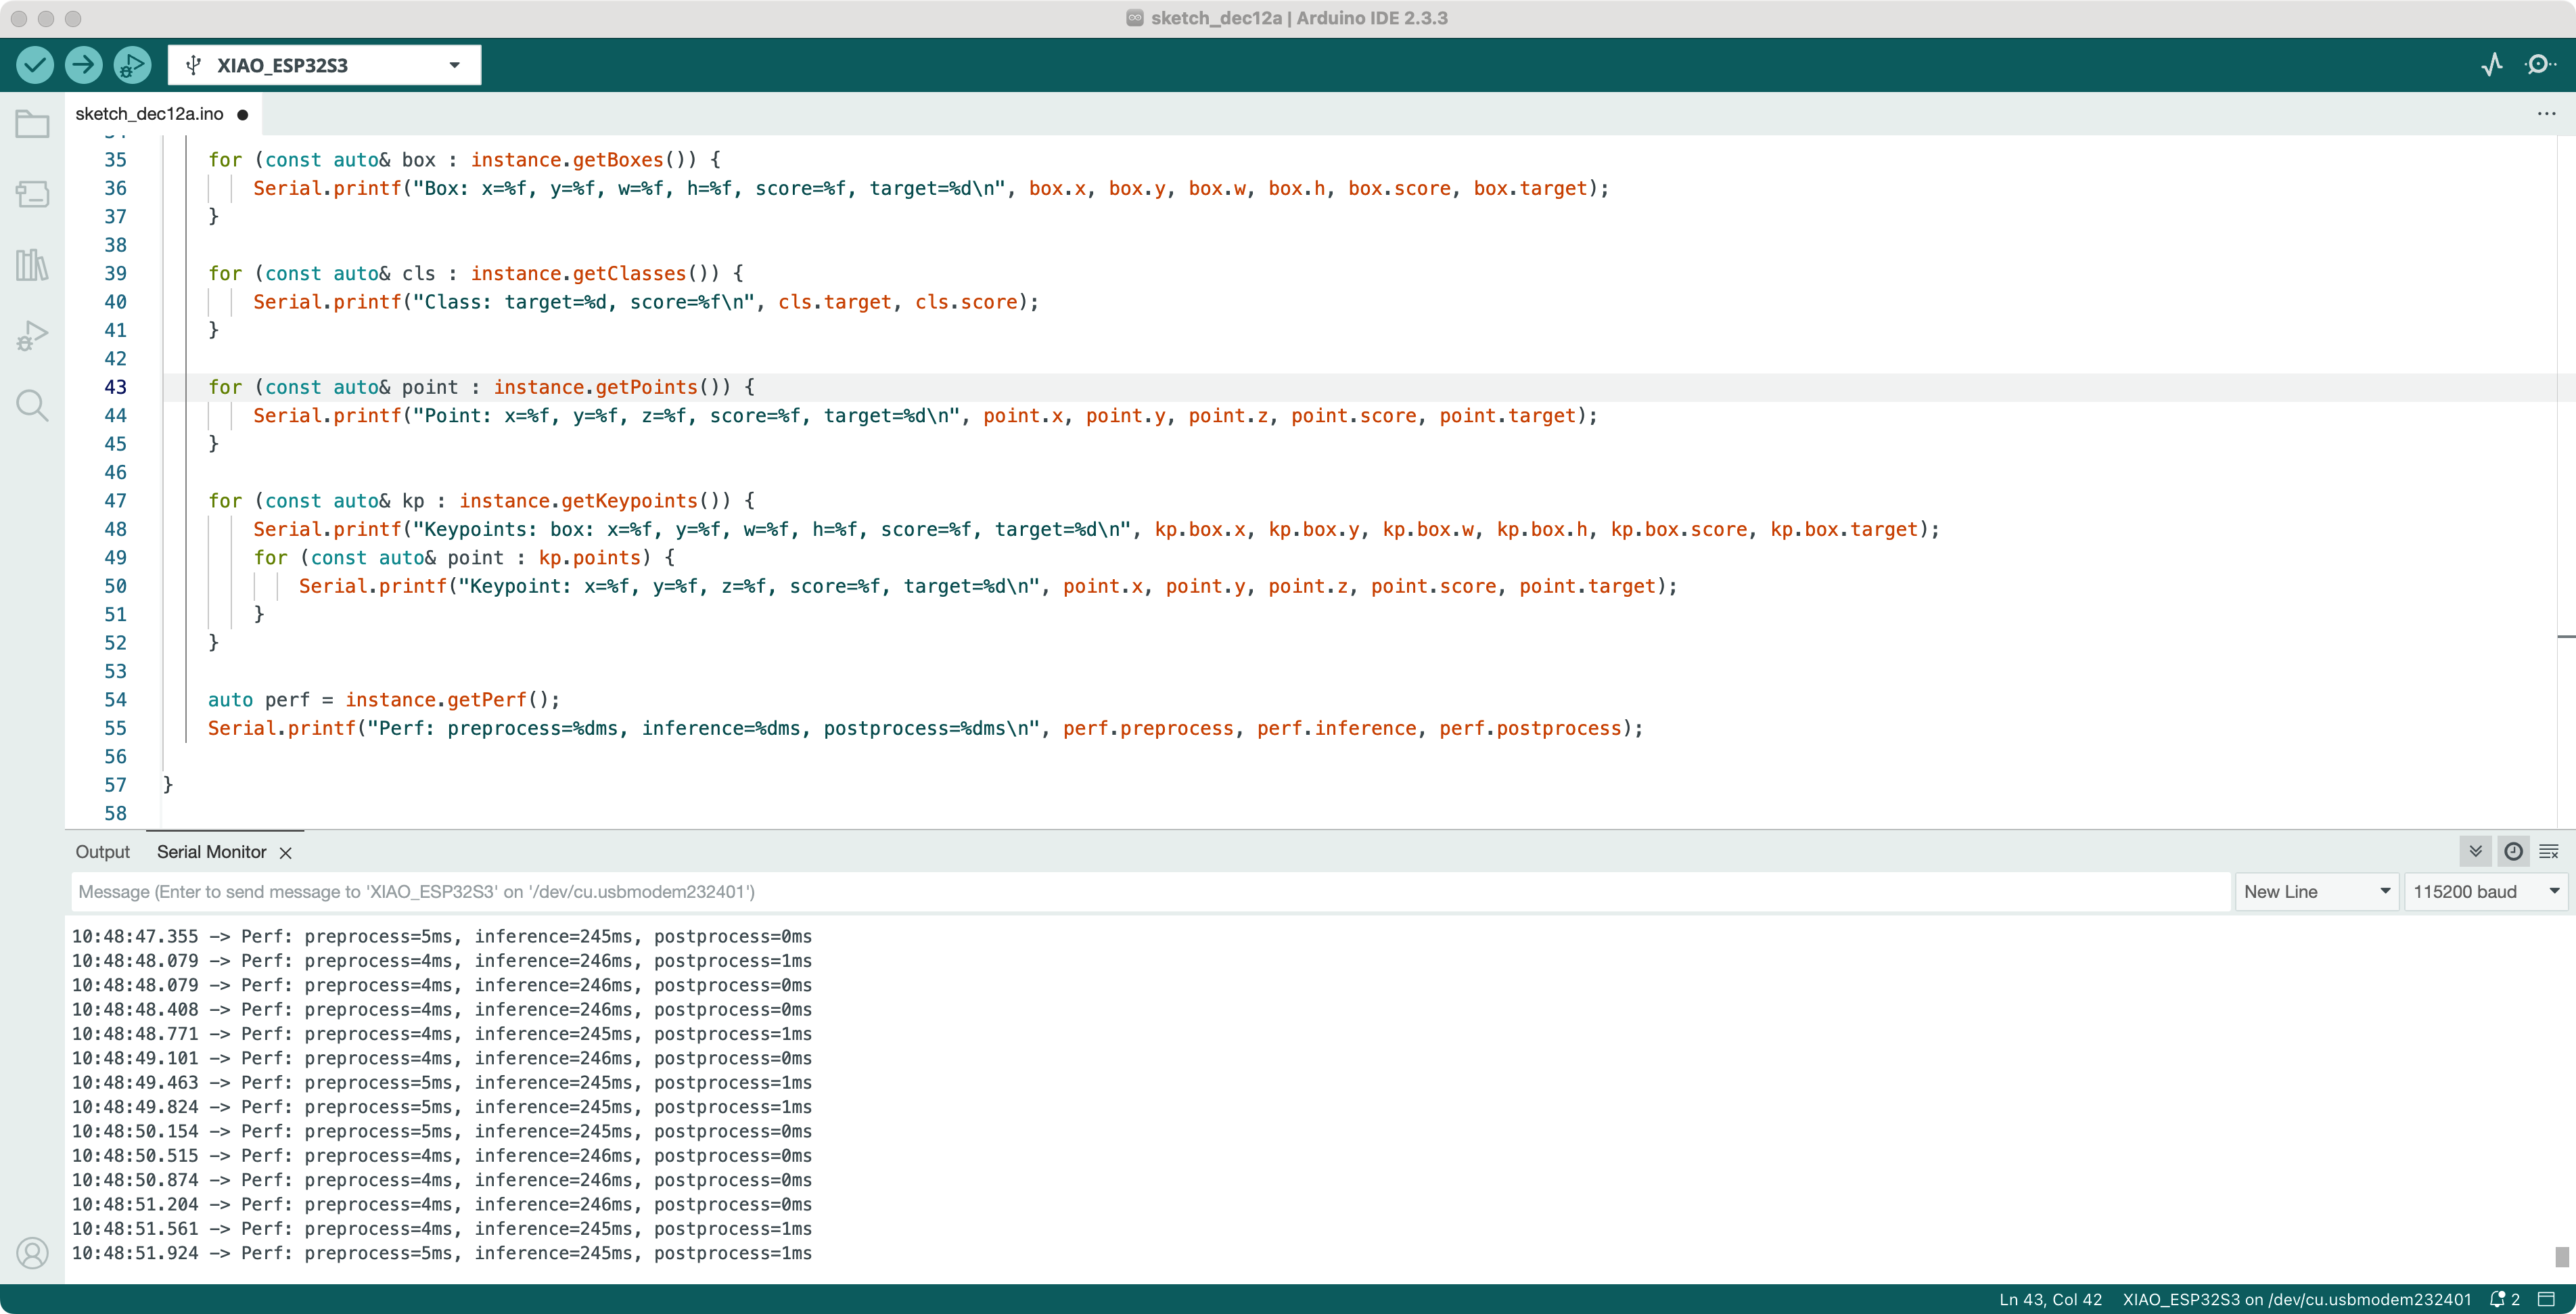
这个示例代码演示了如何使用 SSCMA 库执行推理并检索模型的输出,包括边界框、类别、点和关键点。代码初始化视频捕获、SSCMA Micro Core,并对摄像头捕获的每一帧执行推理。模型的输出,如边界框、类别、点和关键点,会打印到串行监视器。
示例 2:使用回调的推理
Section titled “示例 2:使用回调的推理”- 打开
inference_cb.ino示例代码。
#include <SSCMA_Micro_Core.h>
#include <Arduino.h>#include <esp_camera.h>

SET_LOOP_TASK_STACK_SIZE(40 * 1024);

SSCMAMicroCore instance;SSCMAMicroCore::VideoCapture capture;

void setup() {
    // Init serial port    Serial.begin(115200);
    // Init video capture    MA_RETURN_IF_UNEXPECTED(capture.begin(SSCMAMicroCore::VideoCapture::DefaultCameraConfigXIAOS3));
    // Init SSCMA Micro Core    MA_RETURN_IF_UNEXPECTED(instance.begin(SSCMAMicroCore::Config::DefaultConfig));
    instance.registerPerfCallback(SSCMAMicroCore::DefaultPerfCallback);    instance.registerBoxesCallback(SSCMAMicroCore::DefaultBoxesCallback);    instance.registerClassesCallback(SSCMAMicroCore::DefaultClassesCallback);    instance.registerPointsCallback(SSCMAMicroCore::DefaultPointsCallback);    instance.registerKeypointsCallback(SSCMAMicroCore::DefaultKeypointsCallback);
    Serial.println("Init done");
}
void loop() {
    auto frame = capture.getManagedFrame();
    MA_RETURN_IF_UNEXPECTED(instance.invoke(frame));
}
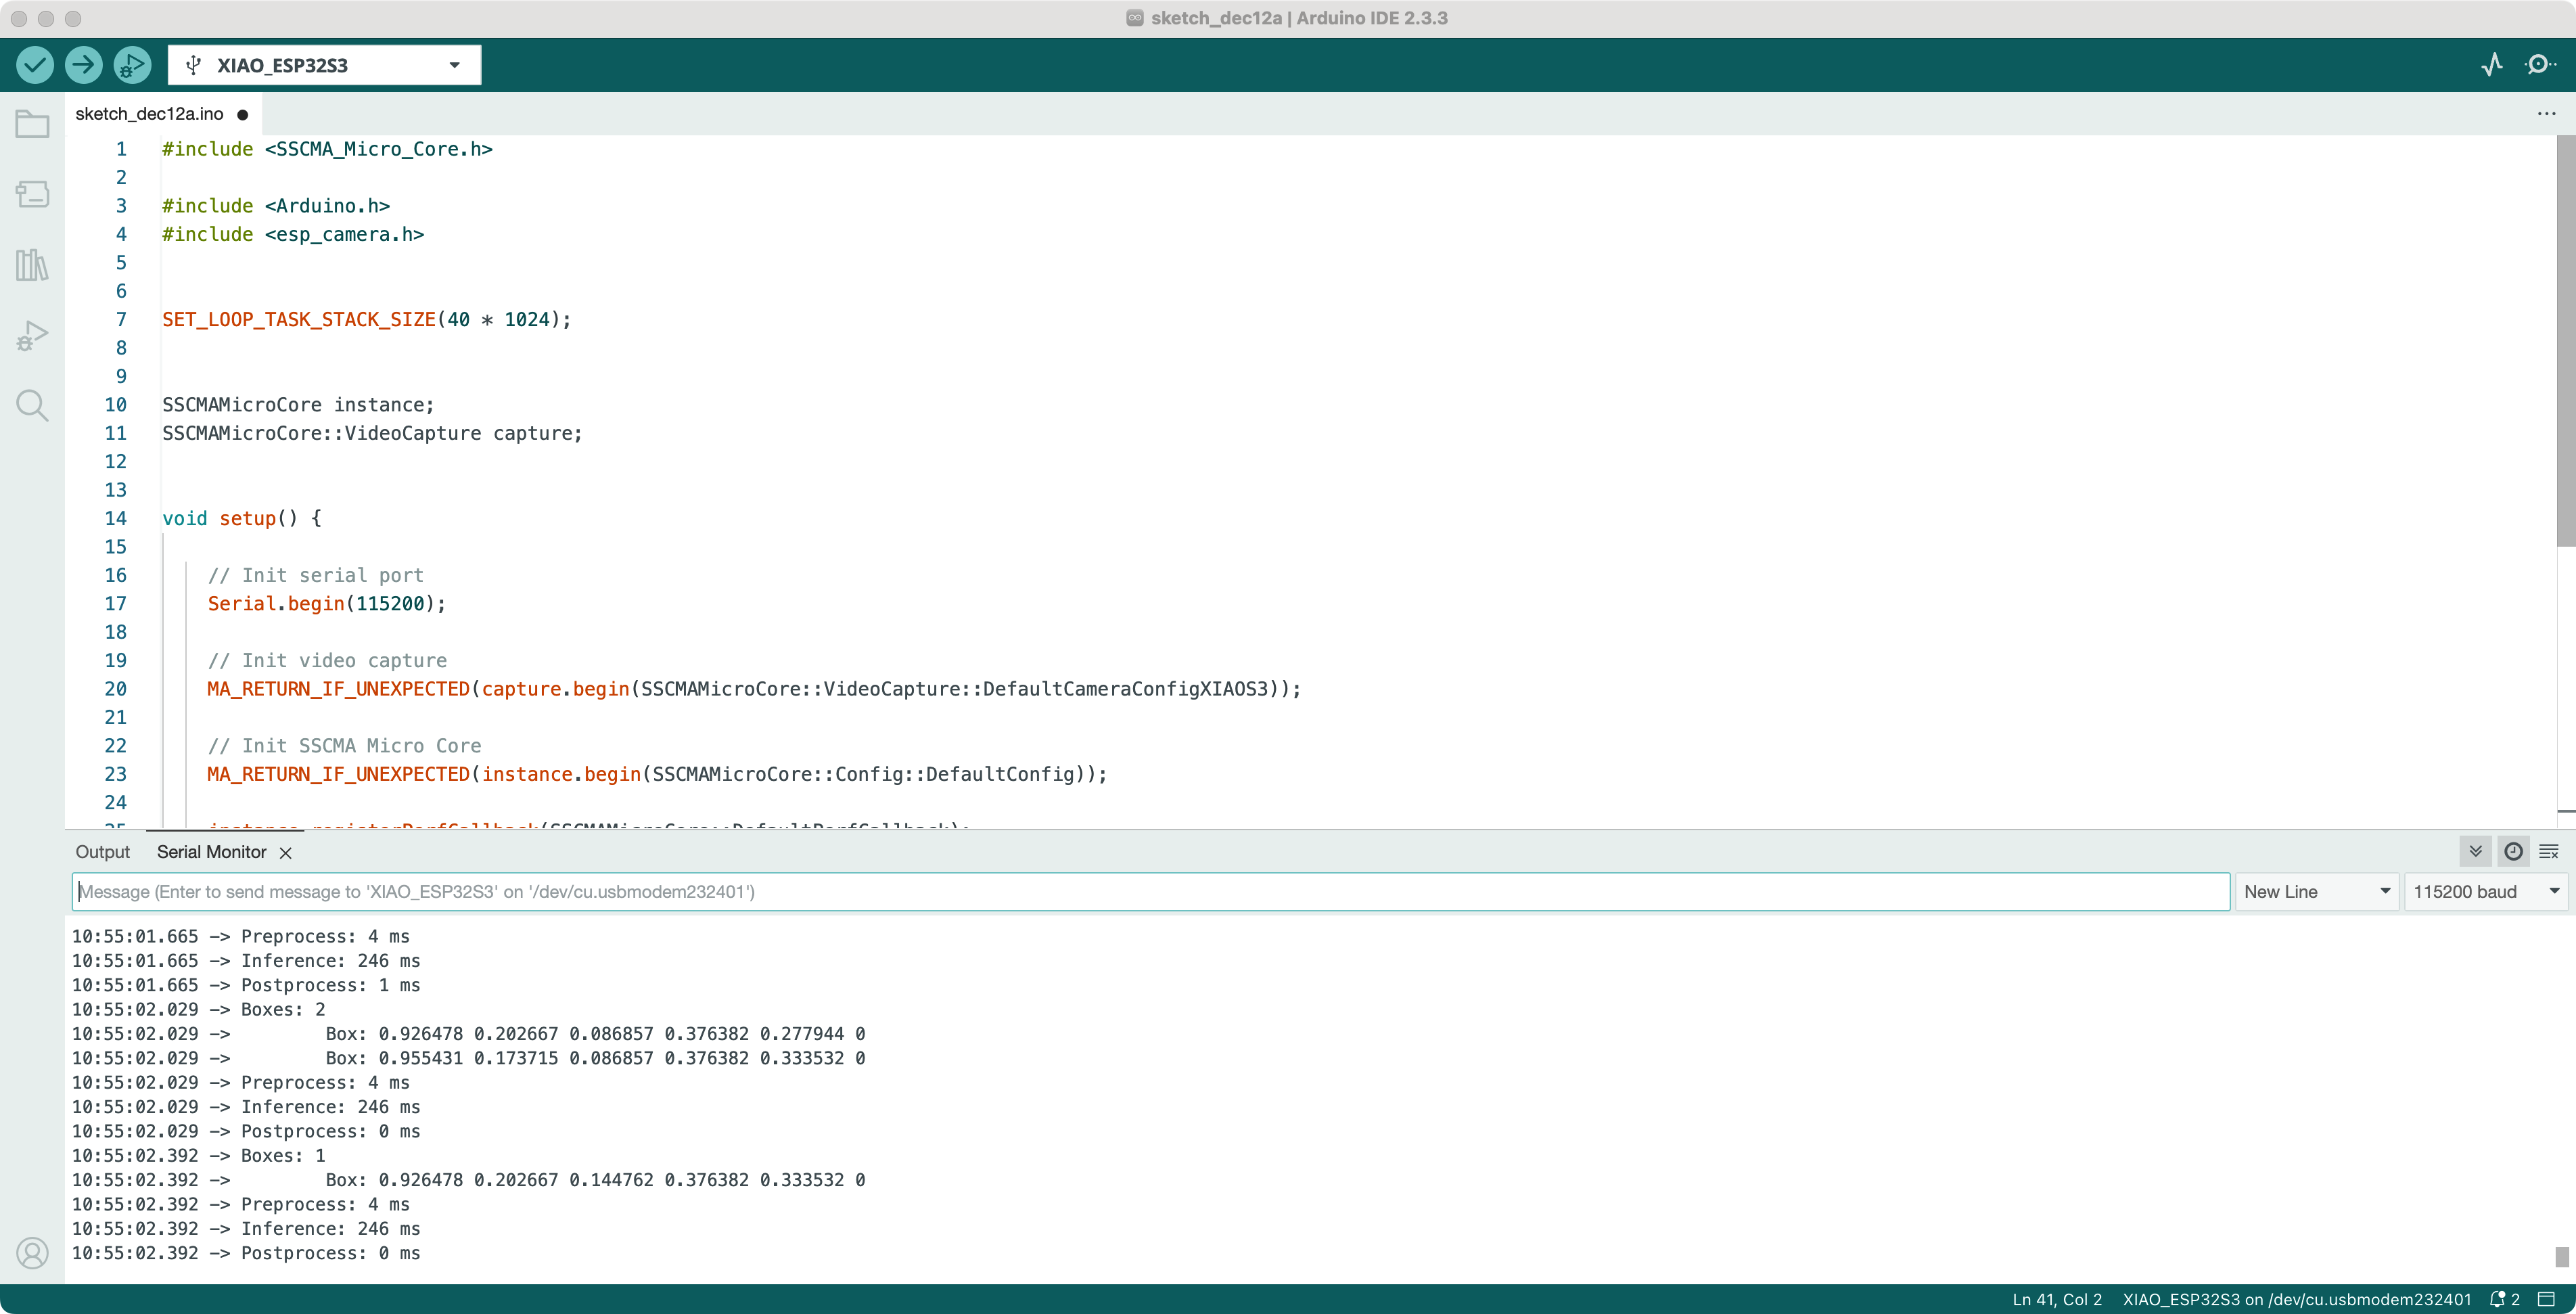
这个示例代码演示了如何使用 SSCMA 库执行推理并注册回调函数来处理模型的输出。代码初始化视频捕获、SSCMA Micro Core,并注册回调函数来处理性能指标、边界框、类别、点和关键点。在推理过程中,注册的回调函数会被调用,允许您自定义模型输出的处理方式。
步骤 4. 上传并运行代码
Section titled “步骤 4. 上传并运行代码”使用 USB-C 数据线将您的 XIAO ESP32S3 Sense 开发板连接到计算机。在 Arduino IDE 中打开选定的示例代码(inference.ino 或 inference_cb.ino)。
在 Arduino IDE 中选择适当的开发板和端口:
- 转到 工具 -> 开发板 并选择 “XIAO ESP32S3 Sense”。
- 转到 工具 -> 端口 并选择您的 XIAO ESP32S3 Sense 连接的端口。
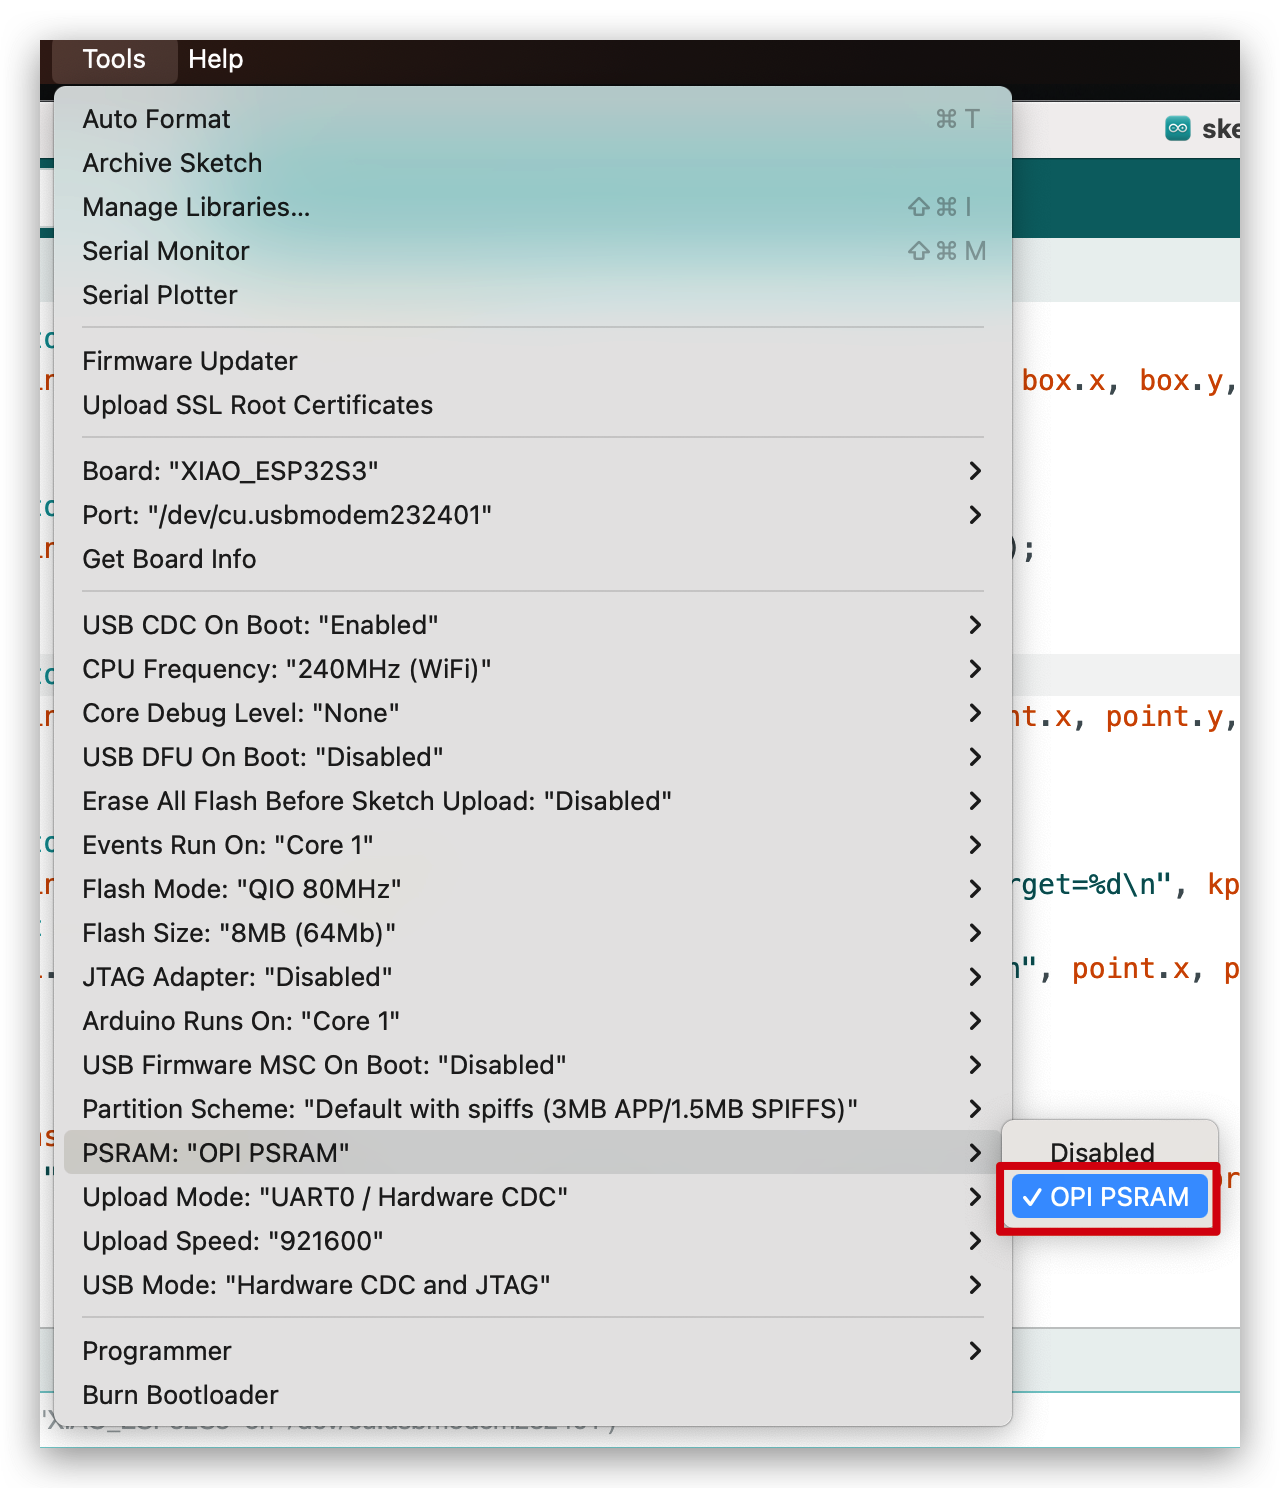
- 转到 工具 -> PSRAM -> OPI PSRAM。请确保打开 PSRAM!
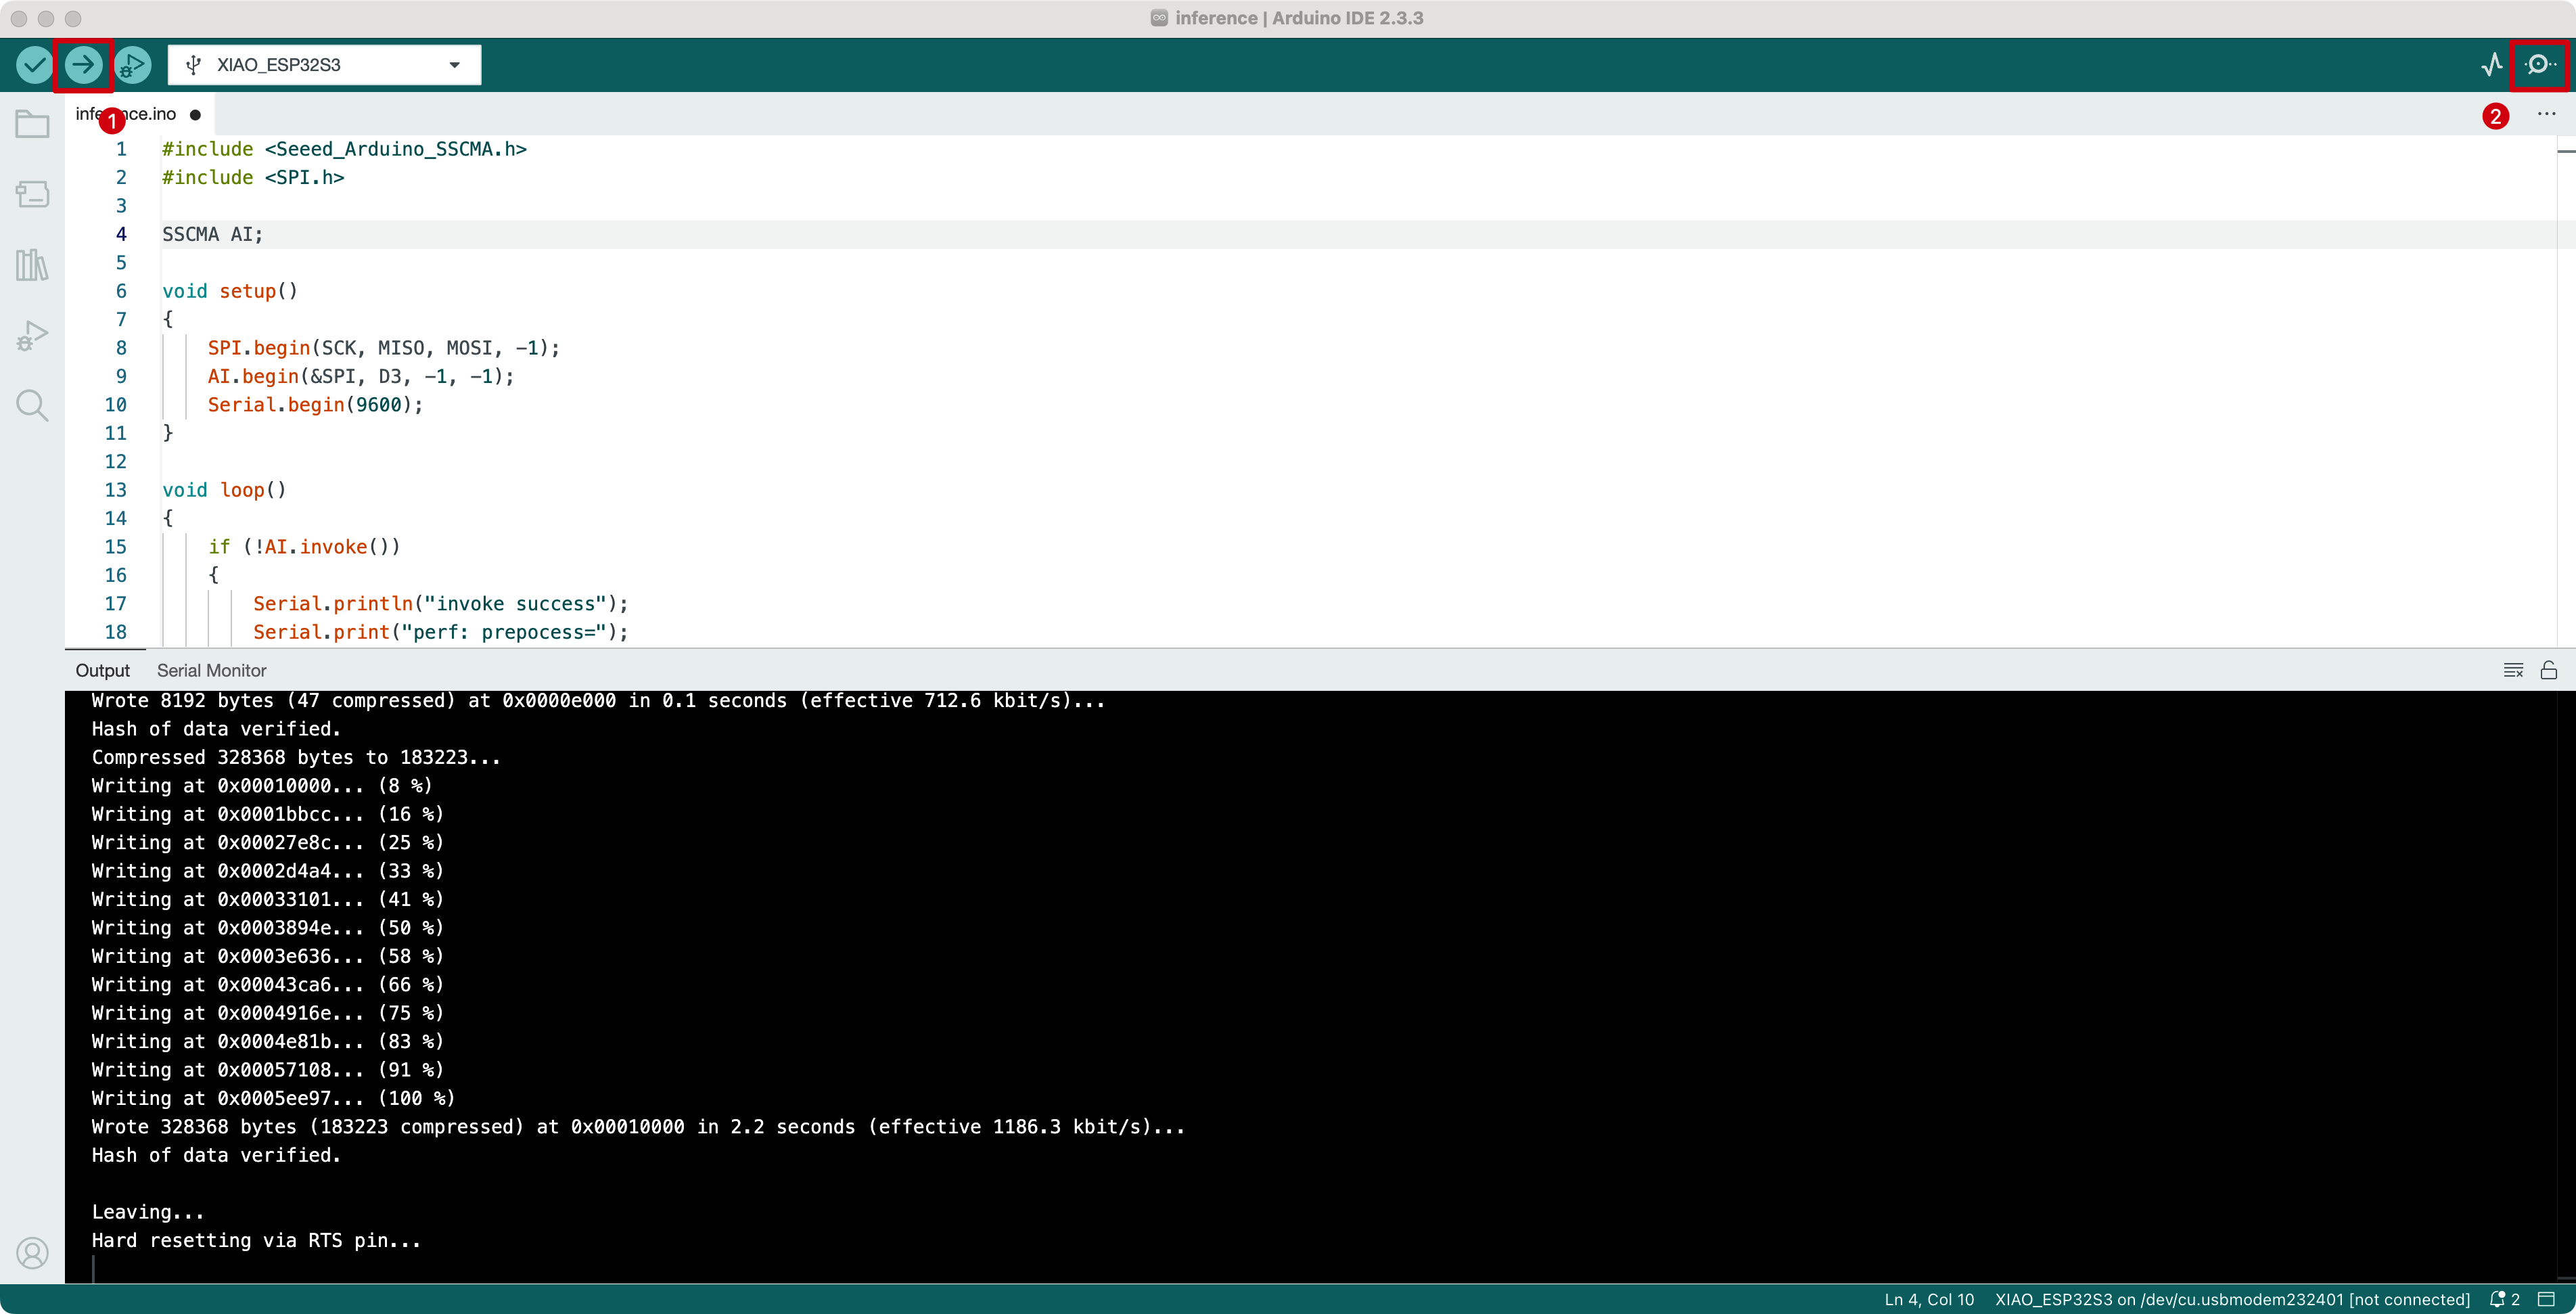
在 Arduino IDE 中点击”上传”按钮,编译并将代码上传到您的 XIAO ESP32S3 Sense 开发板。上传完成后,在 Arduino IDE 中打开串口监视器以查看模型的输出。
通过遵循这个分步指南,您现在应该能够使用 SSCMA 库为您的 XIAO ESP32S3 Sense 开发板在 SenseCraft AI 上配置模型输出。根据您选择的示例代码,您可以直接检索模型的输出或使用回调函数来自定义输出的处理。
请随意探索和修改示例代码以满足您的特定需求。SSCMA 库提供了一套强大的工具和函数,用于在 XIAO ESP32S3 Sense 开发板上处理计算机视觉和机器学习模型。
如果您遇到任何问题或有进一步的疑问,请参考 SenseCraft AI 文档或从 Seeed Studio 社区论坛寻求帮助。
祝您在使用 XIAO ESP32S3 Sense 开发板探索计算机视觉和机器学习世界时编程愉快!
技术支持与产品讨论
Section titled “技术支持与产品讨论”感谢您选择我们的产品!我们在这里为您提供不同的支持,以确保您使用我们产品的体验尽可能顺畅。我们提供多种沟通渠道,以满足不同的偏好和需求。