Use SSCMACore library output model info
Ce contenu n’est pas encore disponible dans votre langue.
This wiki provides a step-by-step guide on how to configure the model output on SenseCraft AI for the XIAO ESP32S3 Sense board using the SSCMACore (Seeed SenseCraft Model Assistant Core) library. By following these instructions, you will be able to set up your XIAO ESP32S3 Sense to work with a pre-trained model and utilize the SSCMACore library to process the model’s output.
Prerequisites
Section titled “Prerequisites”Before proceeding, ensure that you have the following:
- XIAO ESP32S3 Sense
- USB-C data cable for connecting the XIAO ESP32S3 Sense to your computer
- Arduino IDE with the Seeed_Arduino_SSCMACore library installed
| XIAO ESP32S3 Sense |
|---|
 |
Step 1. Ensure a Model is Loaded on the XIAO ESP32S3 Sense
Section titled “Step 1. Ensure a Model is Loaded on the XIAO ESP32S3 Sense”Before proceeding, make sure that your XIAO ESP32S3 Sense board has a trained model loaded. If you haven’t loaded a model yet, refer to the SenseCraft AI documentation on how to train and deploy models to your device.
If you want to use your own trained model, you can refer to the following two Wikis.
Step 2. Set Up the SSCMA Library
Section titled “Step 2. Set Up the SSCMA Library”Download the Seeed_Arduino_SSCMACore library from the GitHub repository.
Add the downloaded library to your Arduino environment by following these steps:
- Open the Arduino IDE.
- Go to Sketch -> Include Library -> Add .ZIP Library.
- Navigate to the downloaded Seeed_Arduino_SSCMACore library and select it.
- Click Open to add the library to your Arduino environment.
Step 3. Choose and Configure the Example Code
Section titled “Step 3. Choose and Configure the Example Code”The SSCMA library provides two example codes that demonstrate how to work with the model output on the XIAO ESP32S3 Sense board. Choose one of the following examples based on your requirements:
Example 1: Inference
Section titled “Example 1: Inference”- Open the
inference.inoexample code.
#include <SSCMA_Micro_Core.h>
#include <Arduino.h>#include <esp_camera.h>

SET_LOOP_TASK_STACK_SIZE(40 * 1024);

SSCMAMicroCore instance;SSCMAMicroCore::VideoCapture capture;

void setup() {
    // Init serial port    Serial.begin(115200);
    // Init video capture    MA_RETURN_IF_UNEXPECTED(capture.begin(SSCMAMicroCore::VideoCapture::DefaultCameraConfigXIAOS3));
    // Init SSCMA Micro Core    MA_RETURN_IF_UNEXPECTED(instance.begin(SSCMAMicroCore::Config::DefaultConfig));
    Serial.println("Init done");
}
void loop() {
    auto frame = capture.getManagedFrame();
    MA_RETURN_IF_UNEXPECTED(instance.invoke(frame));
    for (const auto& box : instance.getBoxes()) {        Serial.printf("Box: x=%f, y=%f, w=%f, h=%f, score=%f, target=%d\n", box.x, box.y, box.w, box.h, box.score, box.target);    }
    for (const auto& cls : instance.getClasses()) {        Serial.printf("Class: target=%d, score=%f\n", cls.target, cls.score);    }
    for (const auto& point : instance.getPoints()) {        Serial.printf("Point: x=%f, y=%f, z=%f, score=%f, target=%d\n", point.x, point.y, point.z, point.score, point.target);    }
    for (const auto& kp : instance.getKeypoints()) {        Serial.printf("Keypoints: box: x=%f, y=%f, w=%f, h=%f, score=%f, target=%d\n", kp.box.x, kp.box.y, kp.box.w, kp.box.h, kp.box.score, kp.box.target);        for (const auto& point : kp.points) {            Serial.printf("Keypoint: x=%f, y=%f, z=%f, score=%f, target=%d\n", point.x, point.y, point.z, point.score, point.target);        }    }
    auto perf = instance.getPerf();    Serial.printf("Perf: preprocess=%dms, inference=%dms, postprocess=%dms\n", perf.preprocess, perf.inference, perf.postprocess);
}
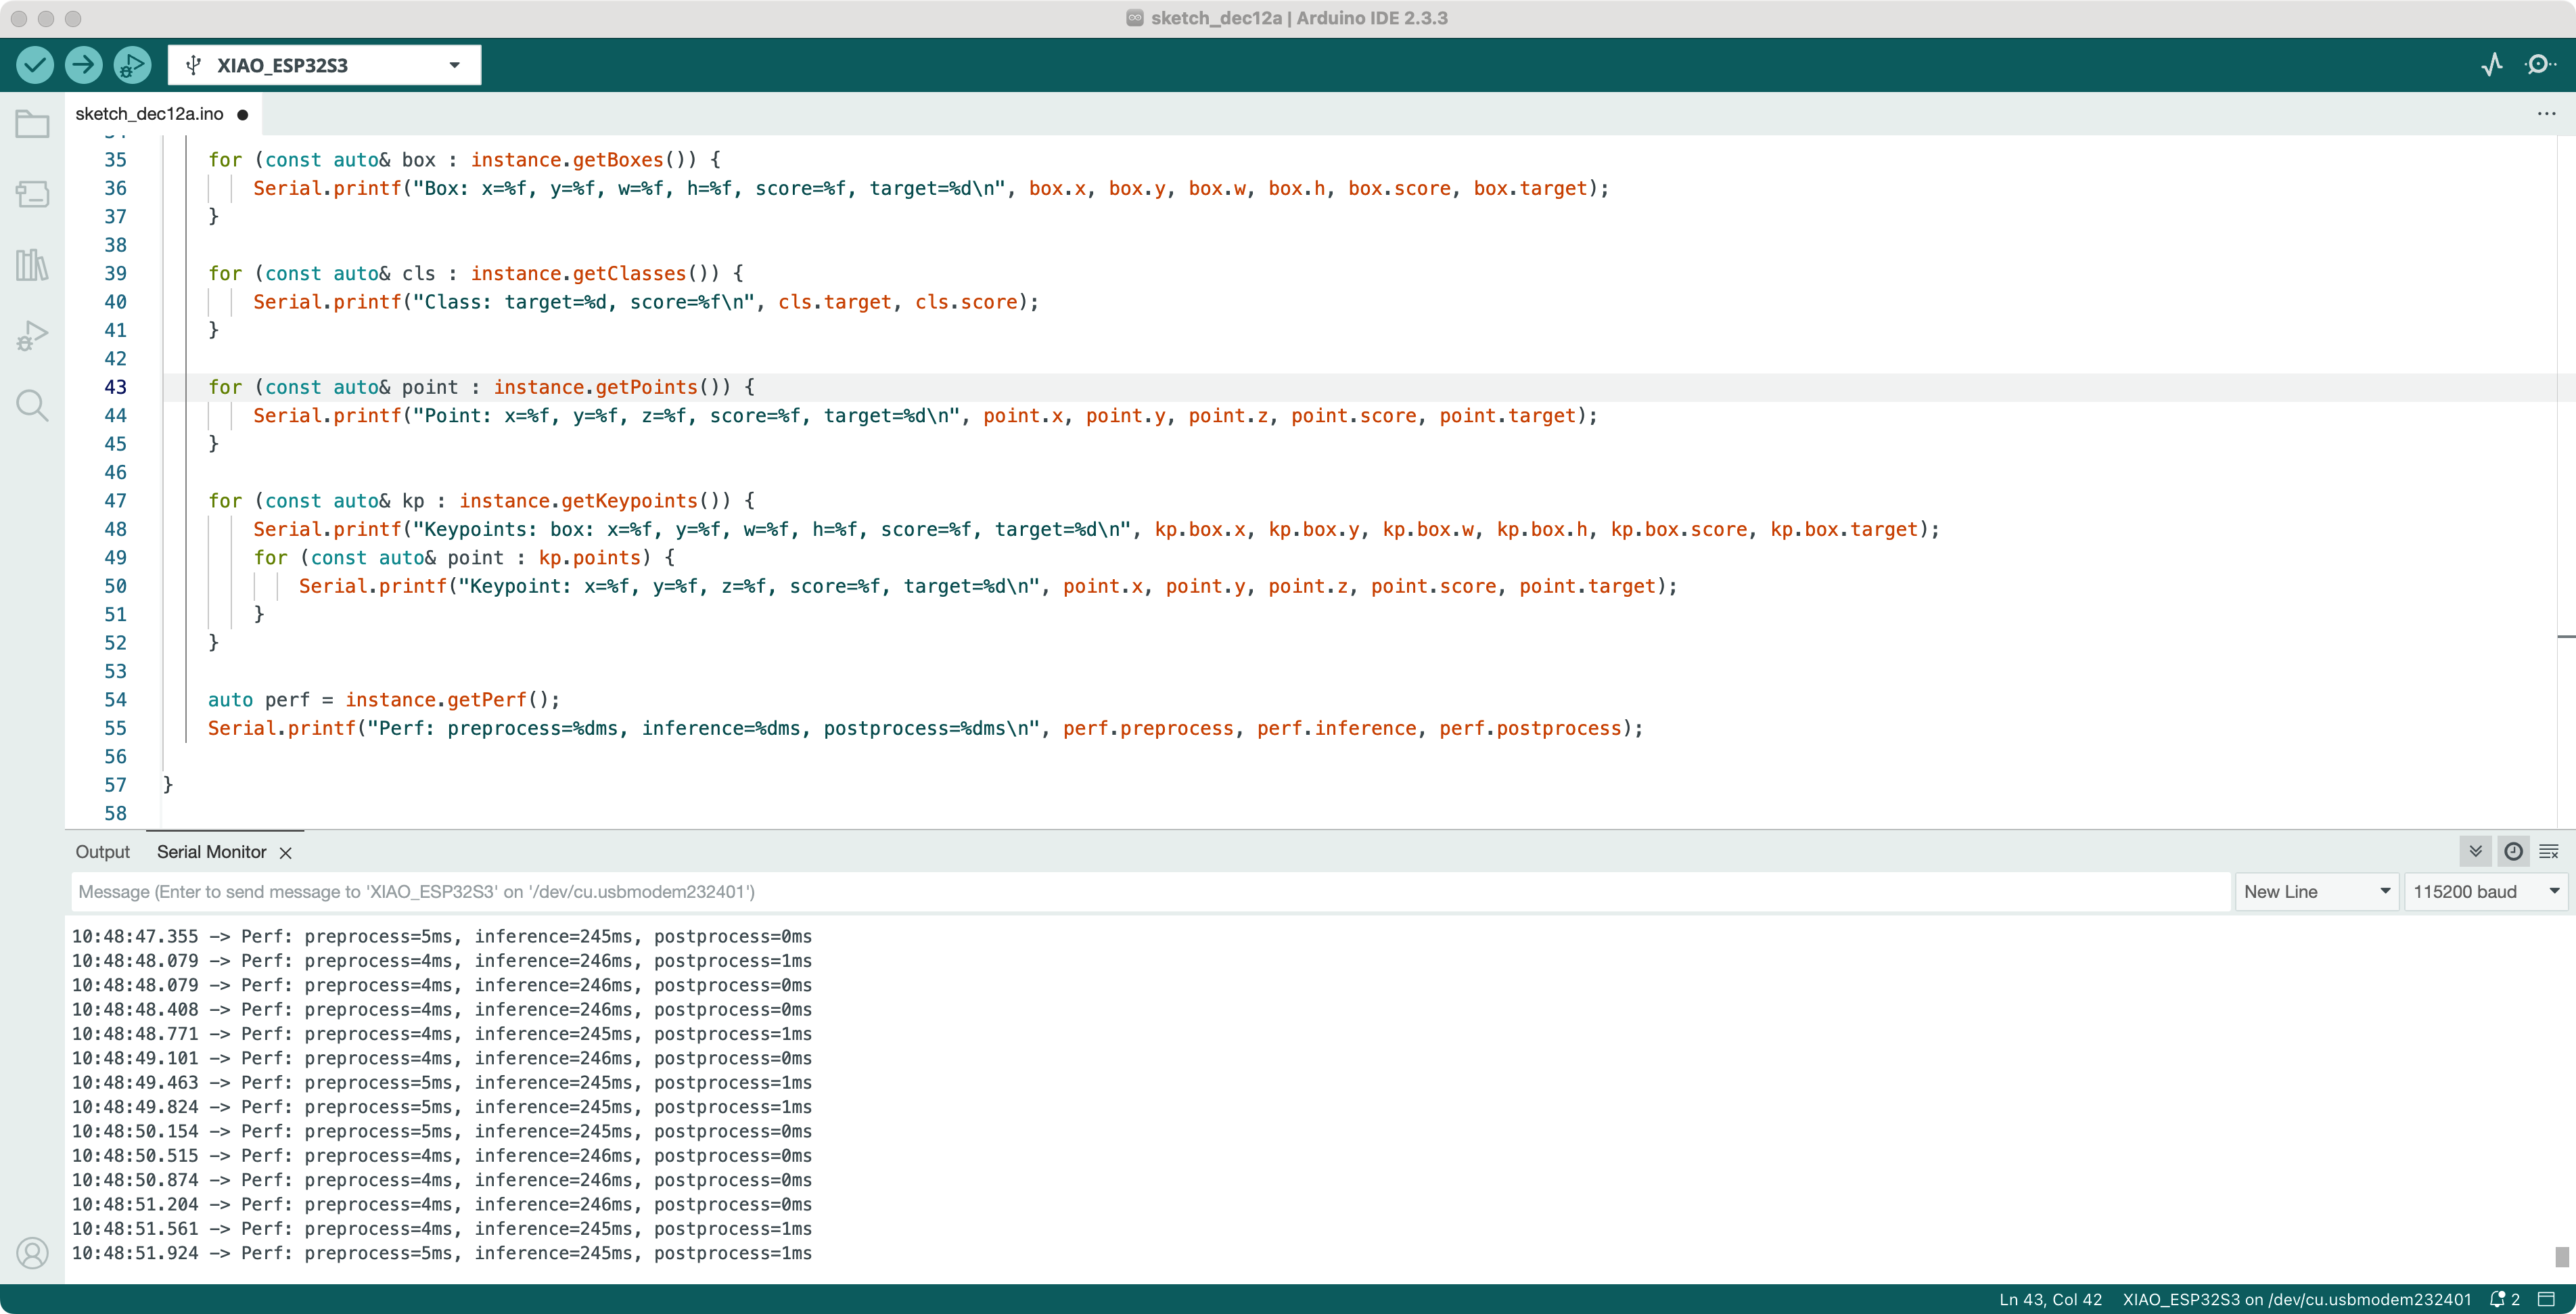
This example code demonstrates how to perform inference using the SSCMA library and retrieve the model’s output, including bounding boxes, classes, points, and keypoints. The code initializes the video capture, SSCMA Micro Core, and performs inference on each frame captured by the camera. The output of the model, such as bounding boxes, classes, points, and keypoints, is printed to the serial monitor.
Example 2: Inference with Callbacks
Section titled “Example 2: Inference with Callbacks”- Open the
inference_cb.inoexample code.
#include <SSCMA_Micro_Core.h>
#include <Arduino.h>#include <esp_camera.h>

SET_LOOP_TASK_STACK_SIZE(40 * 1024);

SSCMAMicroCore instance;SSCMAMicroCore::VideoCapture capture;

void setup() {
    // Init serial port    Serial.begin(115200);
    // Init video capture    MA_RETURN_IF_UNEXPECTED(capture.begin(SSCMAMicroCore::VideoCapture::DefaultCameraConfigXIAOS3));
    // Init SSCMA Micro Core    MA_RETURN_IF_UNEXPECTED(instance.begin(SSCMAMicroCore::Config::DefaultConfig));
    instance.registerPerfCallback(SSCMAMicroCore::DefaultPerfCallback);    instance.registerBoxesCallback(SSCMAMicroCore::DefaultBoxesCallback);    instance.registerClassesCallback(SSCMAMicroCore::DefaultClassesCallback);    instance.registerPointsCallback(SSCMAMicroCore::DefaultPointsCallback);    instance.registerKeypointsCallback(SSCMAMicroCore::DefaultKeypointsCallback);
    Serial.println("Init done");
}
void loop() {
    auto frame = capture.getManagedFrame();
    MA_RETURN_IF_UNEXPECTED(instance.invoke(frame));
}
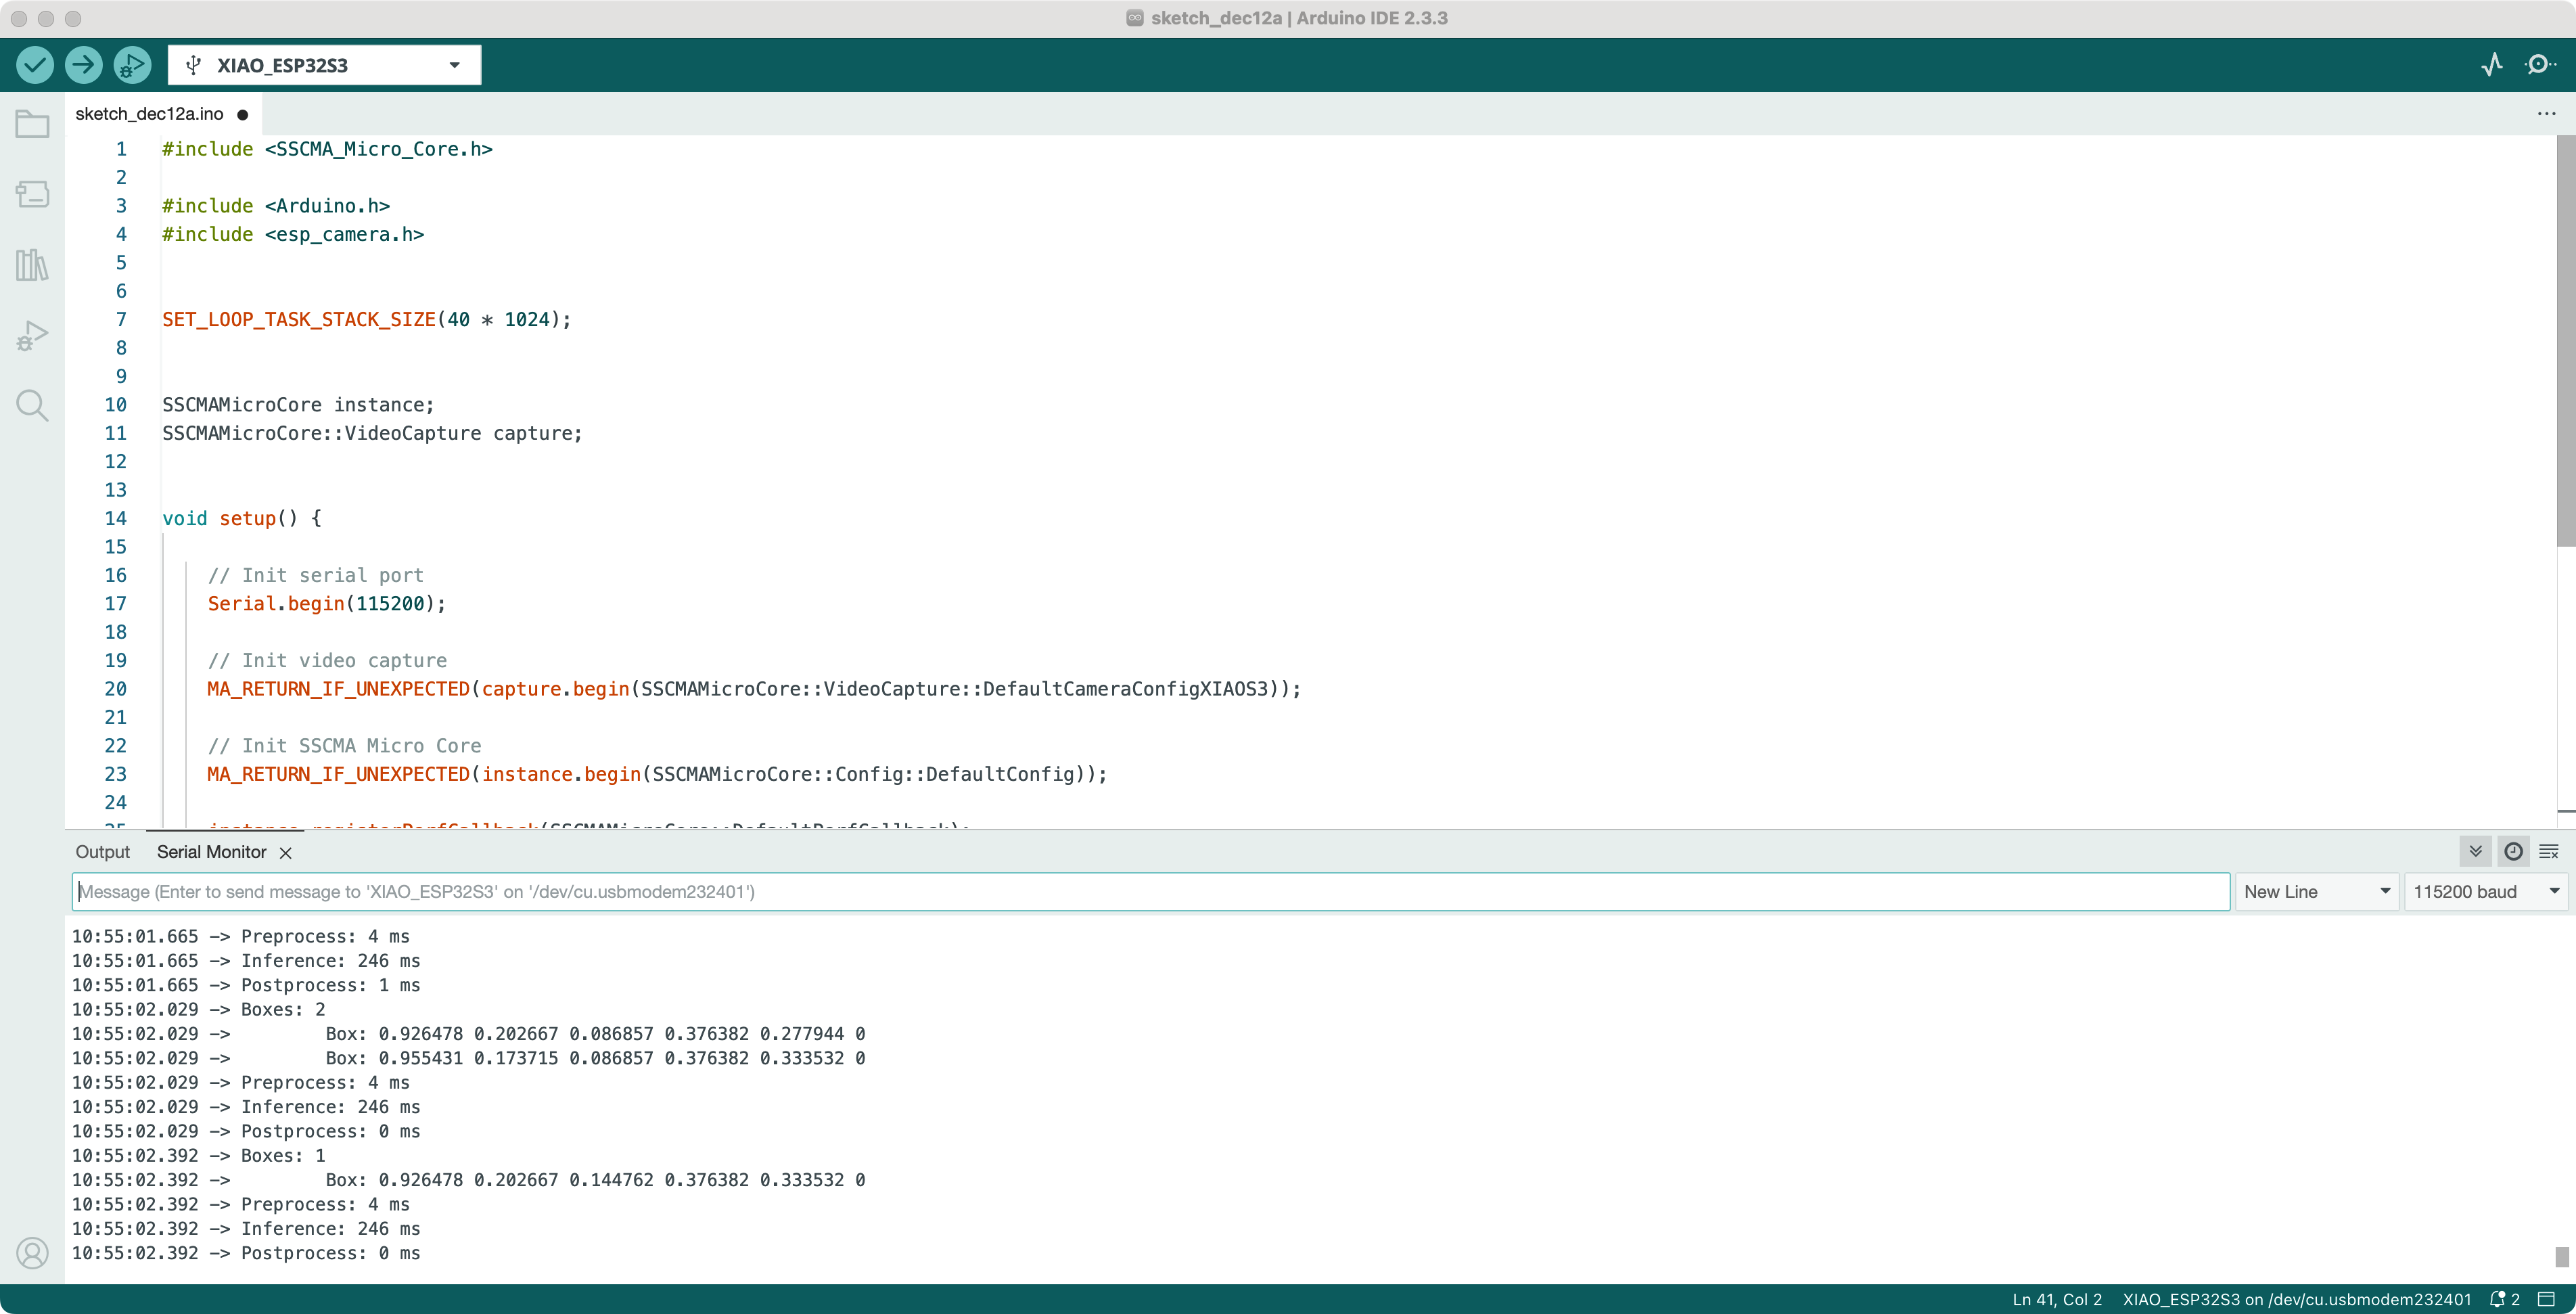
This example code demonstrates how to perform inference using the SSCMA library and register callback functions to handle the model’s output. The code initializes the video capture, SSCMA Micro Core, and registers callback functions for performance metrics, bounding boxes, classes, points, and keypoints. During the inference process, the registered callback functions are invoked, allowing you to customize the handling of the model’s output.
Step 4. Upload and Run the Code
Section titled “Step 4. Upload and Run the Code”Connect your XIAO ESP32S3 Sense board to your computer using the USB-C data cable. Open the selected example code (inference.ino or inference_cb.ino) in the Arduino IDE.
Select the appropriate board and port in the Arduino IDE:
- Go to Tools -> Board and select “XIAO ESP32S3 Sense”.
- Go to Tools -> Port and select the port to which your XIAO ESP32S3 Sense is connected.
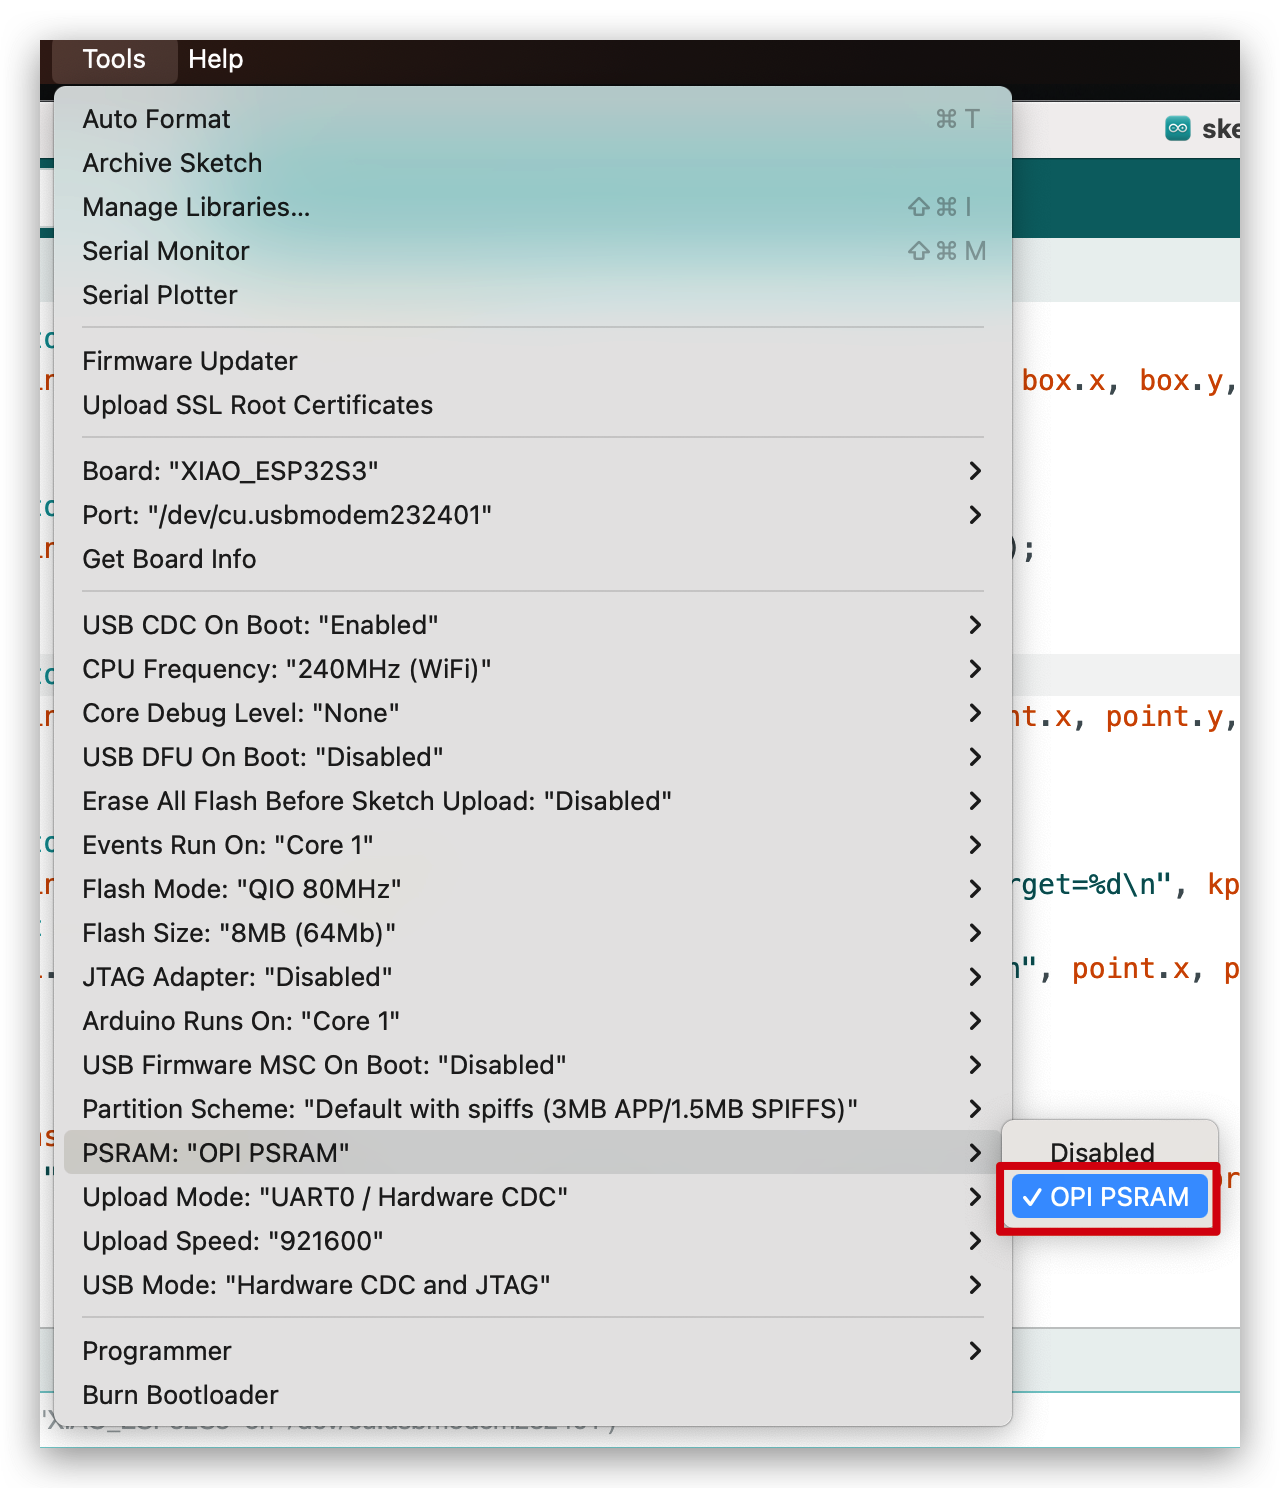
- Go to Tools -> PSRAM -> OPI PSRAM. Be sure to turn on PSRAM!
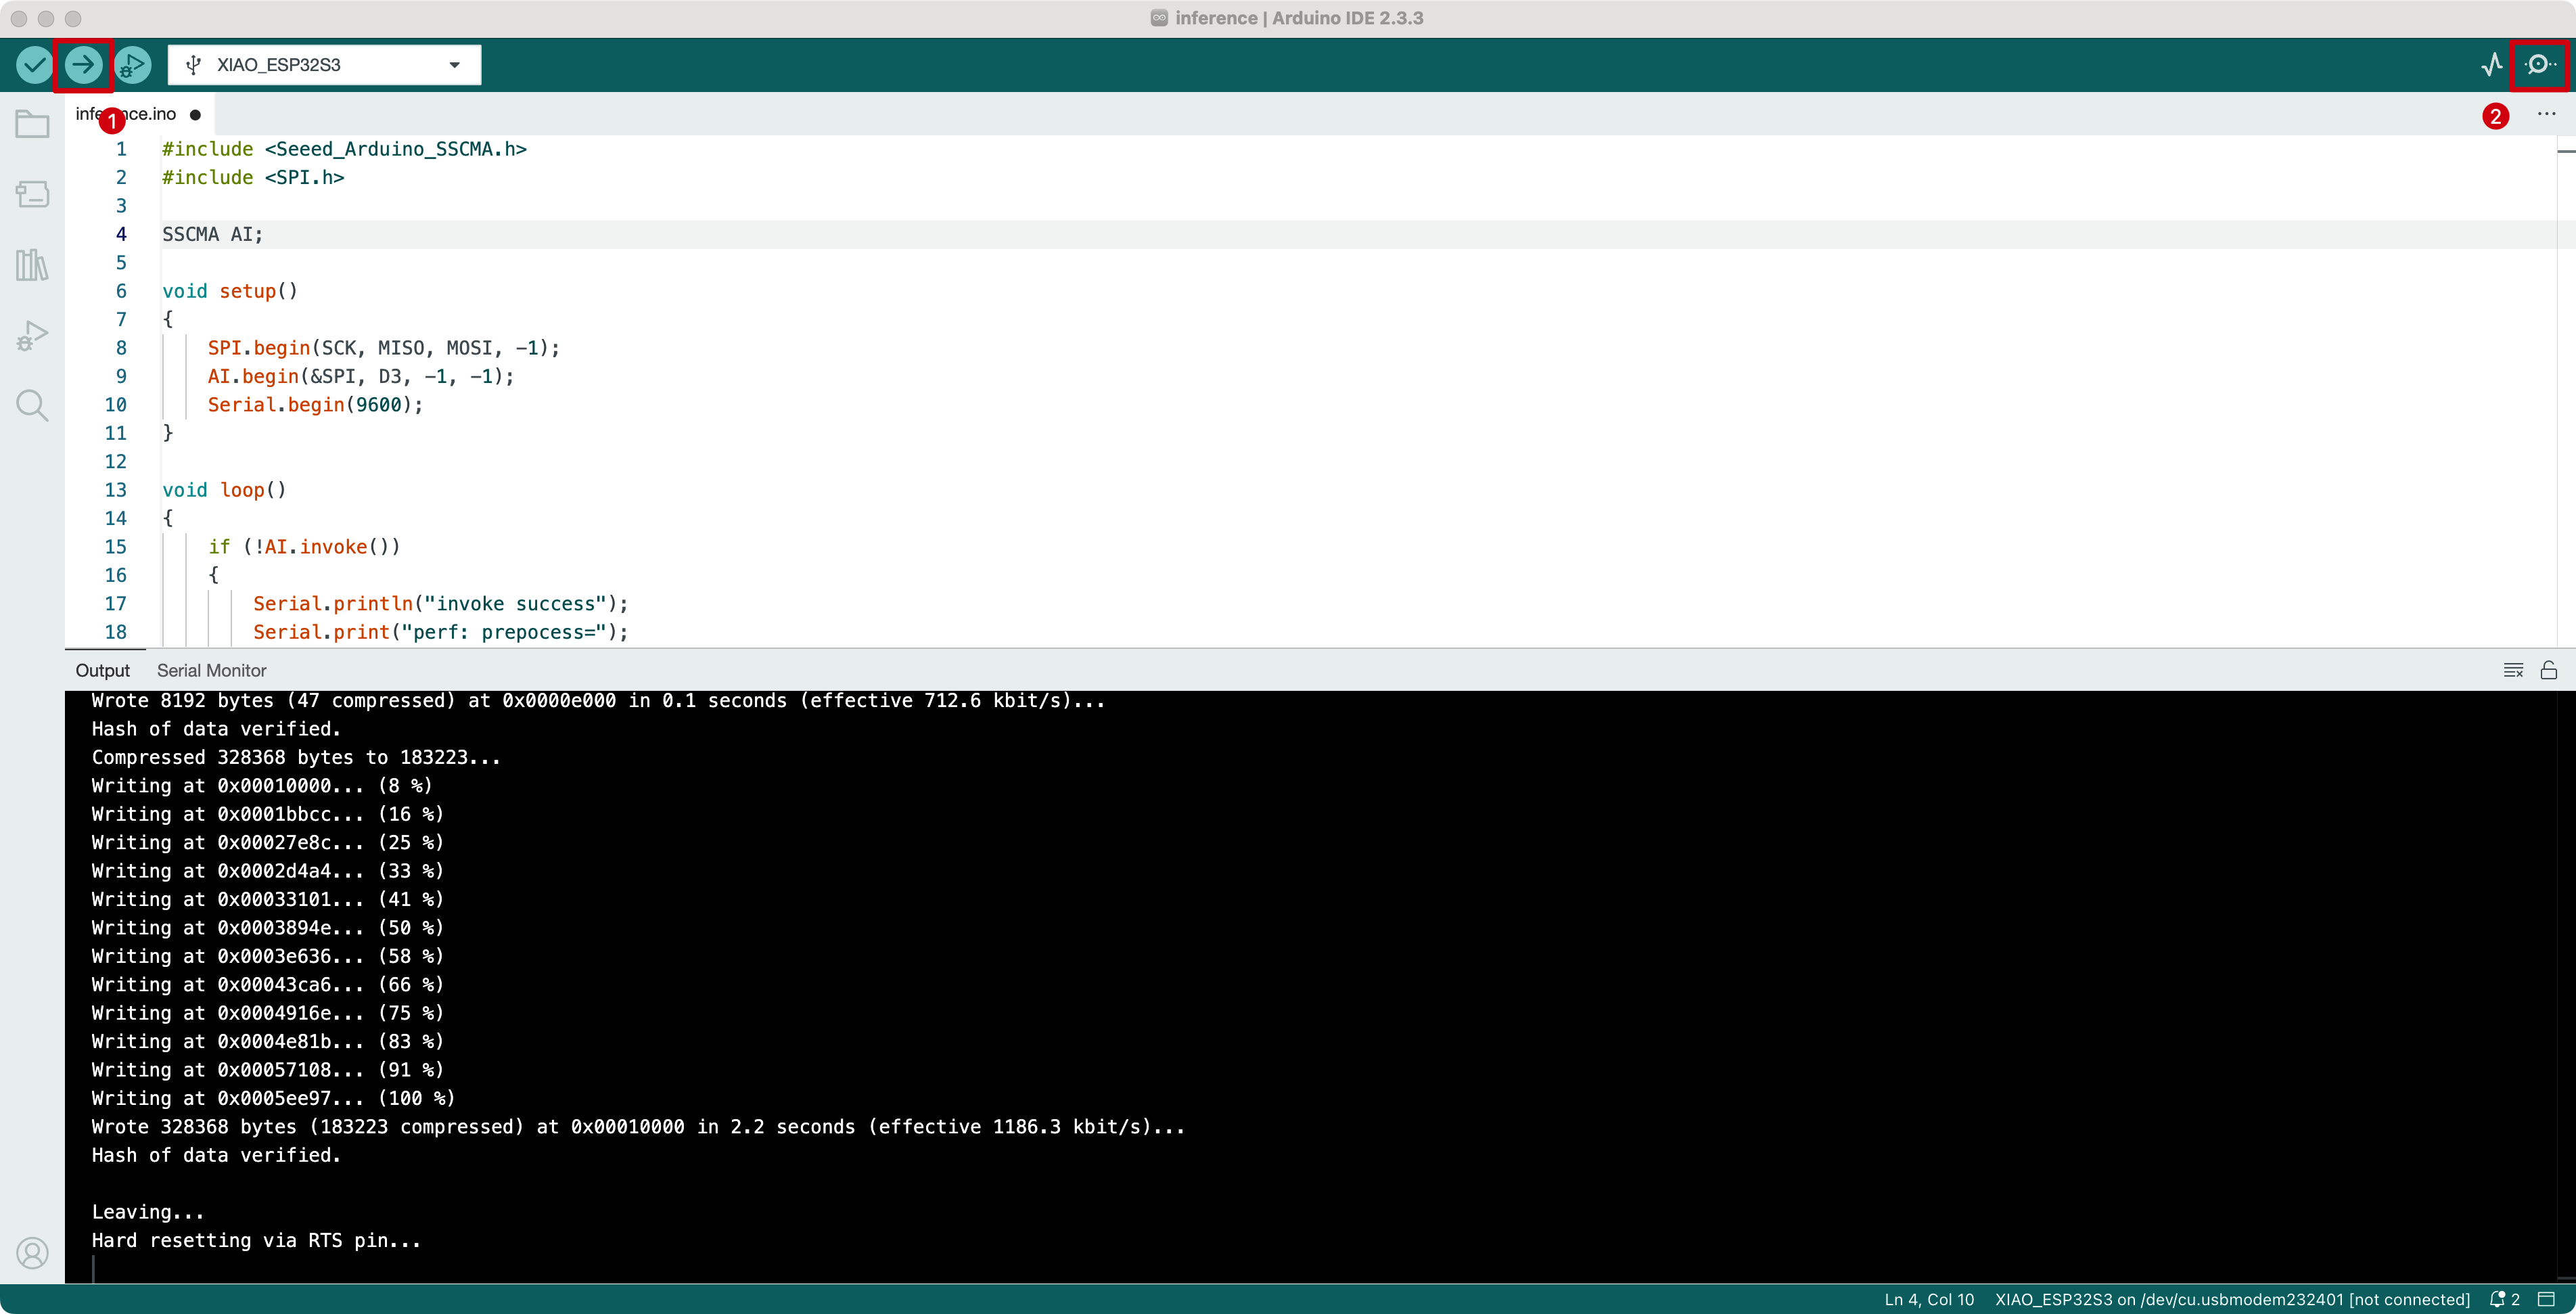
Click the “Upload” button in the Arduino IDE to compile and upload the code to your XIAO ESP32S3 Sense board. Once the upload is complete, open the Serial Monitor in the Arduino IDE to view the output of the model.
Conclusion
Section titled “Conclusion”By following this step-by-step guide, you should now be able to configure the model output on SenseCraft AI for your XIAO ESP32S3 Sense board using the SSCMA library. Depending on the example code you chose, you can either retrieve the model’s output directly or use callback functions to customize the handling of the output.
Feel free to explore and modify the example codes to suit your specific requirements. The SSCMA library provides a powerful set of tools and functions to work with computer vision and machine learning models on the XIAO ESP32S3 Sense board.
If you encounter any issues or have further questions, please refer to the SenseCraft AI documentation or seek assistance from the Seeed Studio community forums.
Happy coding and exploring the world of computer vision and machine learning with your XIAO ESP32S3 Sense board!
Tech Support & Product Discussion
Section titled “Tech Support & Product Discussion”Thank you for choosing our products! We are here to provide you with different support to ensure that your experience with our products is as smooth as possible. We offer several communication channels to cater to different preferences and needs.